
How to set up your jet water boiler.
This compact jet stove is perfect for quick hot drinks and easy meals at camp or on the go. It boils water fast, packs down small, and is light enough to take with you on day hikes — ideal for coffee stops, noodles, or rehydrated meals when you don’t want to haul the full camp kitchen.
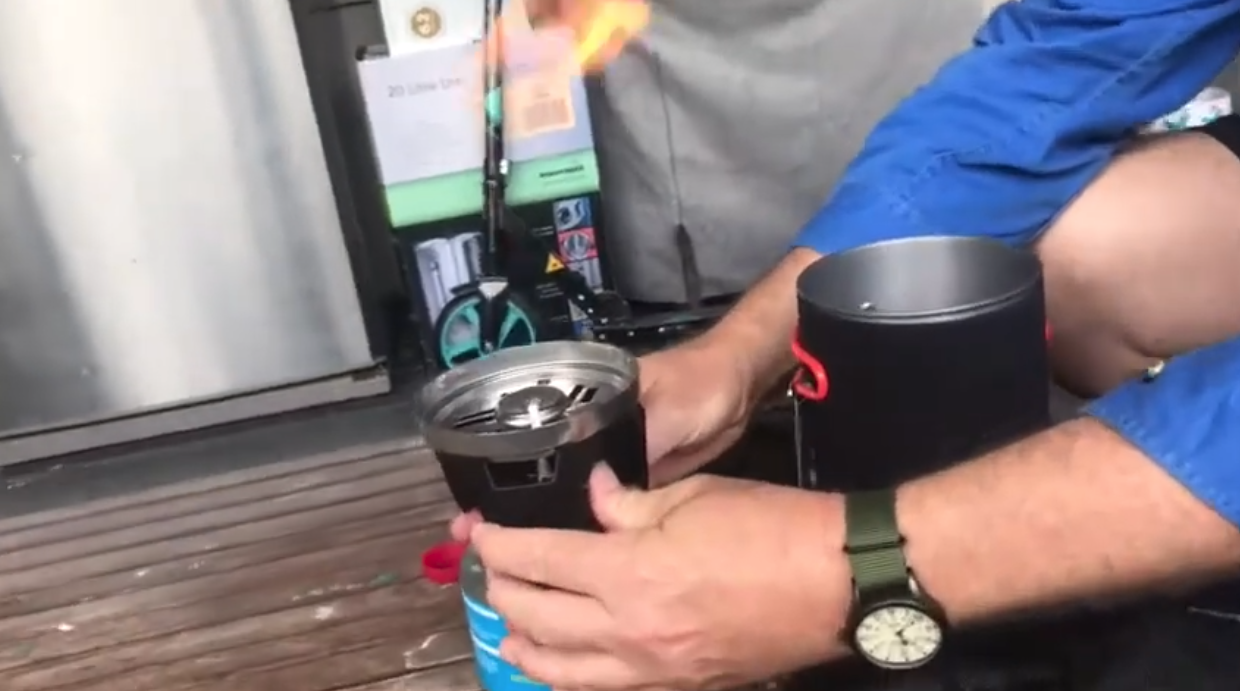
The video above shows the stove in action. Scroll down for the step-by-step instructions on how to set it up and use it safely.
Step-By-Step Guide

Step 1 – Before you start
Always use the stove outdoors in a well-ventilated area.
Set it up on a flat, stable surface, well away from flammable materials.
Never use the stove inside tents, vehicles, or enclosed spaces.
Step 2 – Attach the gas canister
Before attaching it, take a quick look at the wall so you know what’s what:
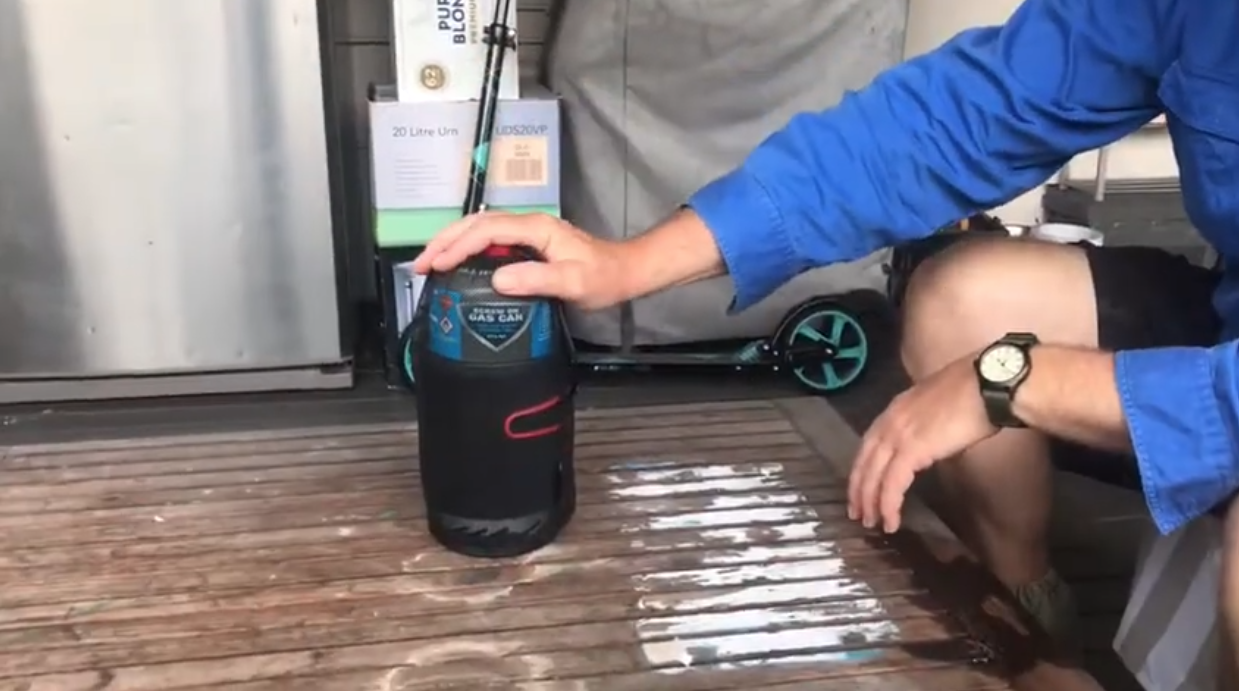
Grab the small gas canister included in your kit and take the small lid off.
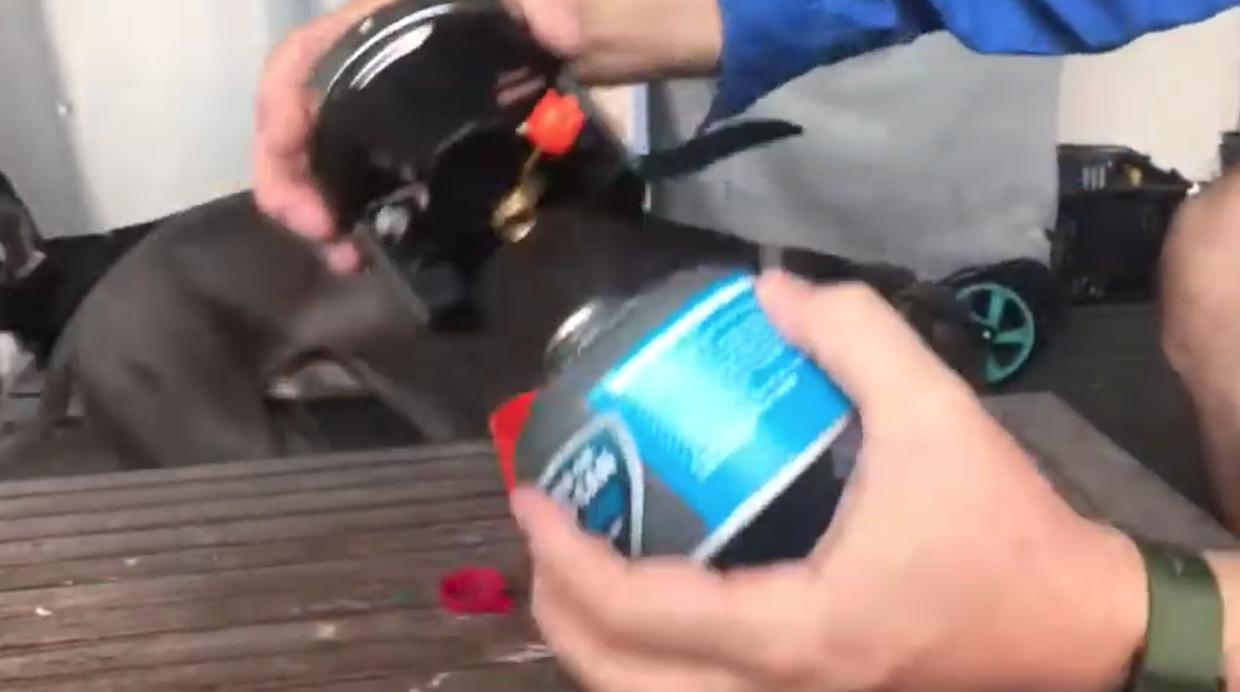
Carefully screw the stove component onto the canister until it’s snug. Hand-tight is enough - don’t over-tighten.
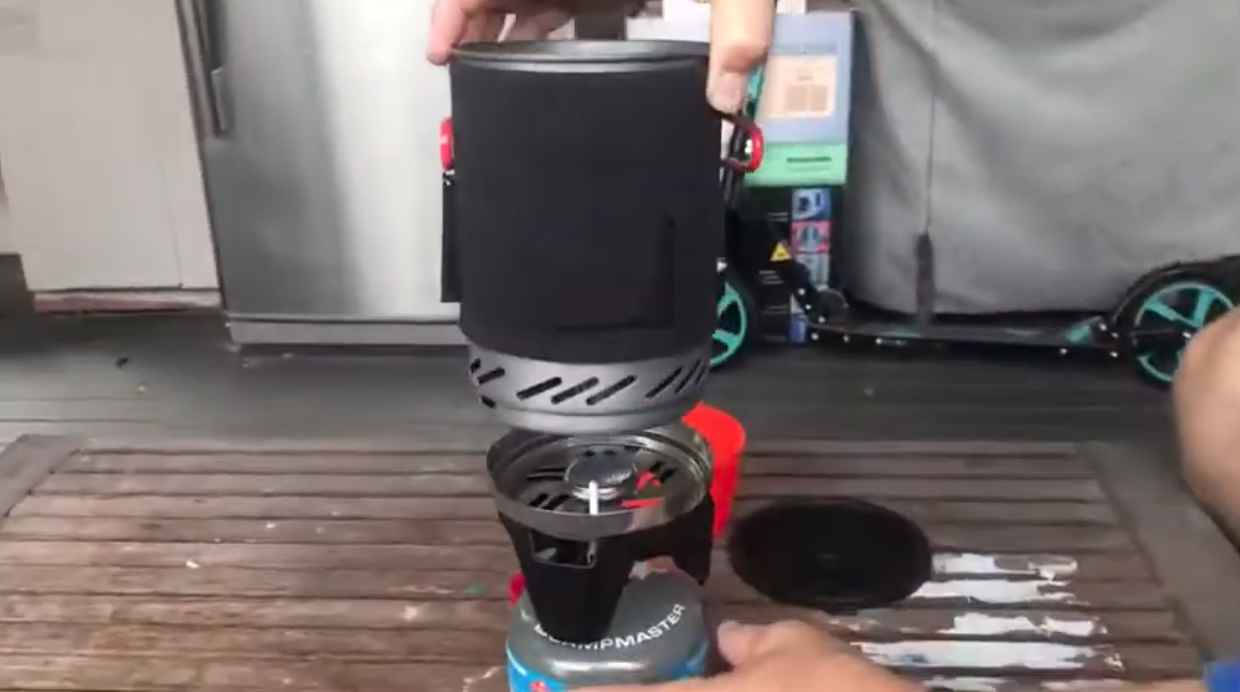
Step 3 – Attach the pot
Place the cooking pot onto the burner.
Twist gently until it locks into place and feels secure.
Add your water.
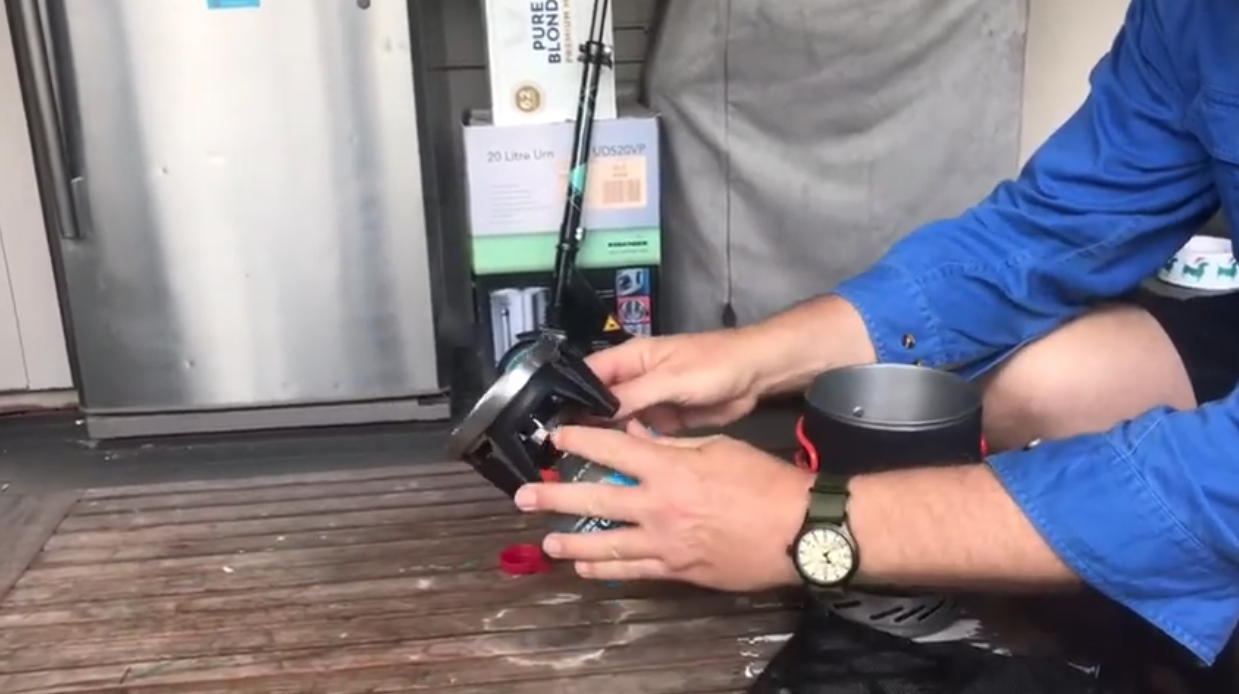
Step 4 – Ignite the stove
Make sure the control dial is fully turned to the right (off).
Slowly turn the dial to the left to release gas.
Press the built-in push-button igniter until the flame lights.
Step 5 – Adjust the flame
Use the control dial to increase or decrease the flame.
For boiling water, a steady medium-to-high flame works best.
Step 6 – Shut down safely
Turn the control dial all the way to the right (off) to extinguish the flame.
Let the stove cool before handling.
Carefully unscrew the stove from the gas canister once cool.
Handy tips
Keep the stove out of the wind for faster boiling.
Always check the pot is locked in properly before lighting.
This stove is ideal for hot drinks, noodles, soups, and dehydrated meals.