
How to set up your gazebo walls.
The solid wall kit adds extra shelter and flexibility to your Camp Easy gazebo. Use it to block wind or sun, create privacy, or unzip it into a doorway for airflow and easy access - all with a simple Velcro attachment that’s quick to adjust as conditions change.
Take a look at the video below, or read the step-by-step instructions to get set up.
Step-By-Step Guide
Step 1 – Before you start
Make sure your Quest Air Gazebo 3 is fully set up and pegged
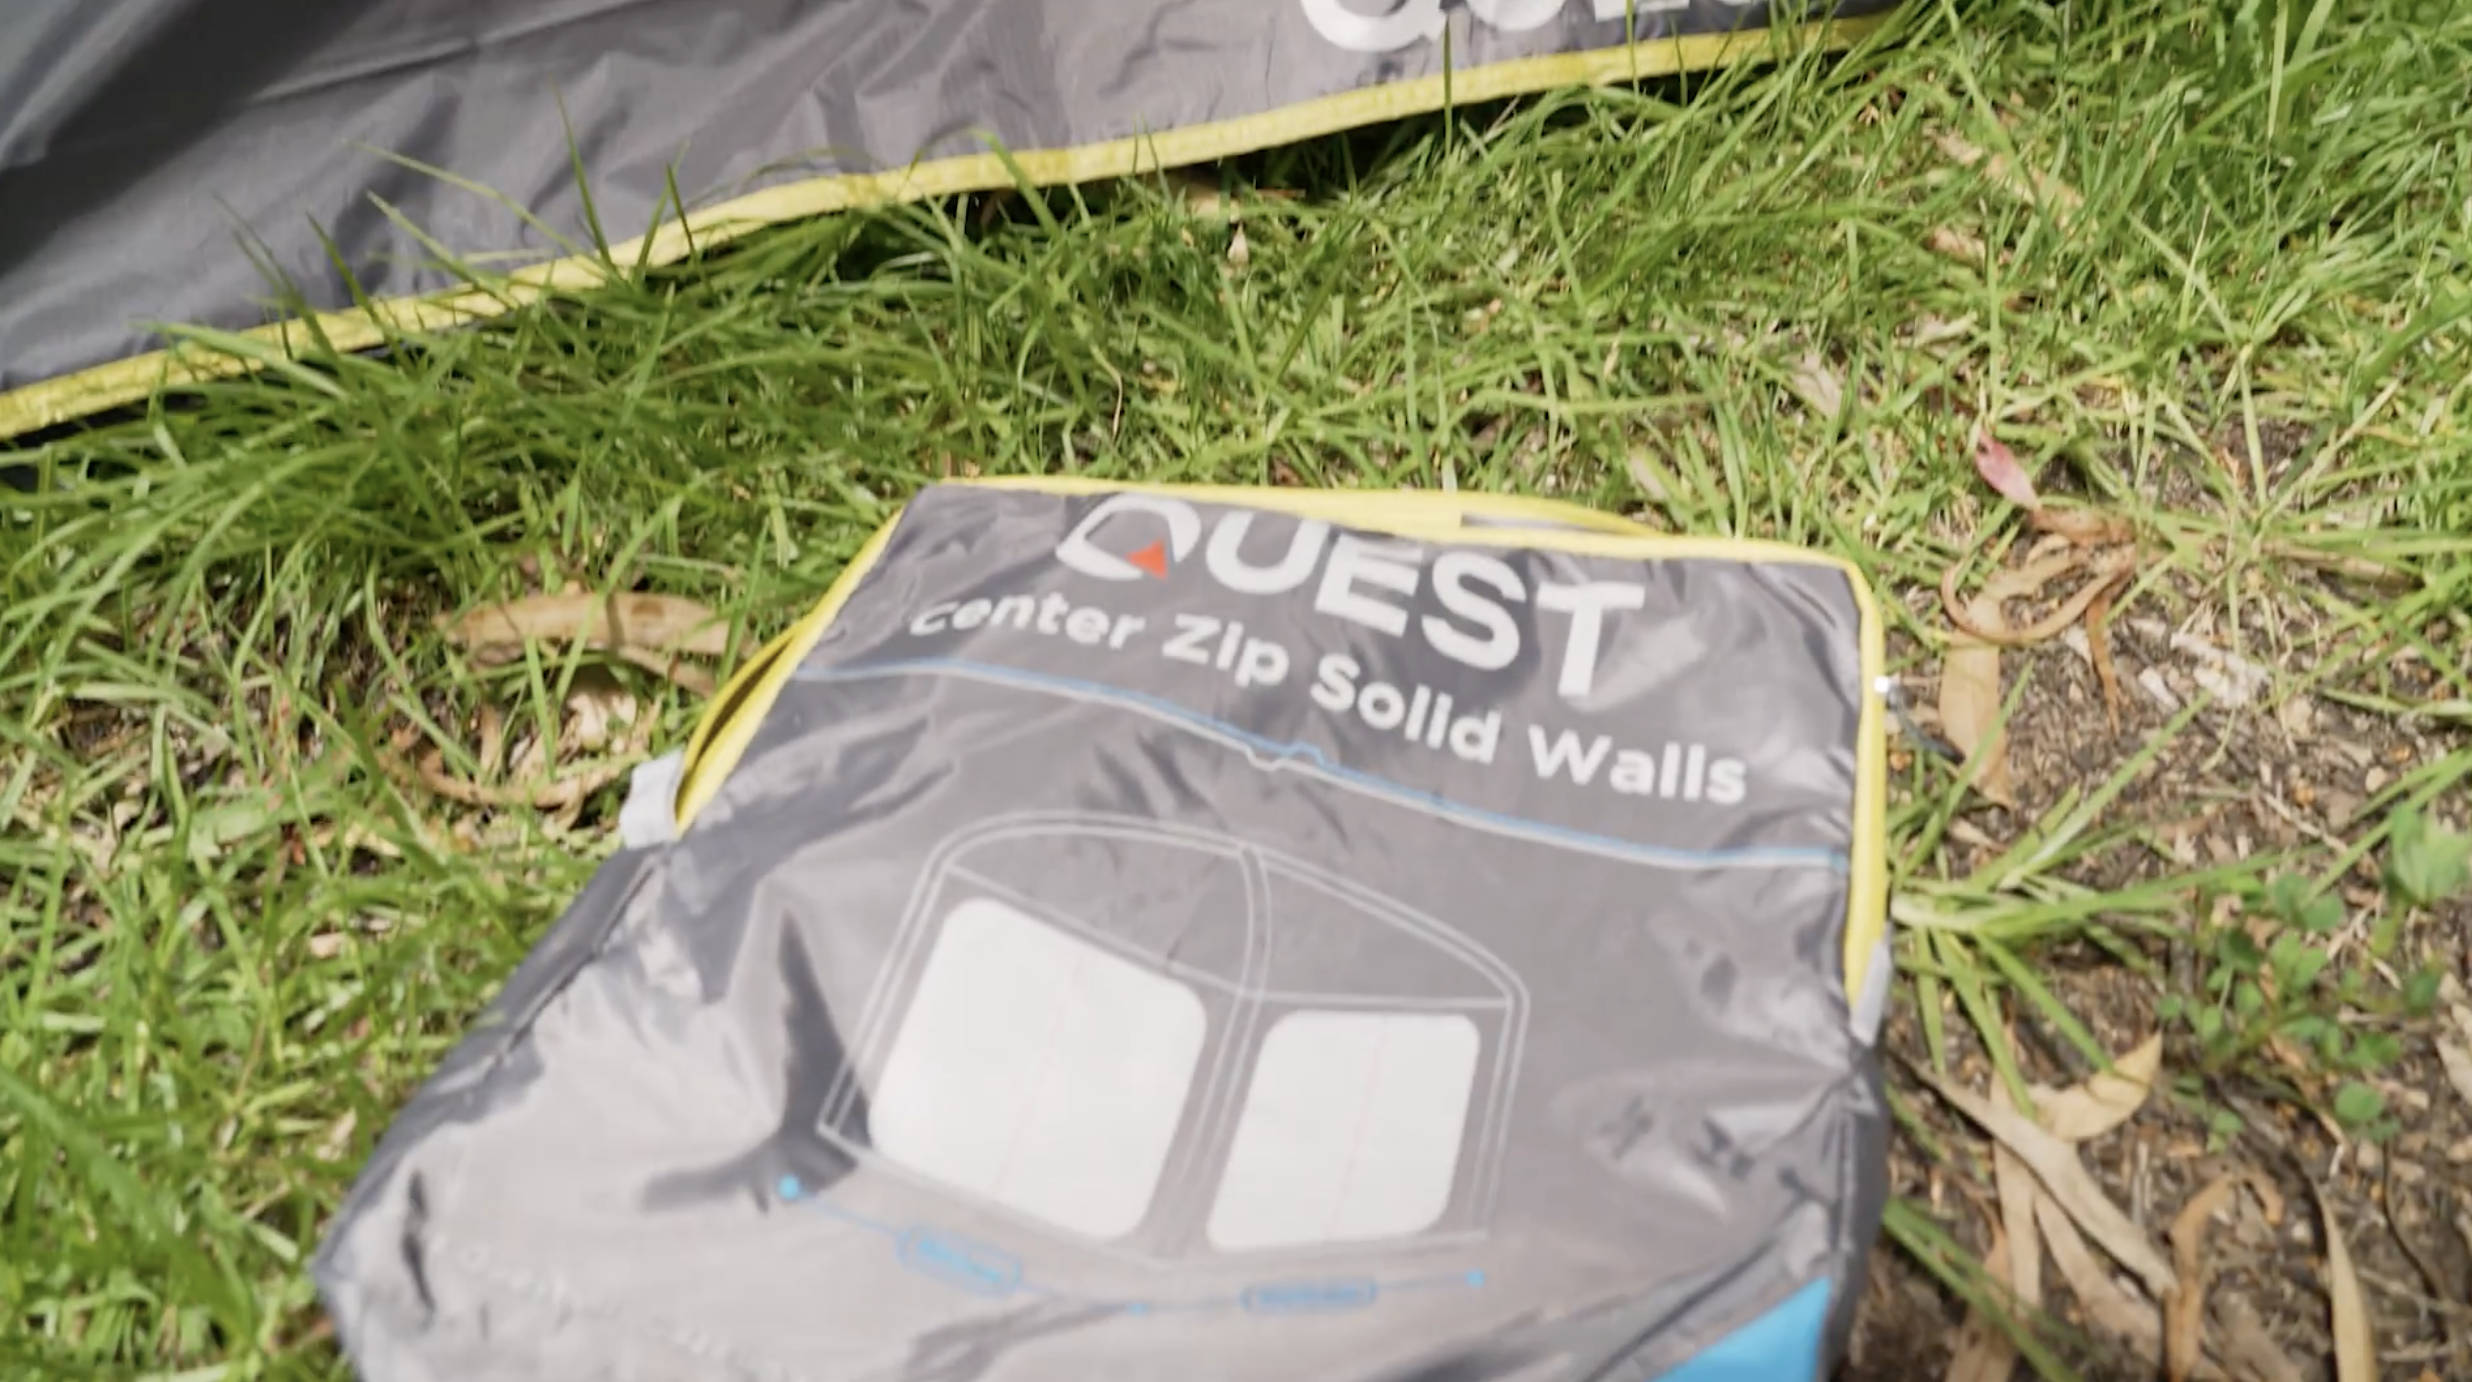
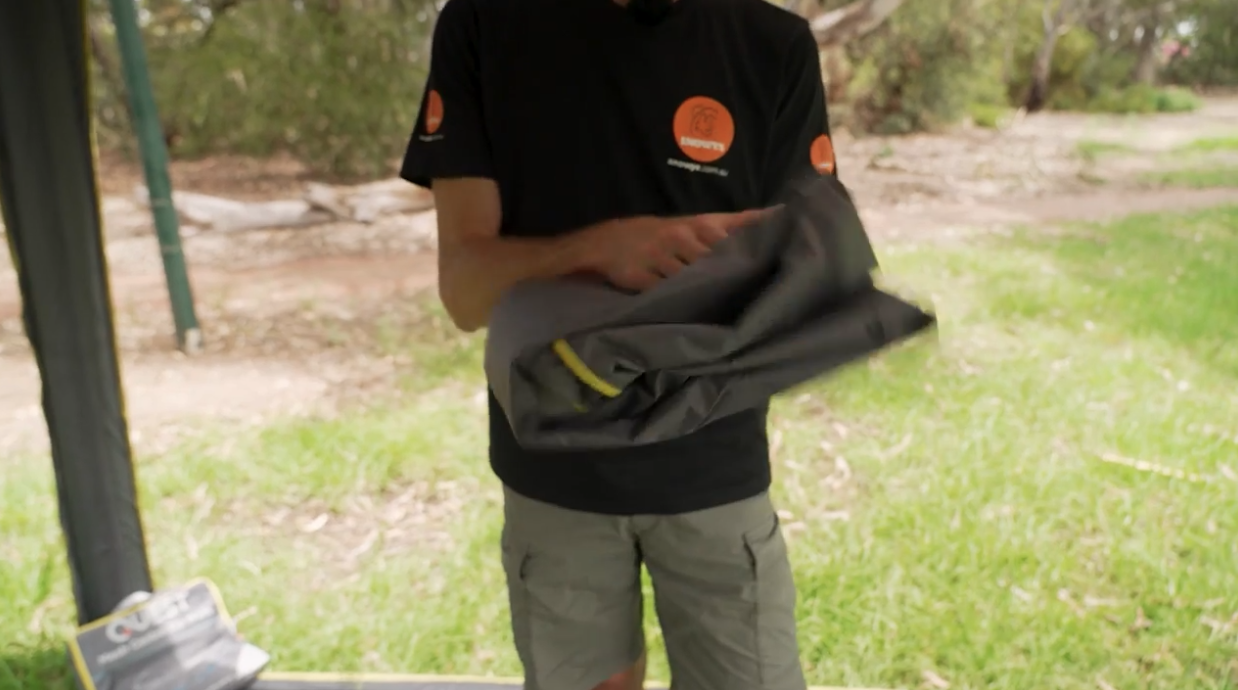
Grab the wall kit from the trailer and unzip the carry bag.
Inside, you’ll find two solid walls and two small pegs (used for the centre zip).
Step 2 – Get to know the wall
Before attaching it, take a quick look at the wall so you know what’s what:
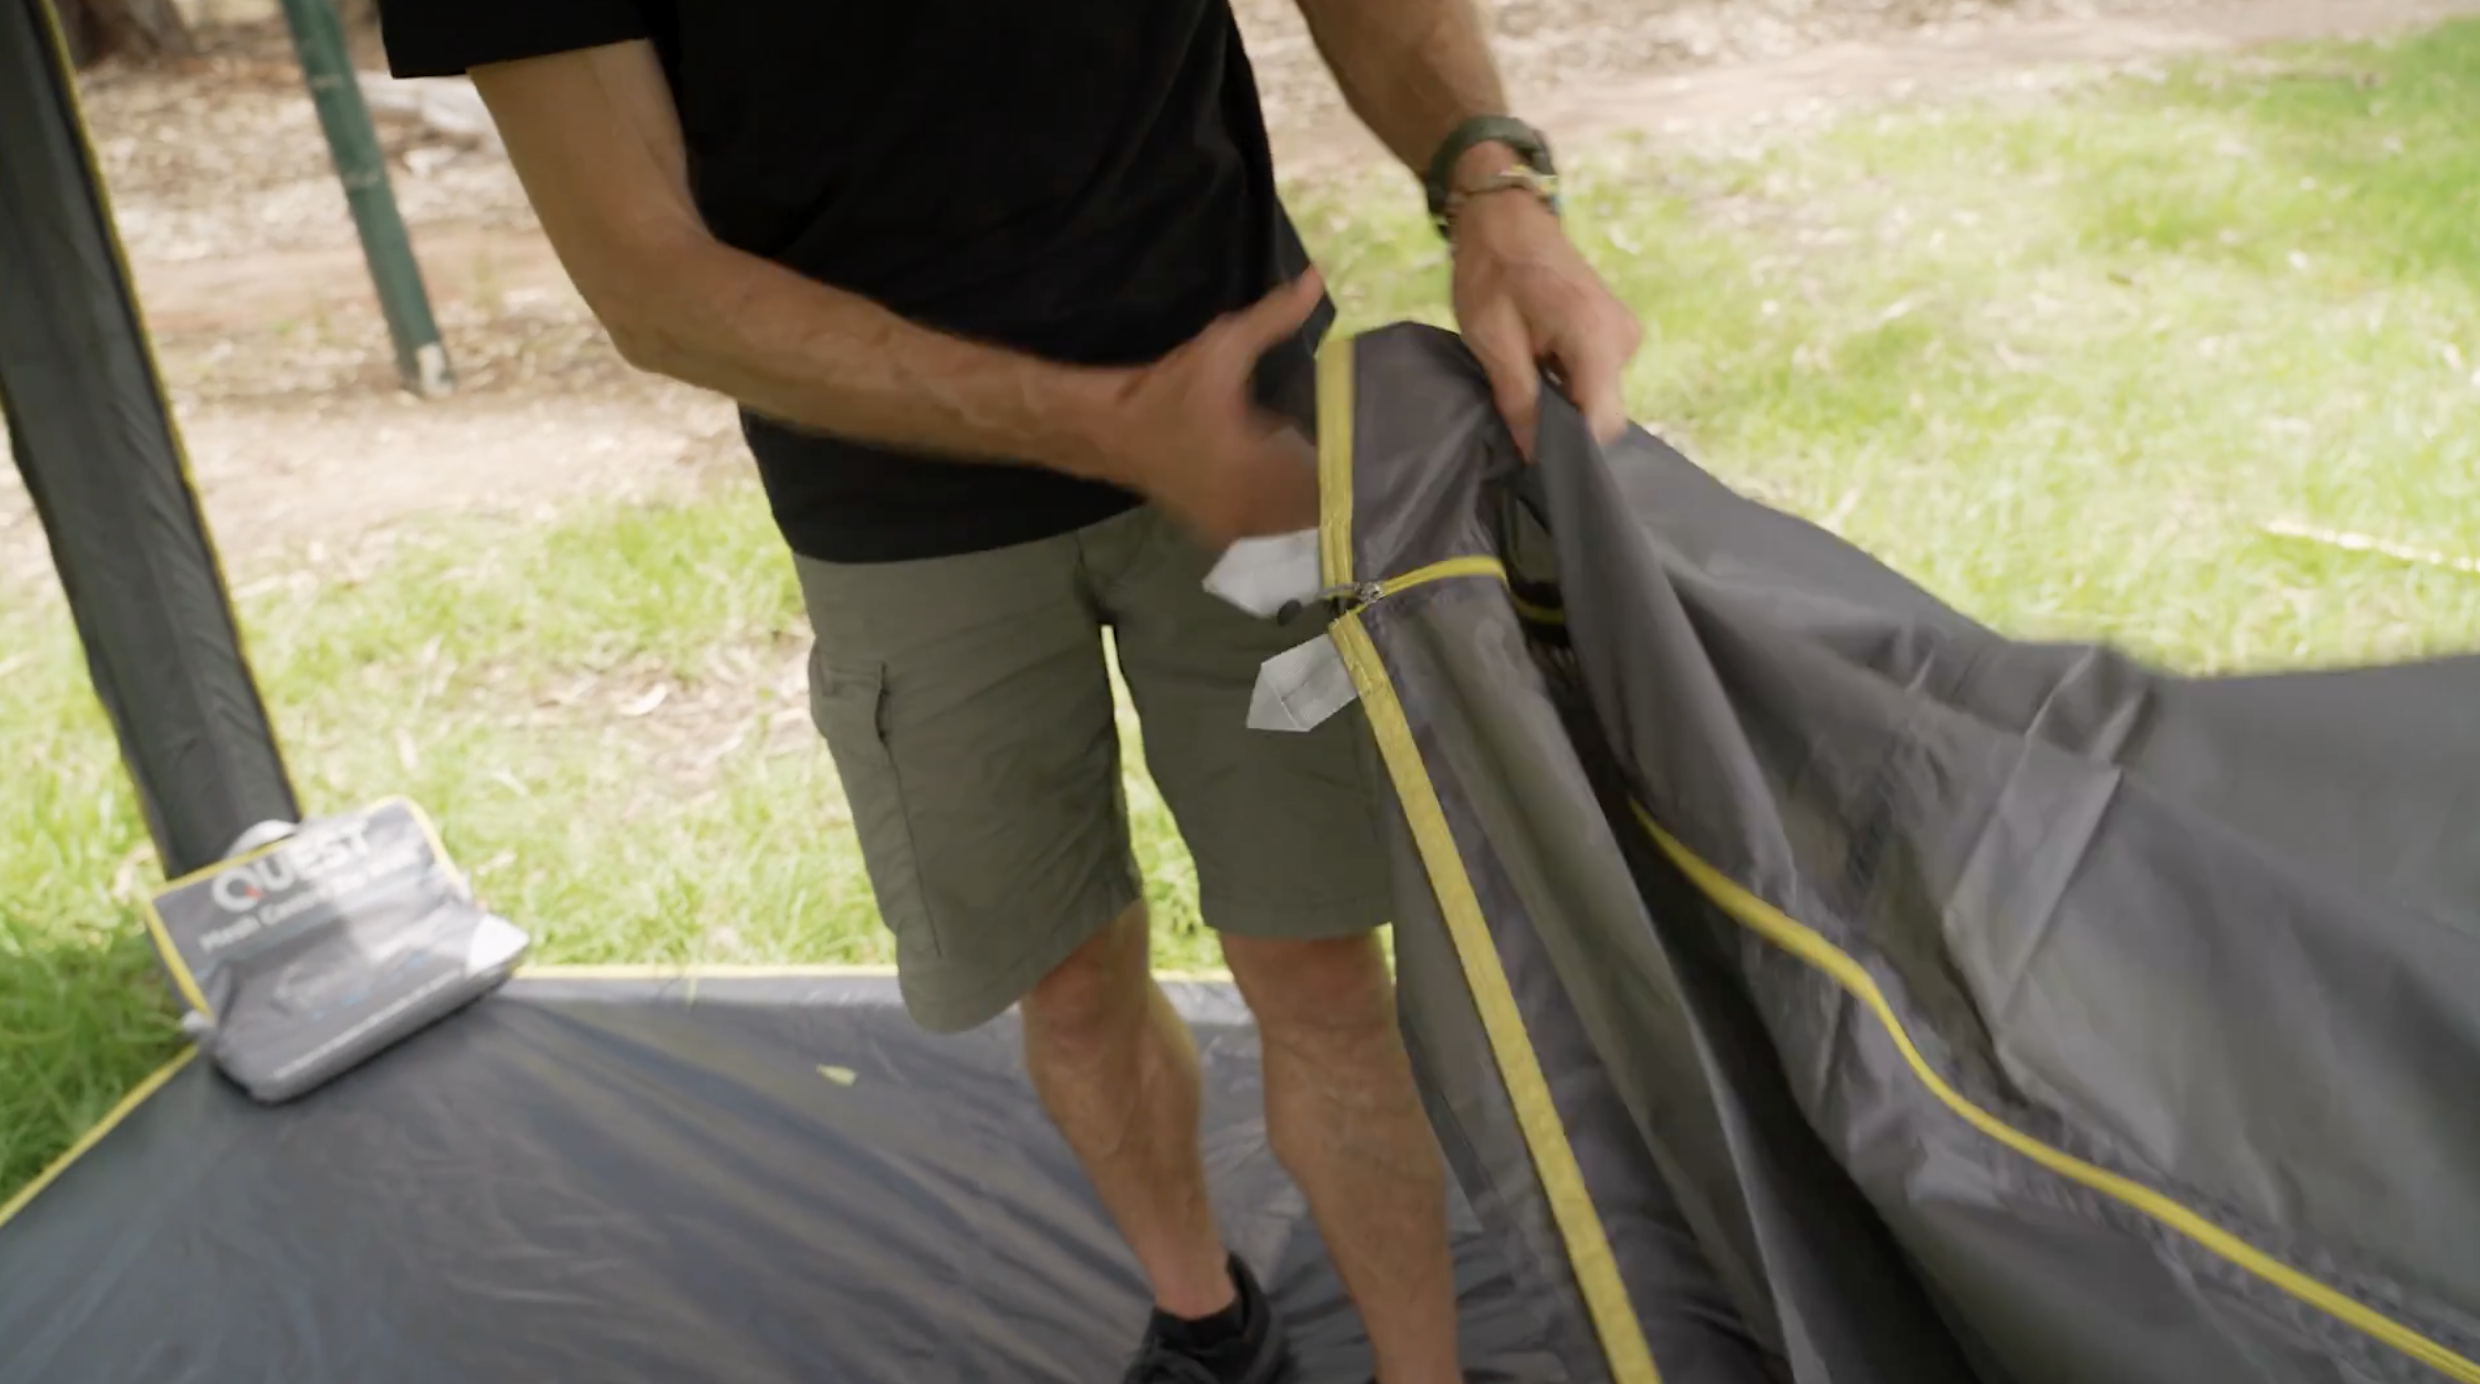
The wall attaches using Velcro along the top and both sides.
The skirt along the bottom sits against the ground.
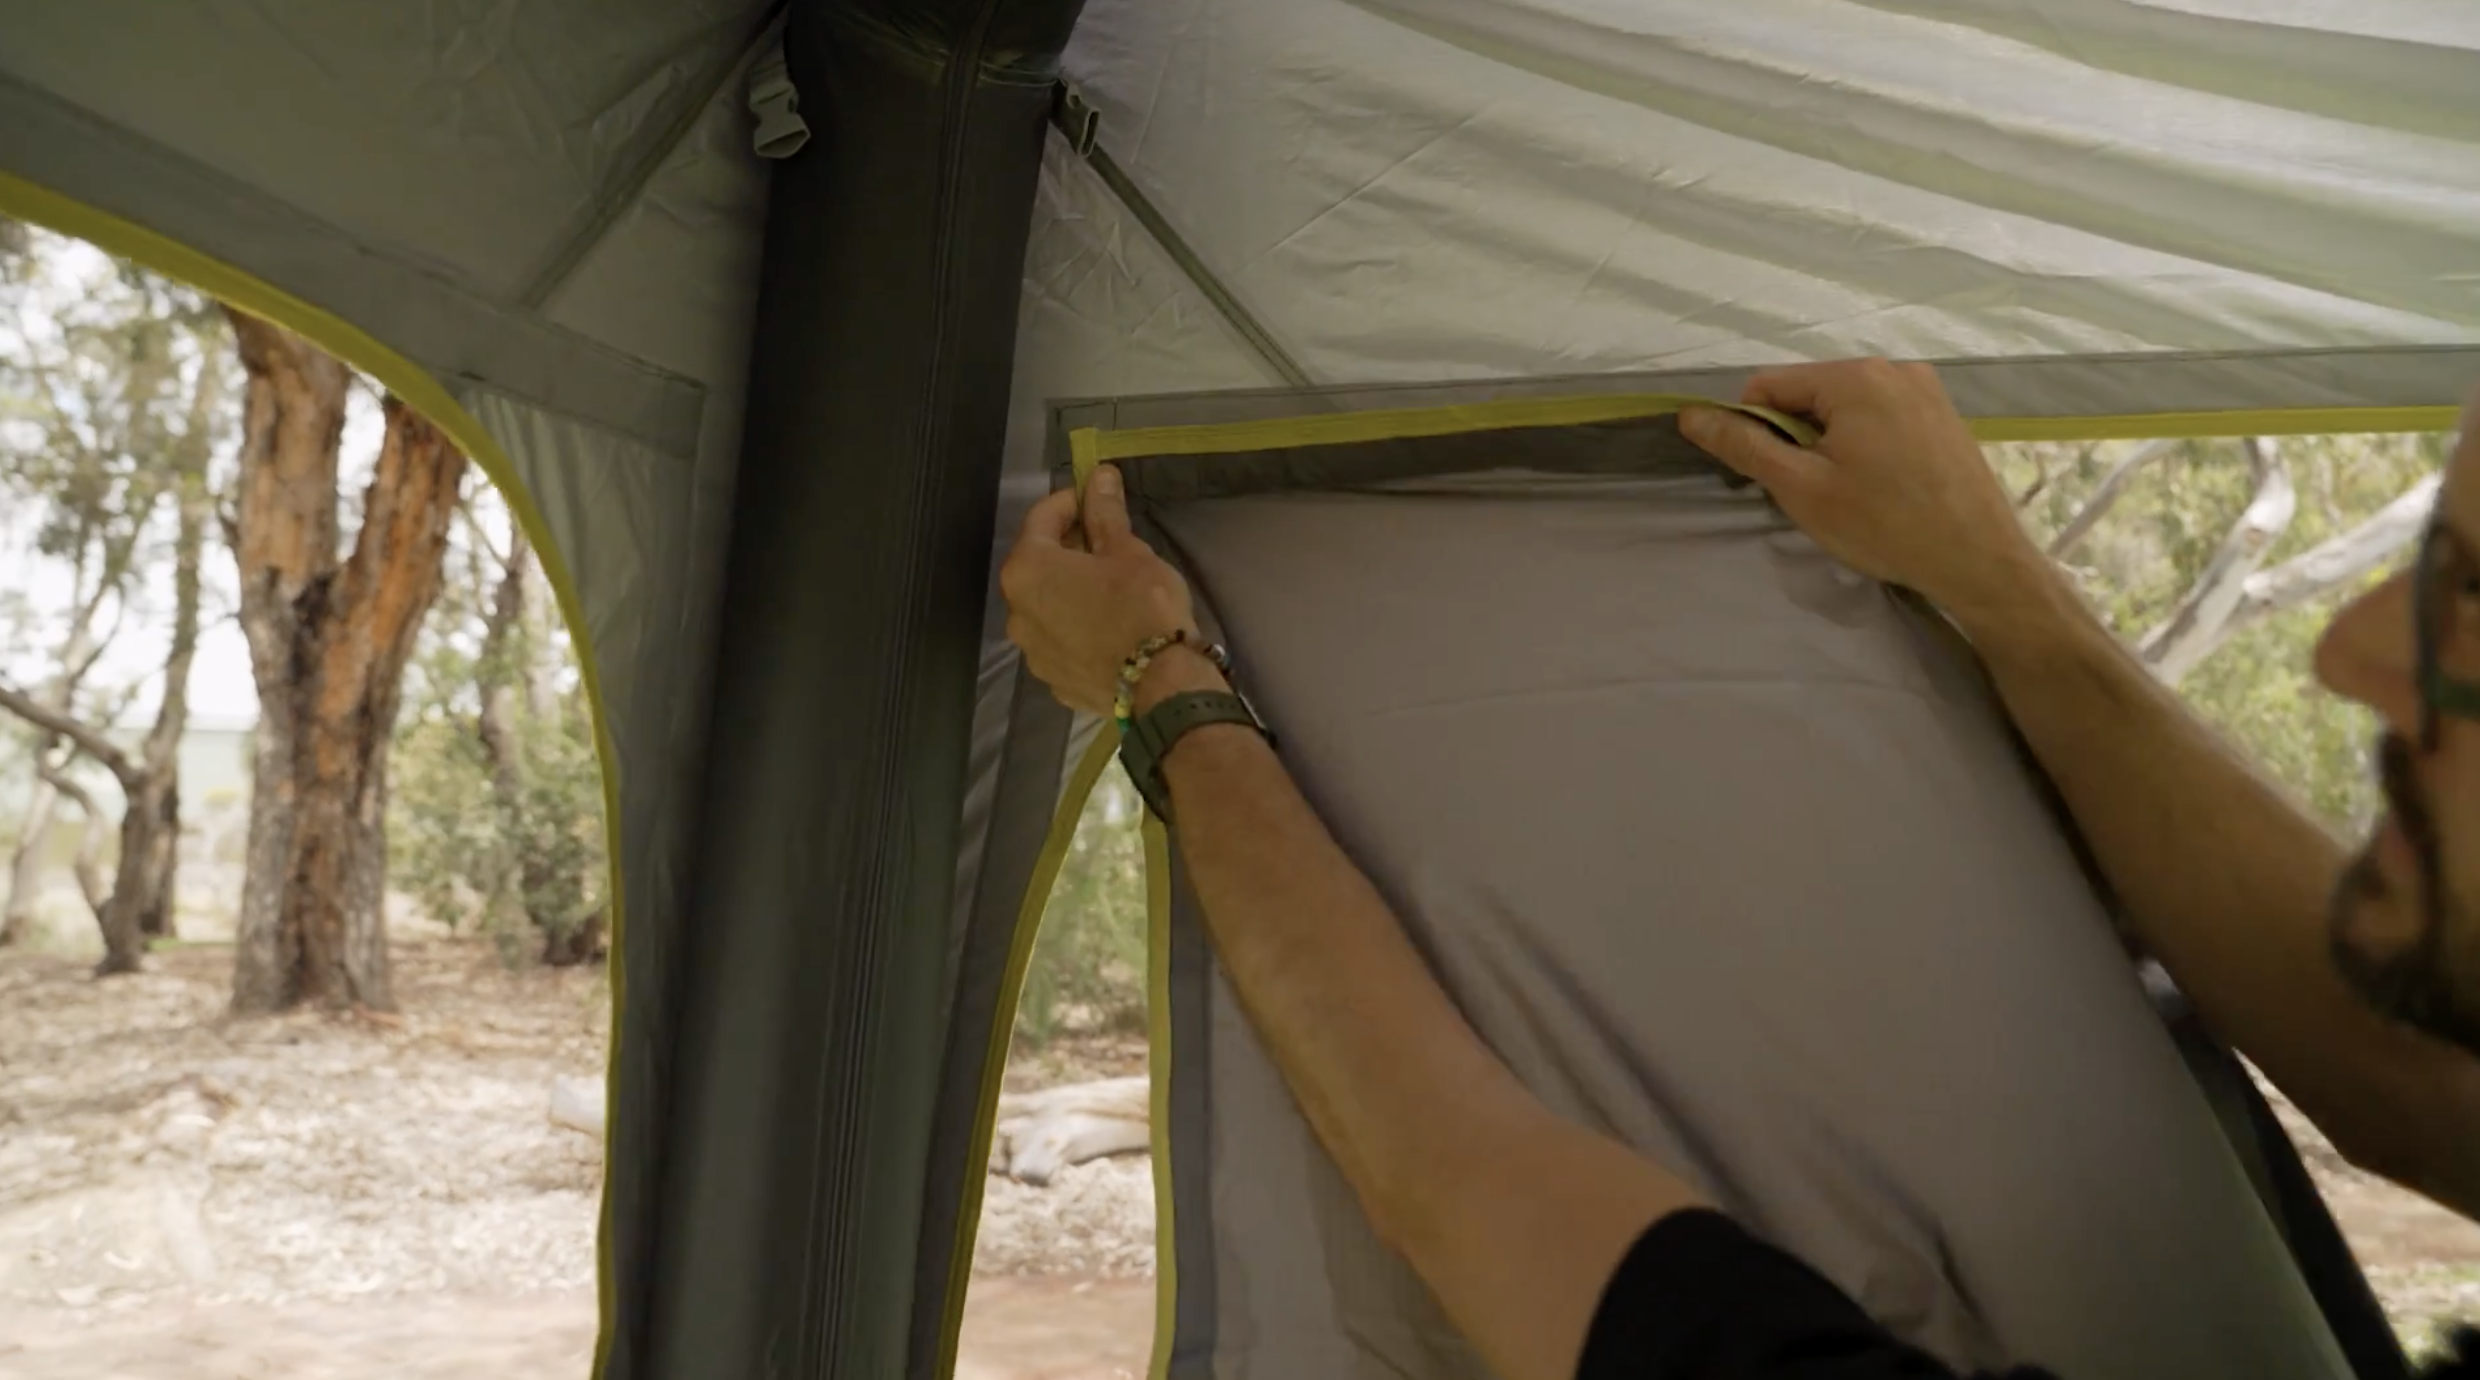
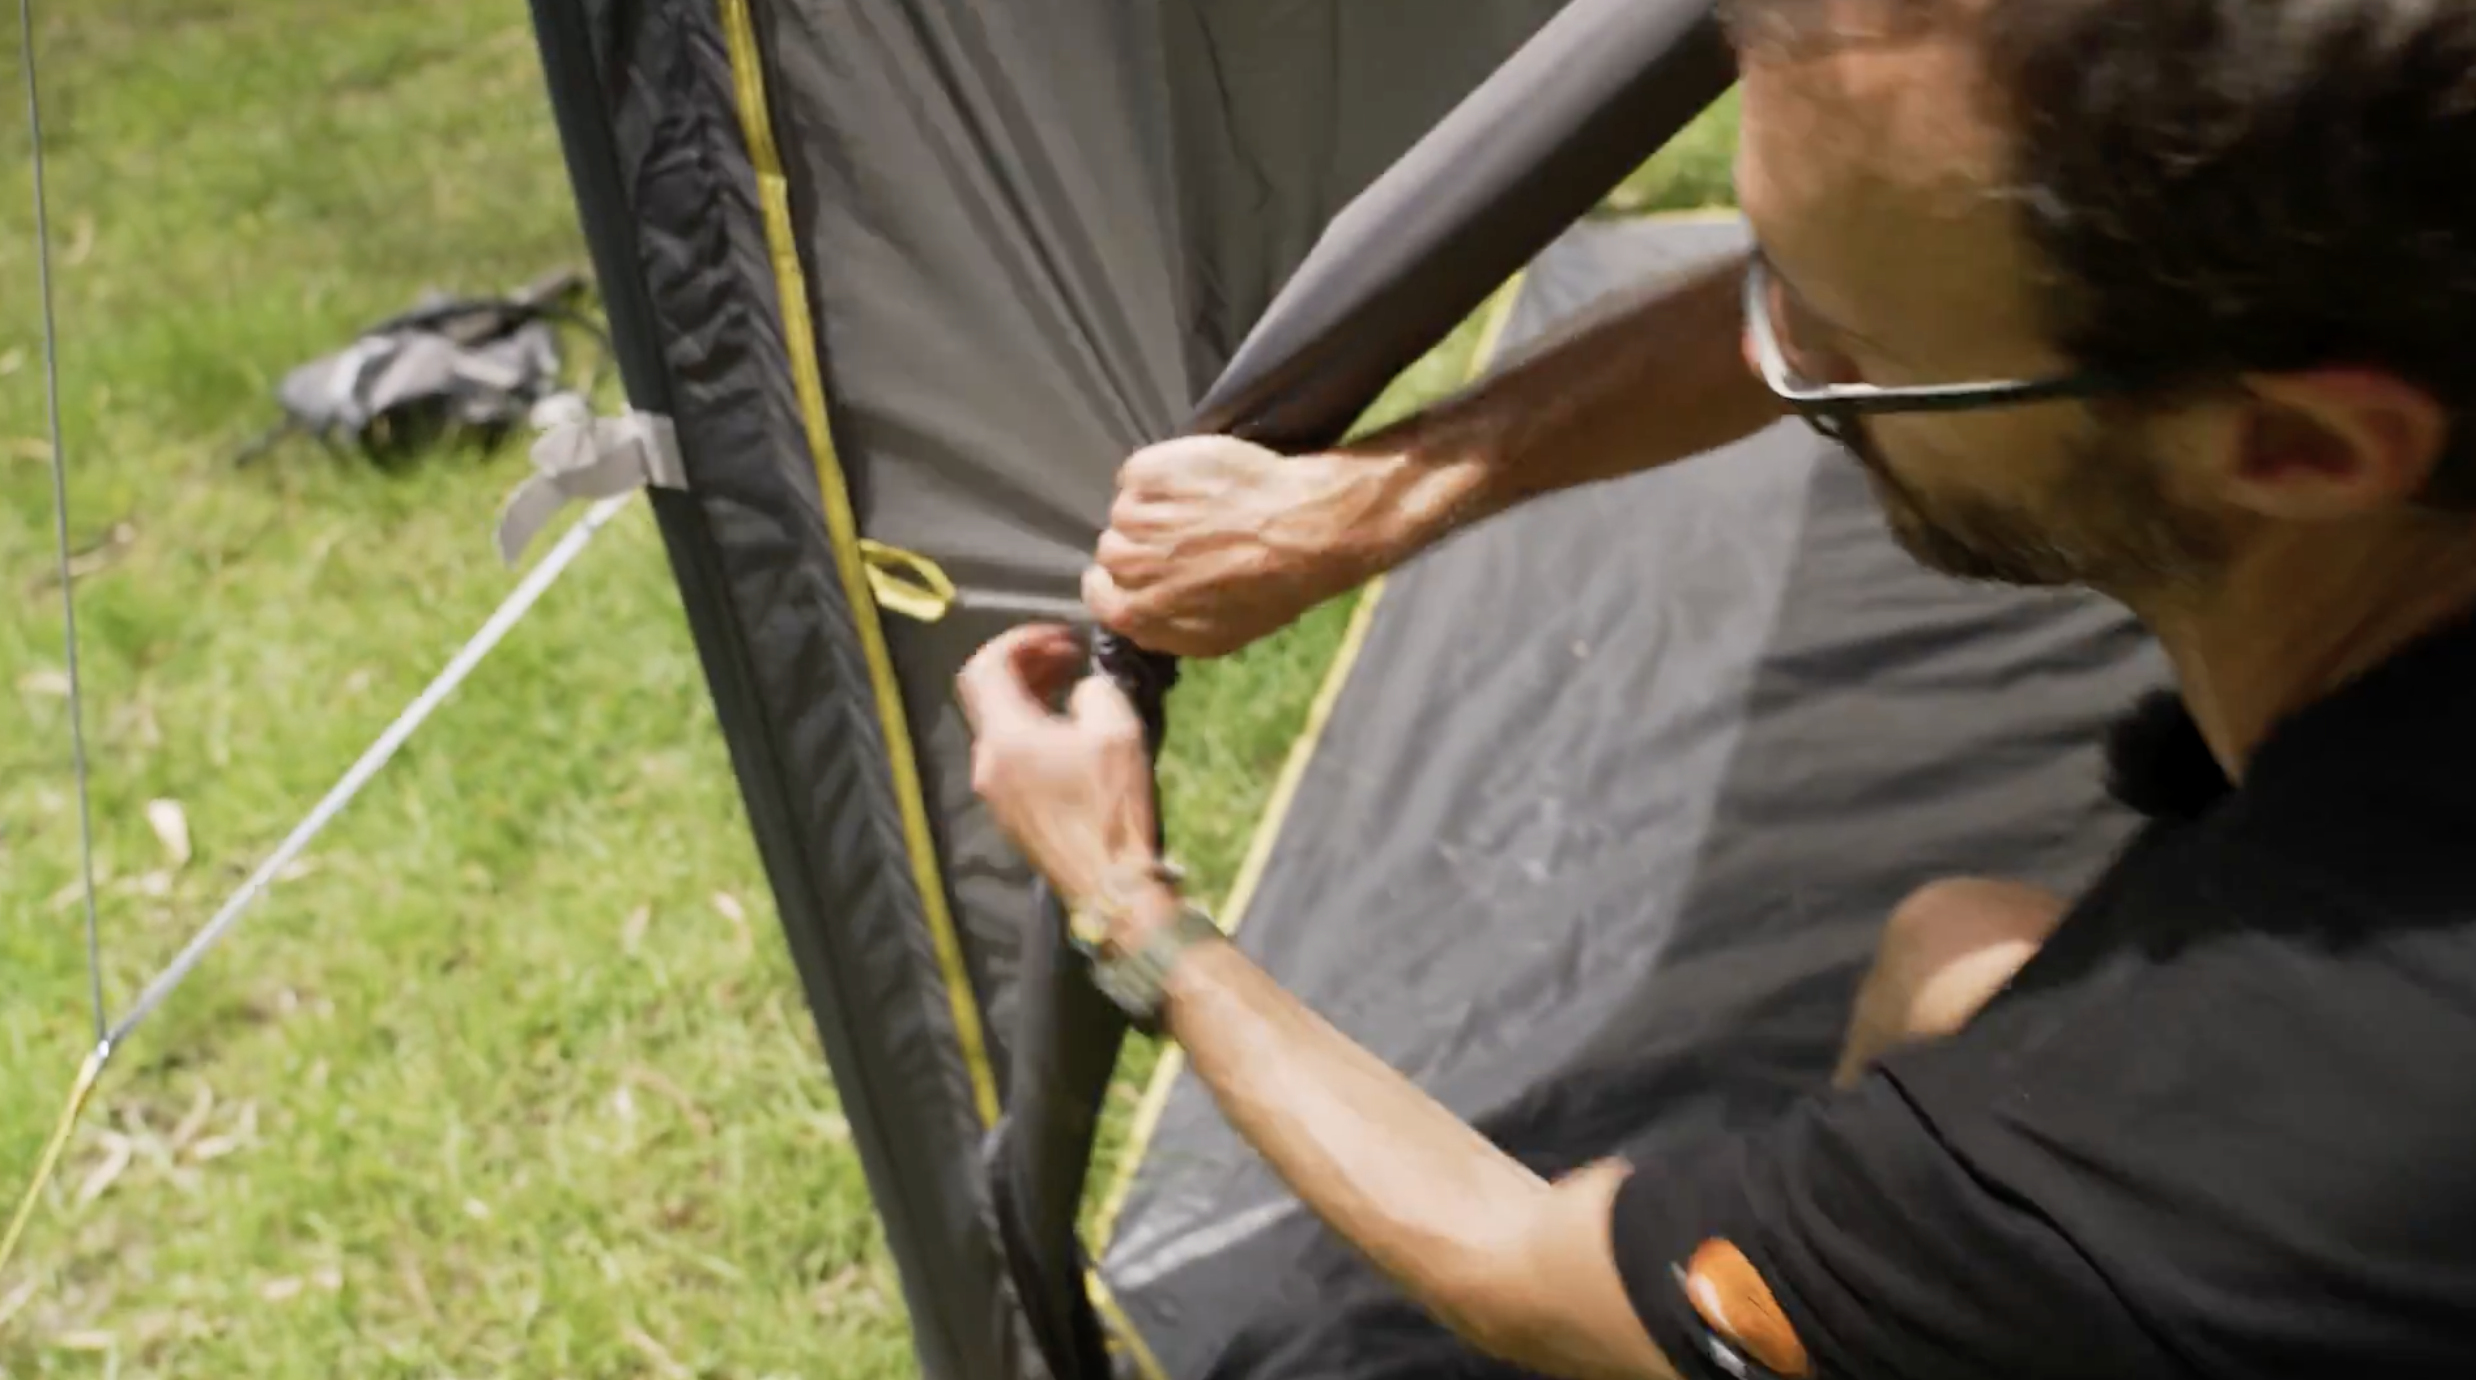
There’s a centre zip, which lets the wall act as either a solid wall or a doorway.
Halfway down each side, you’ll see a loop on one side and an elastic strap on the other - these are used to tie the wall back when open.
Step 3 – Attach the wall
Choose which side of the gazebo you want to add the wall to - it fits any side.
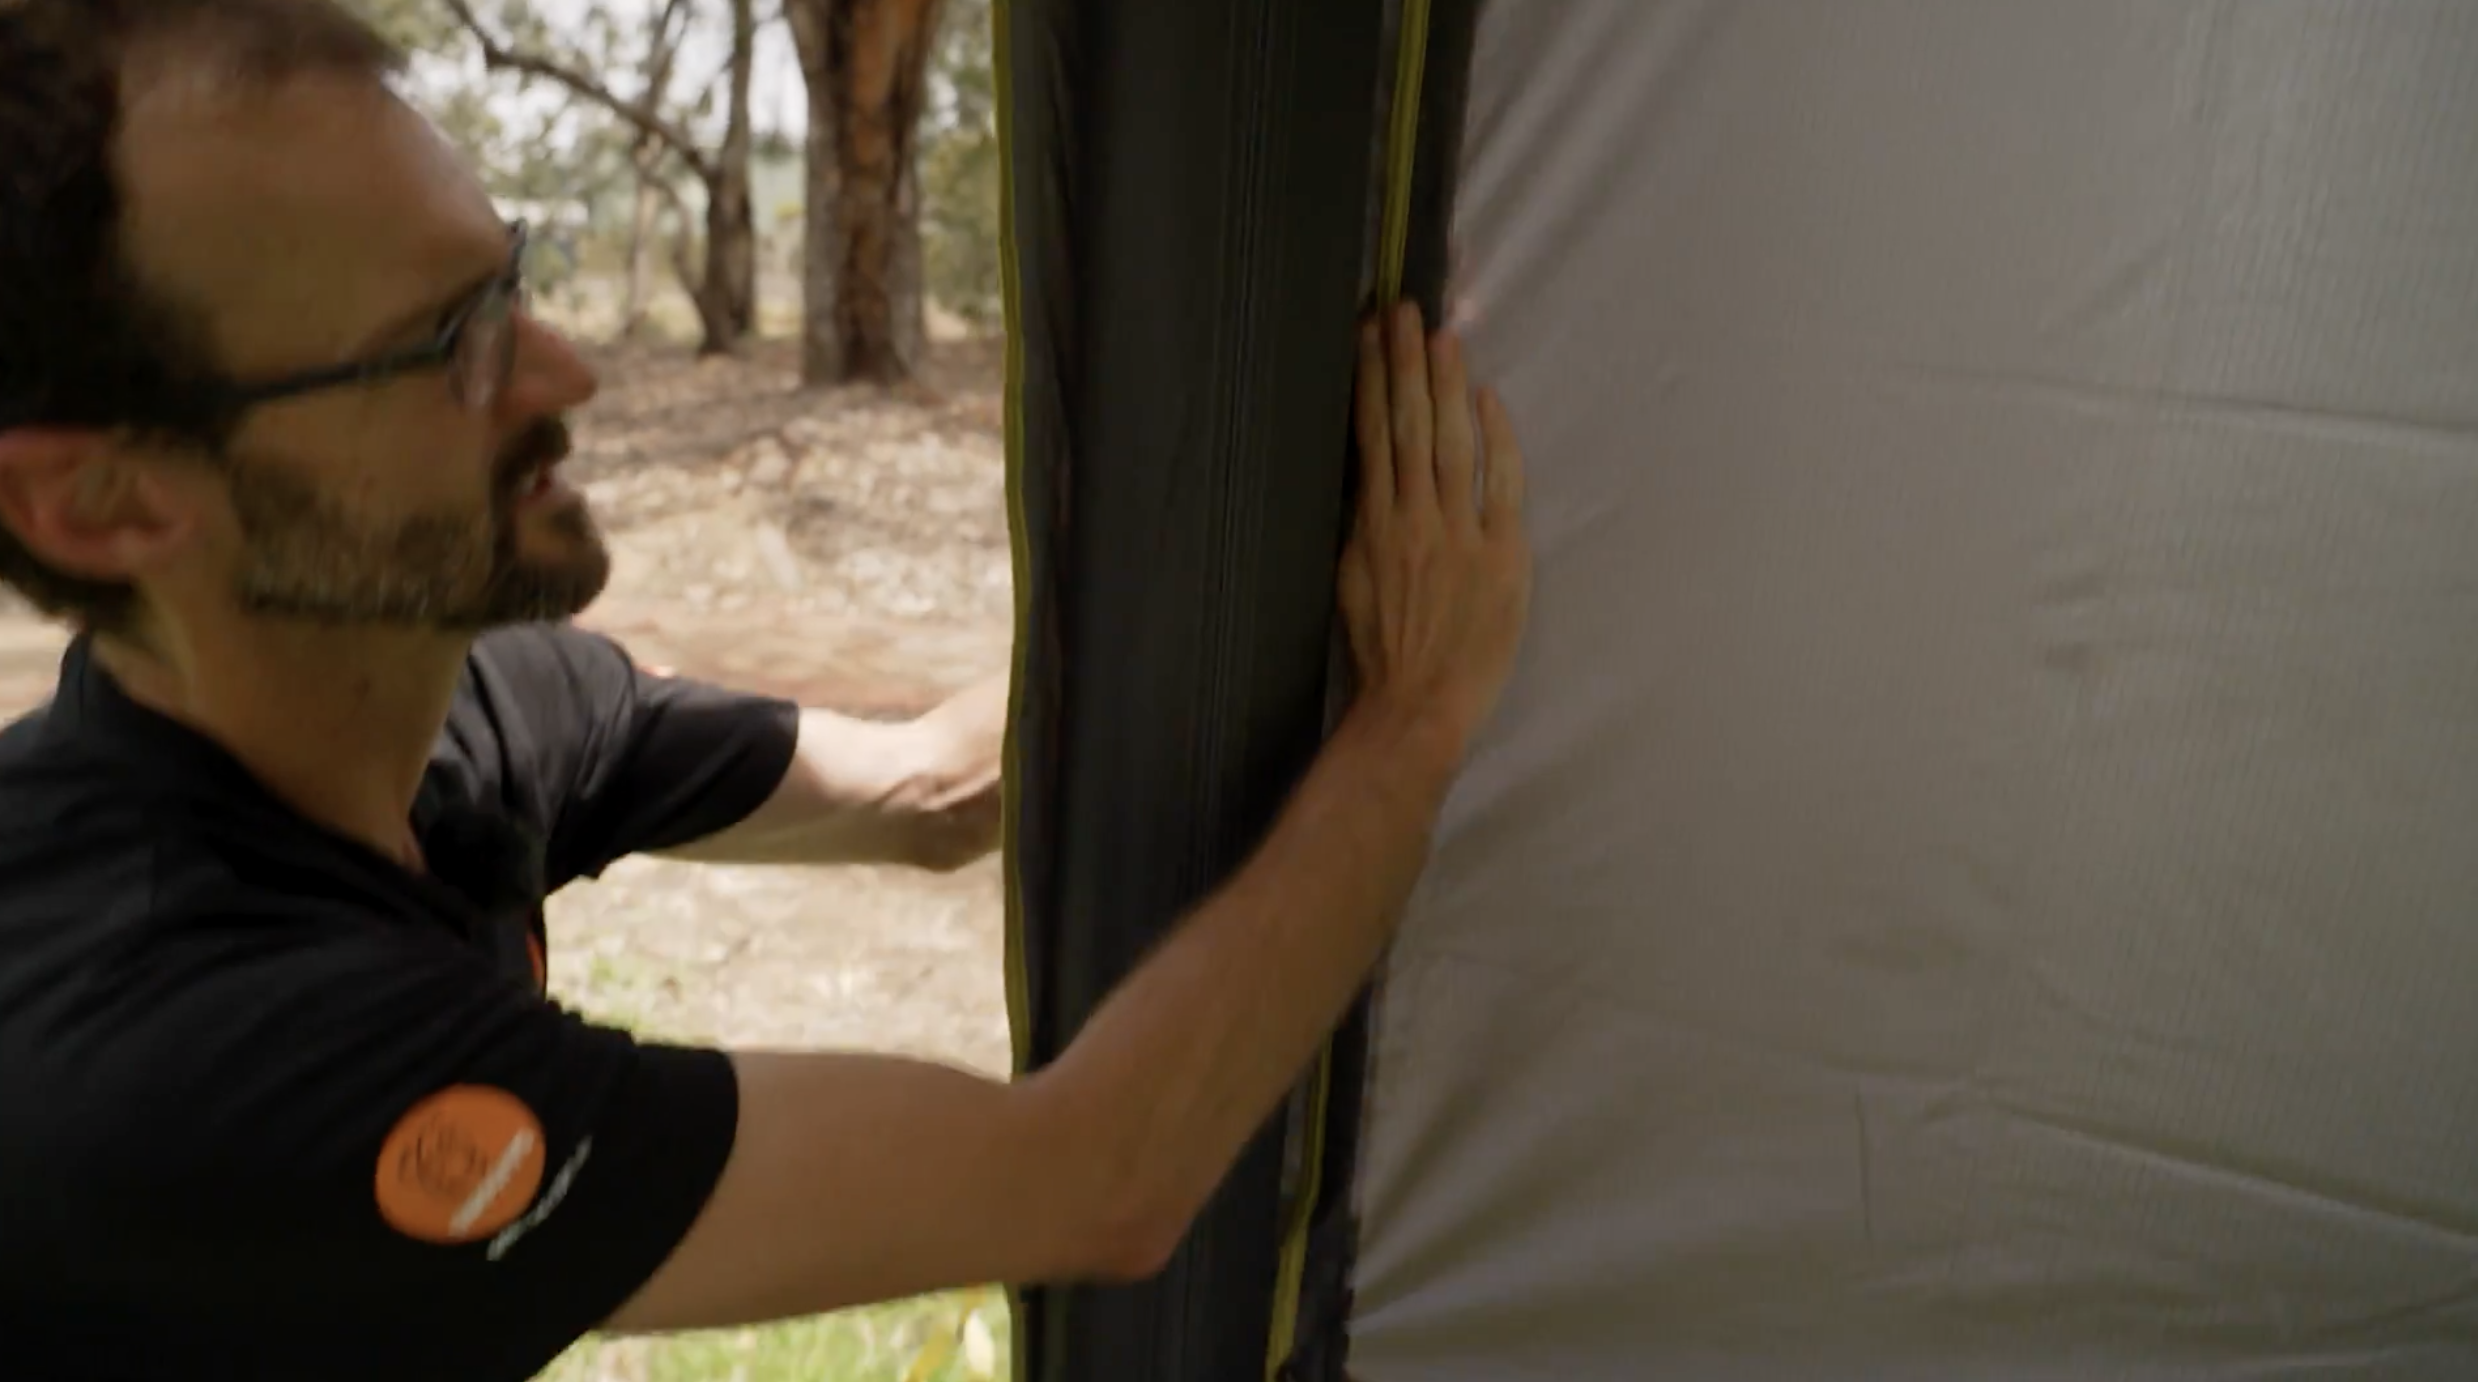
Line one top corner of the wall up with the matching corner of the gazebo frame.
Press the Velcro strip along the top edge of the wall onto the matching Velcro on the gazebo.
Work your way across the top from one corner to the other, pressing firmly as you go.
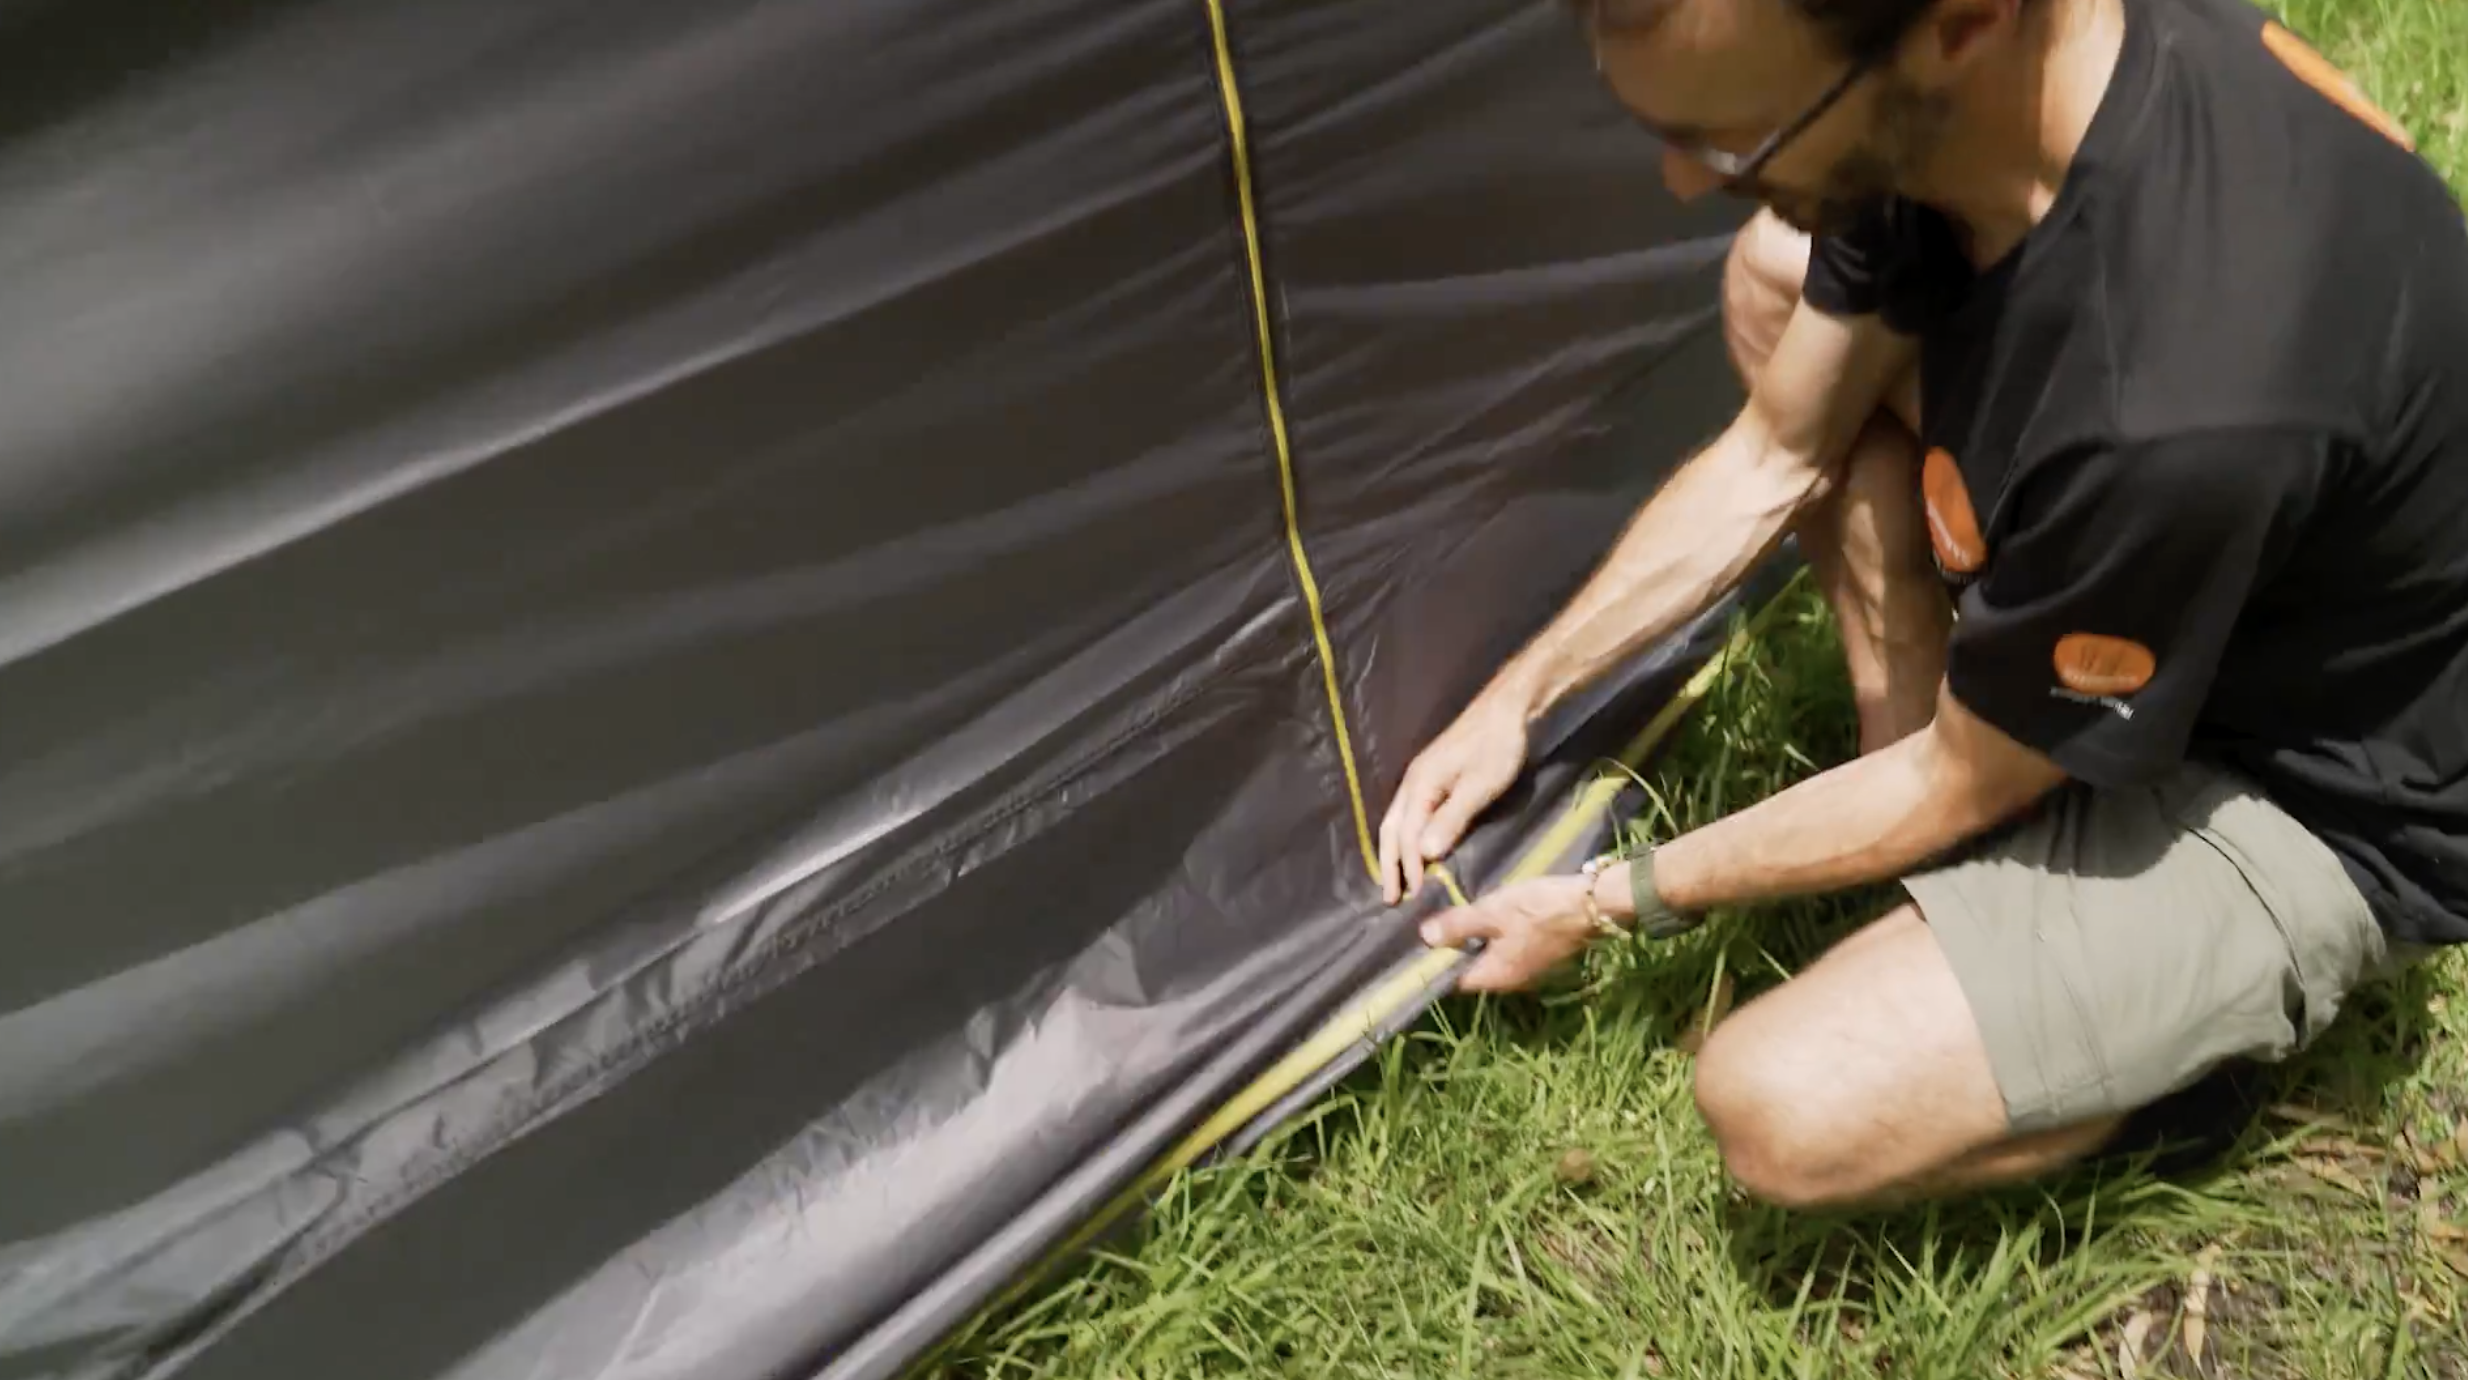
Step 4 – Attach the side velcro
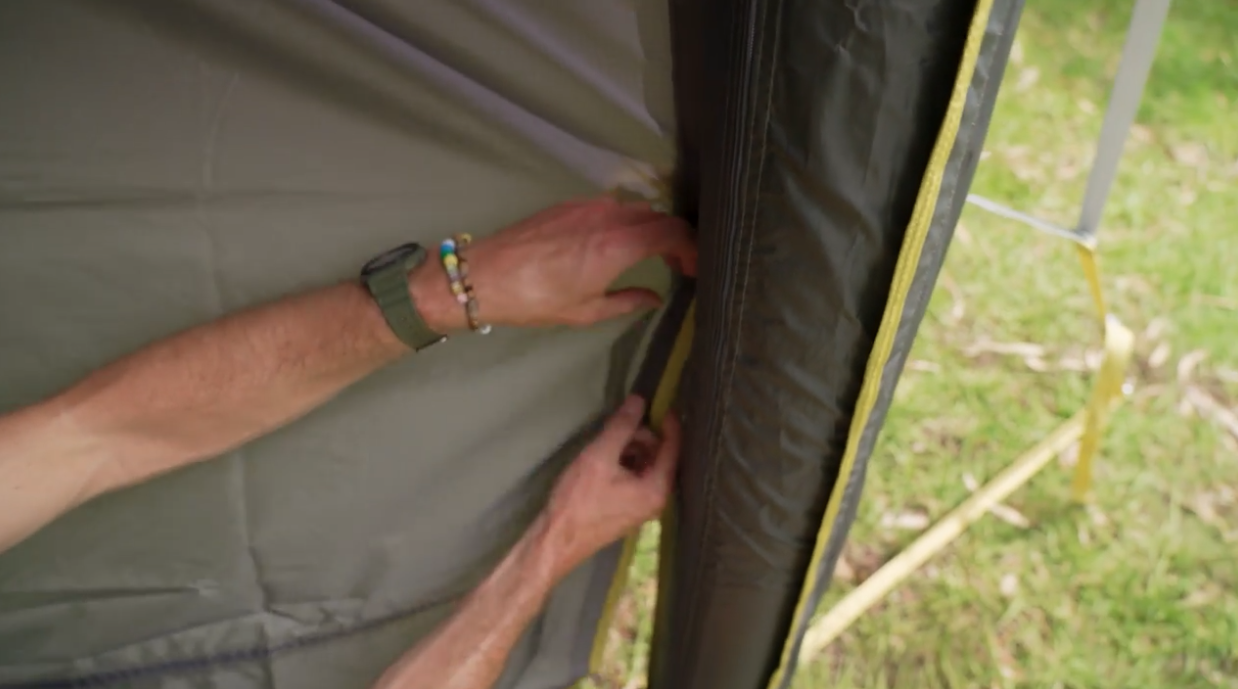
Once the top is attached, work down one side, pressing the Velcro strip onto the gazebo frame.
Continue right down to the base so the wall sits flat and secure.
Repeat on the other side of the wall.
Tip:
If the wall feels tight or doesn’t quite line up, slightly loosen the gazebo guy ropes to give yourself a bit of slack. You can re-tension them once the wall is attached.
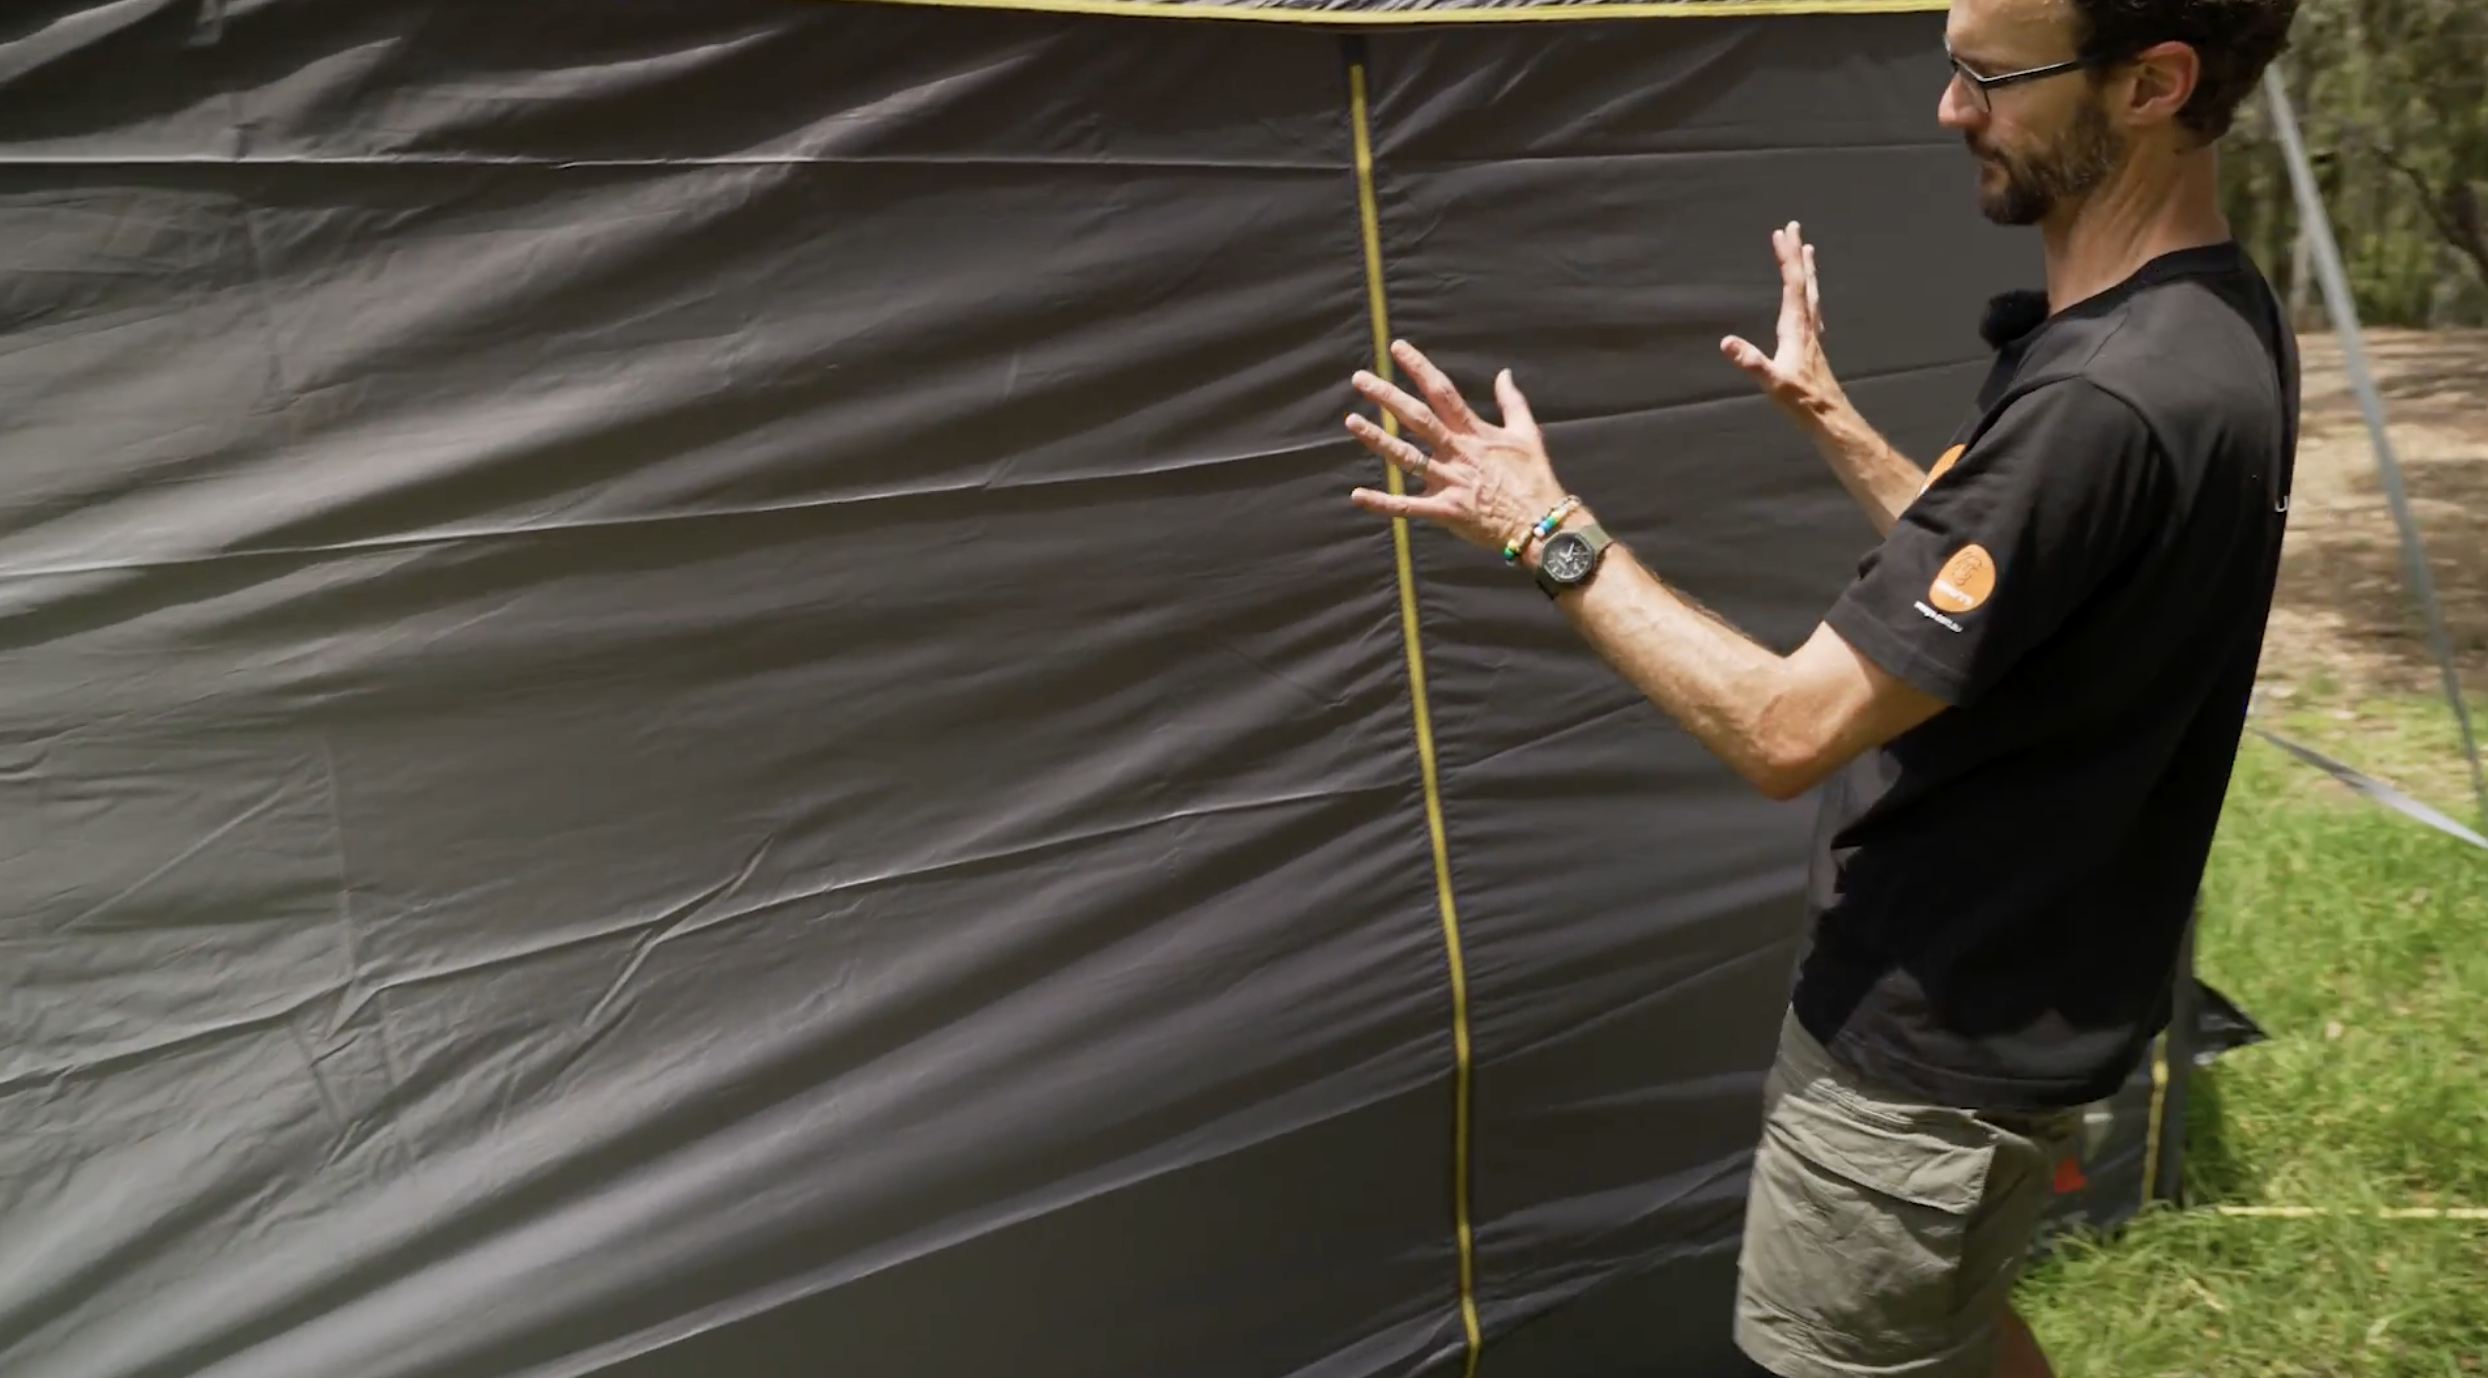
Step 5 – Check the attachment
Run your hands along the top and both sides to make sure all Velcro is properly connected.
The wall should sit flat, with the bottom skirt resting neatly on the ground.
Step 6 – Re-tension the gazebo
Gently re-tighten the gazebo guy ropes.
Don’t over-tension - you want the gazebo firm, but not pulling the wall off the Velcro.
With one or two walls attached, you’ll already notice extra shelter from the wind.
Step 7 – Use the wall as a solid panel
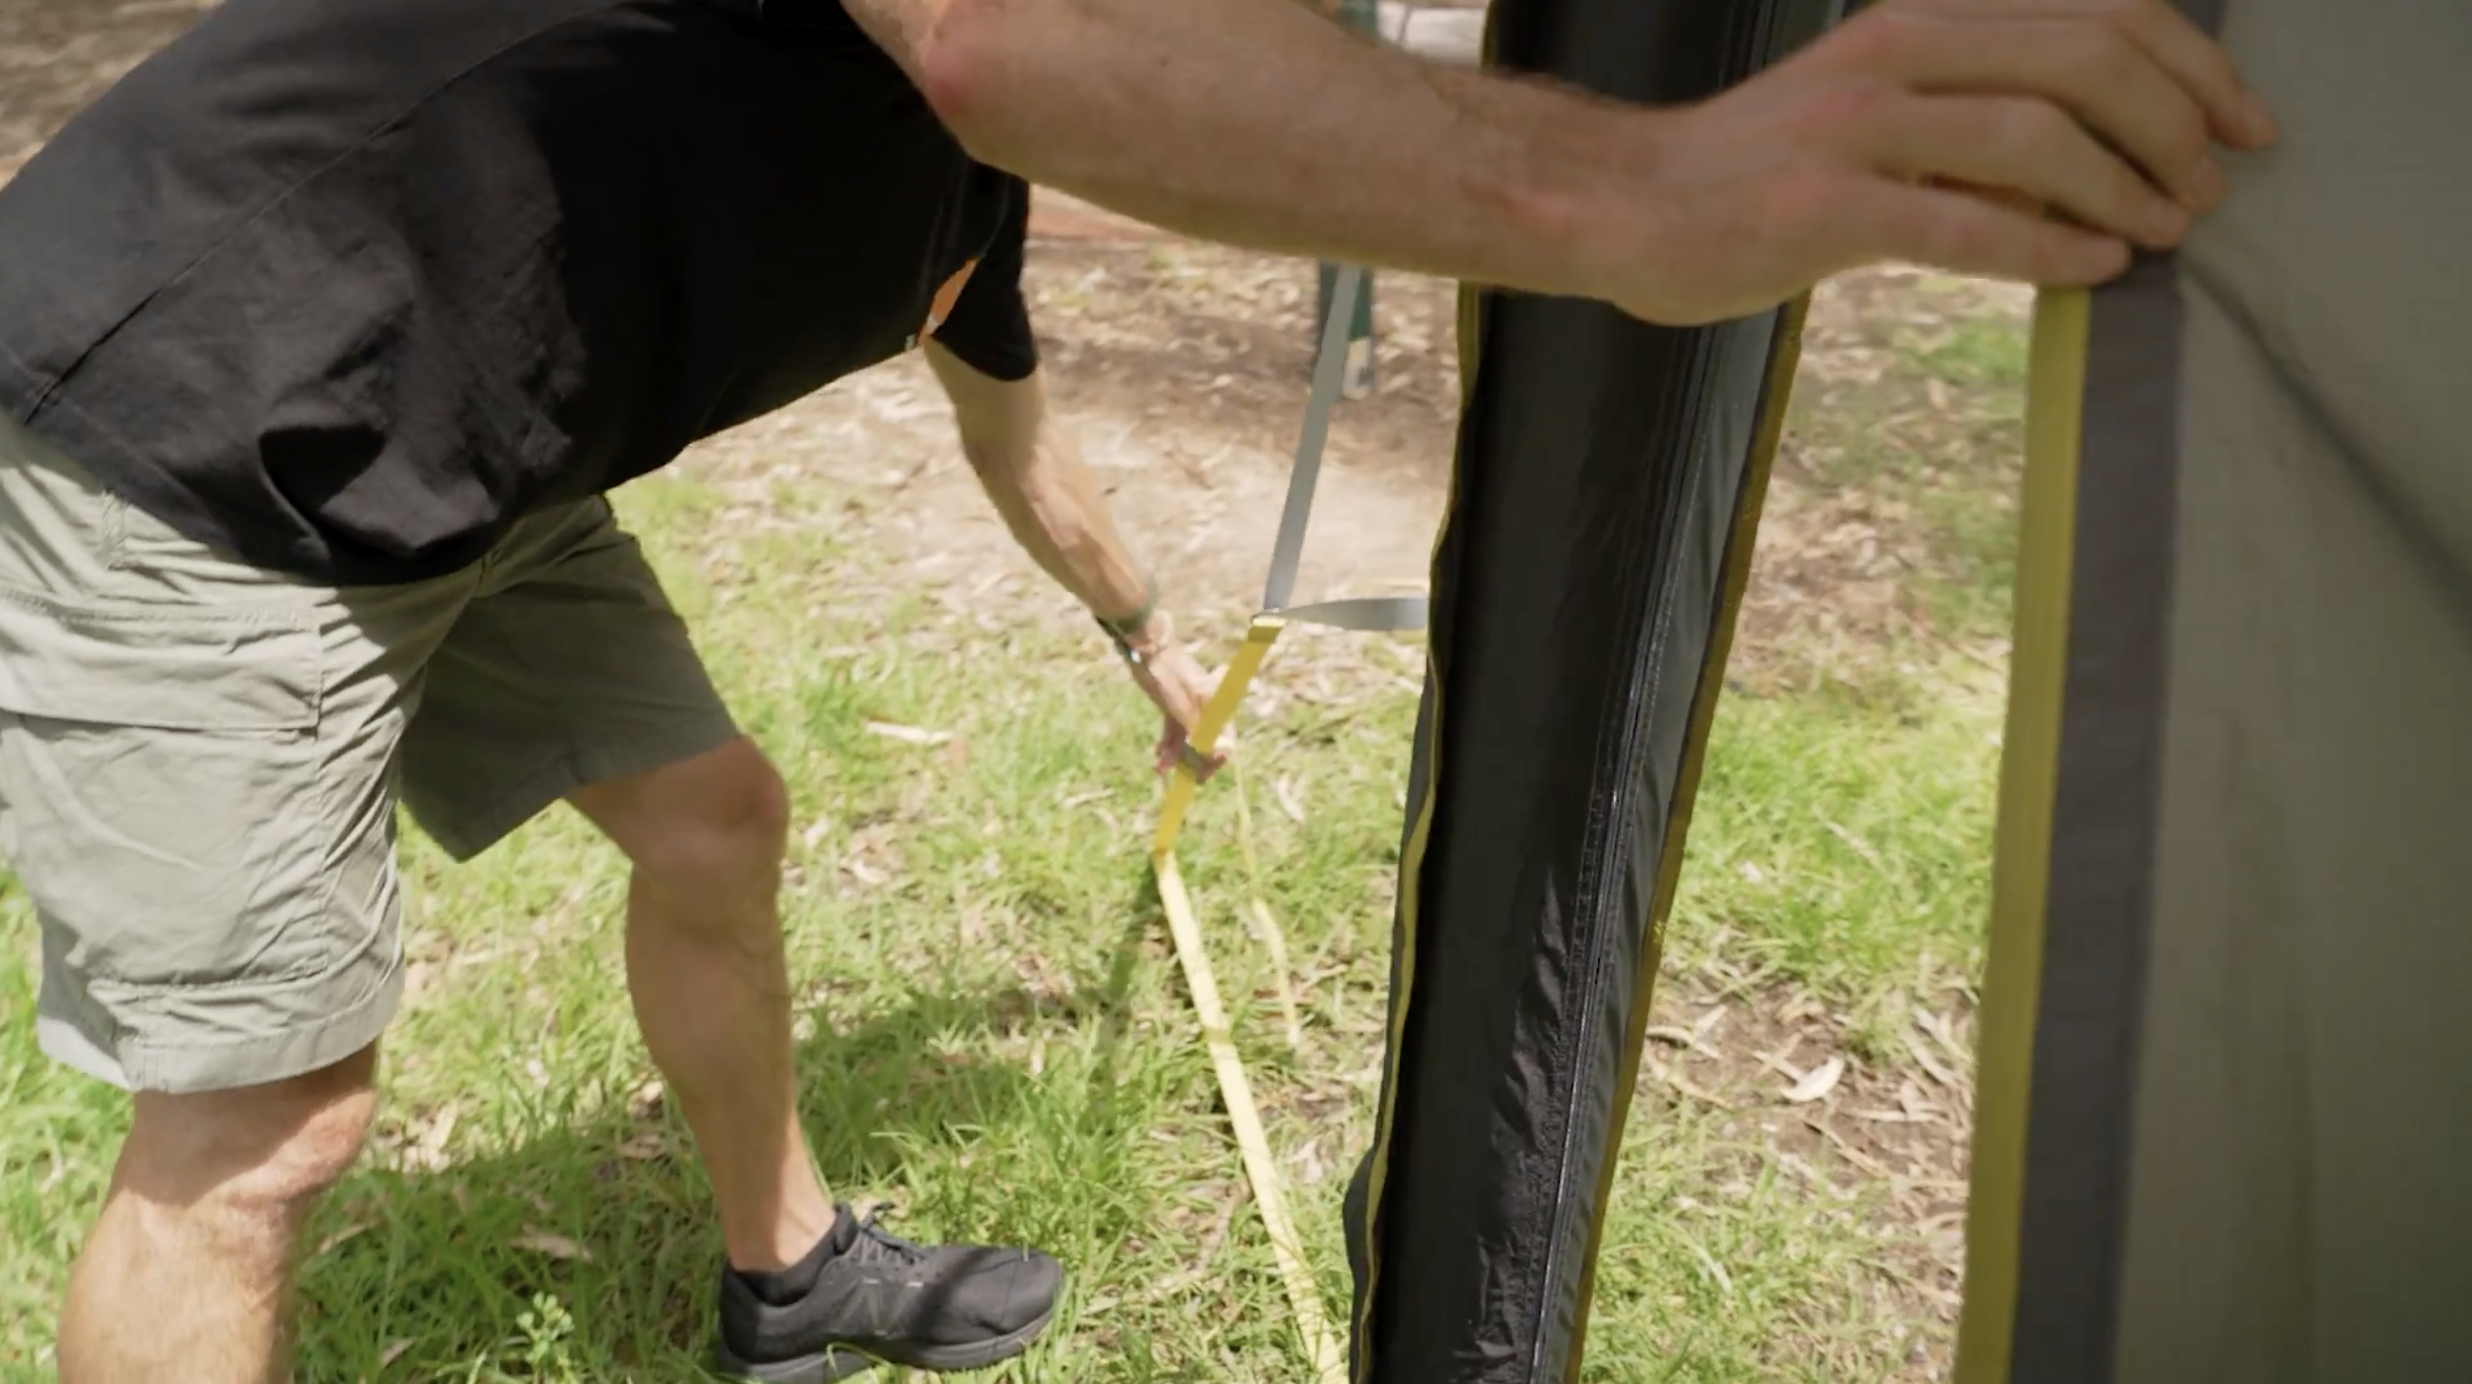
Leave the centre zip fully closed to create a solid wind-blocking wall.
At the base of the zip, you’ll find two pegging points - use the small pegs provided if you want to stop the wall flapping.
Step 8 – Roll the wall up to let the sun in
The centre zip gives you a few flexible options:
One-sided opening: Unzip the wall all the way up and peg one side down and leave the other side open for easy access.
Fully open doorway: Unzip both sides, roll each side back like a curtain. use the elastic strap and loop halfway down the wall to tie each side neatly back.
This gives you airflow, shade, or a quick doorway - easy to adjust when desired.
Step 9 – Repeat for the second wall
Follow the same steps to attach the second wall to another side of the gazebo if needed.
Mix and match wall placement depending on wind direction, weather, or privacy.
Step 10 – Pack-down tip
Unclip the Velcro, fold the walls neatly, and place them back in the trailer - to save time, you don’t need to pack it back in the bag. Just make sure both walls, the pegs, and the carry bag are all returned with the trailer.
Easy as. More shelter when you want it, more airflow when you don’t.