
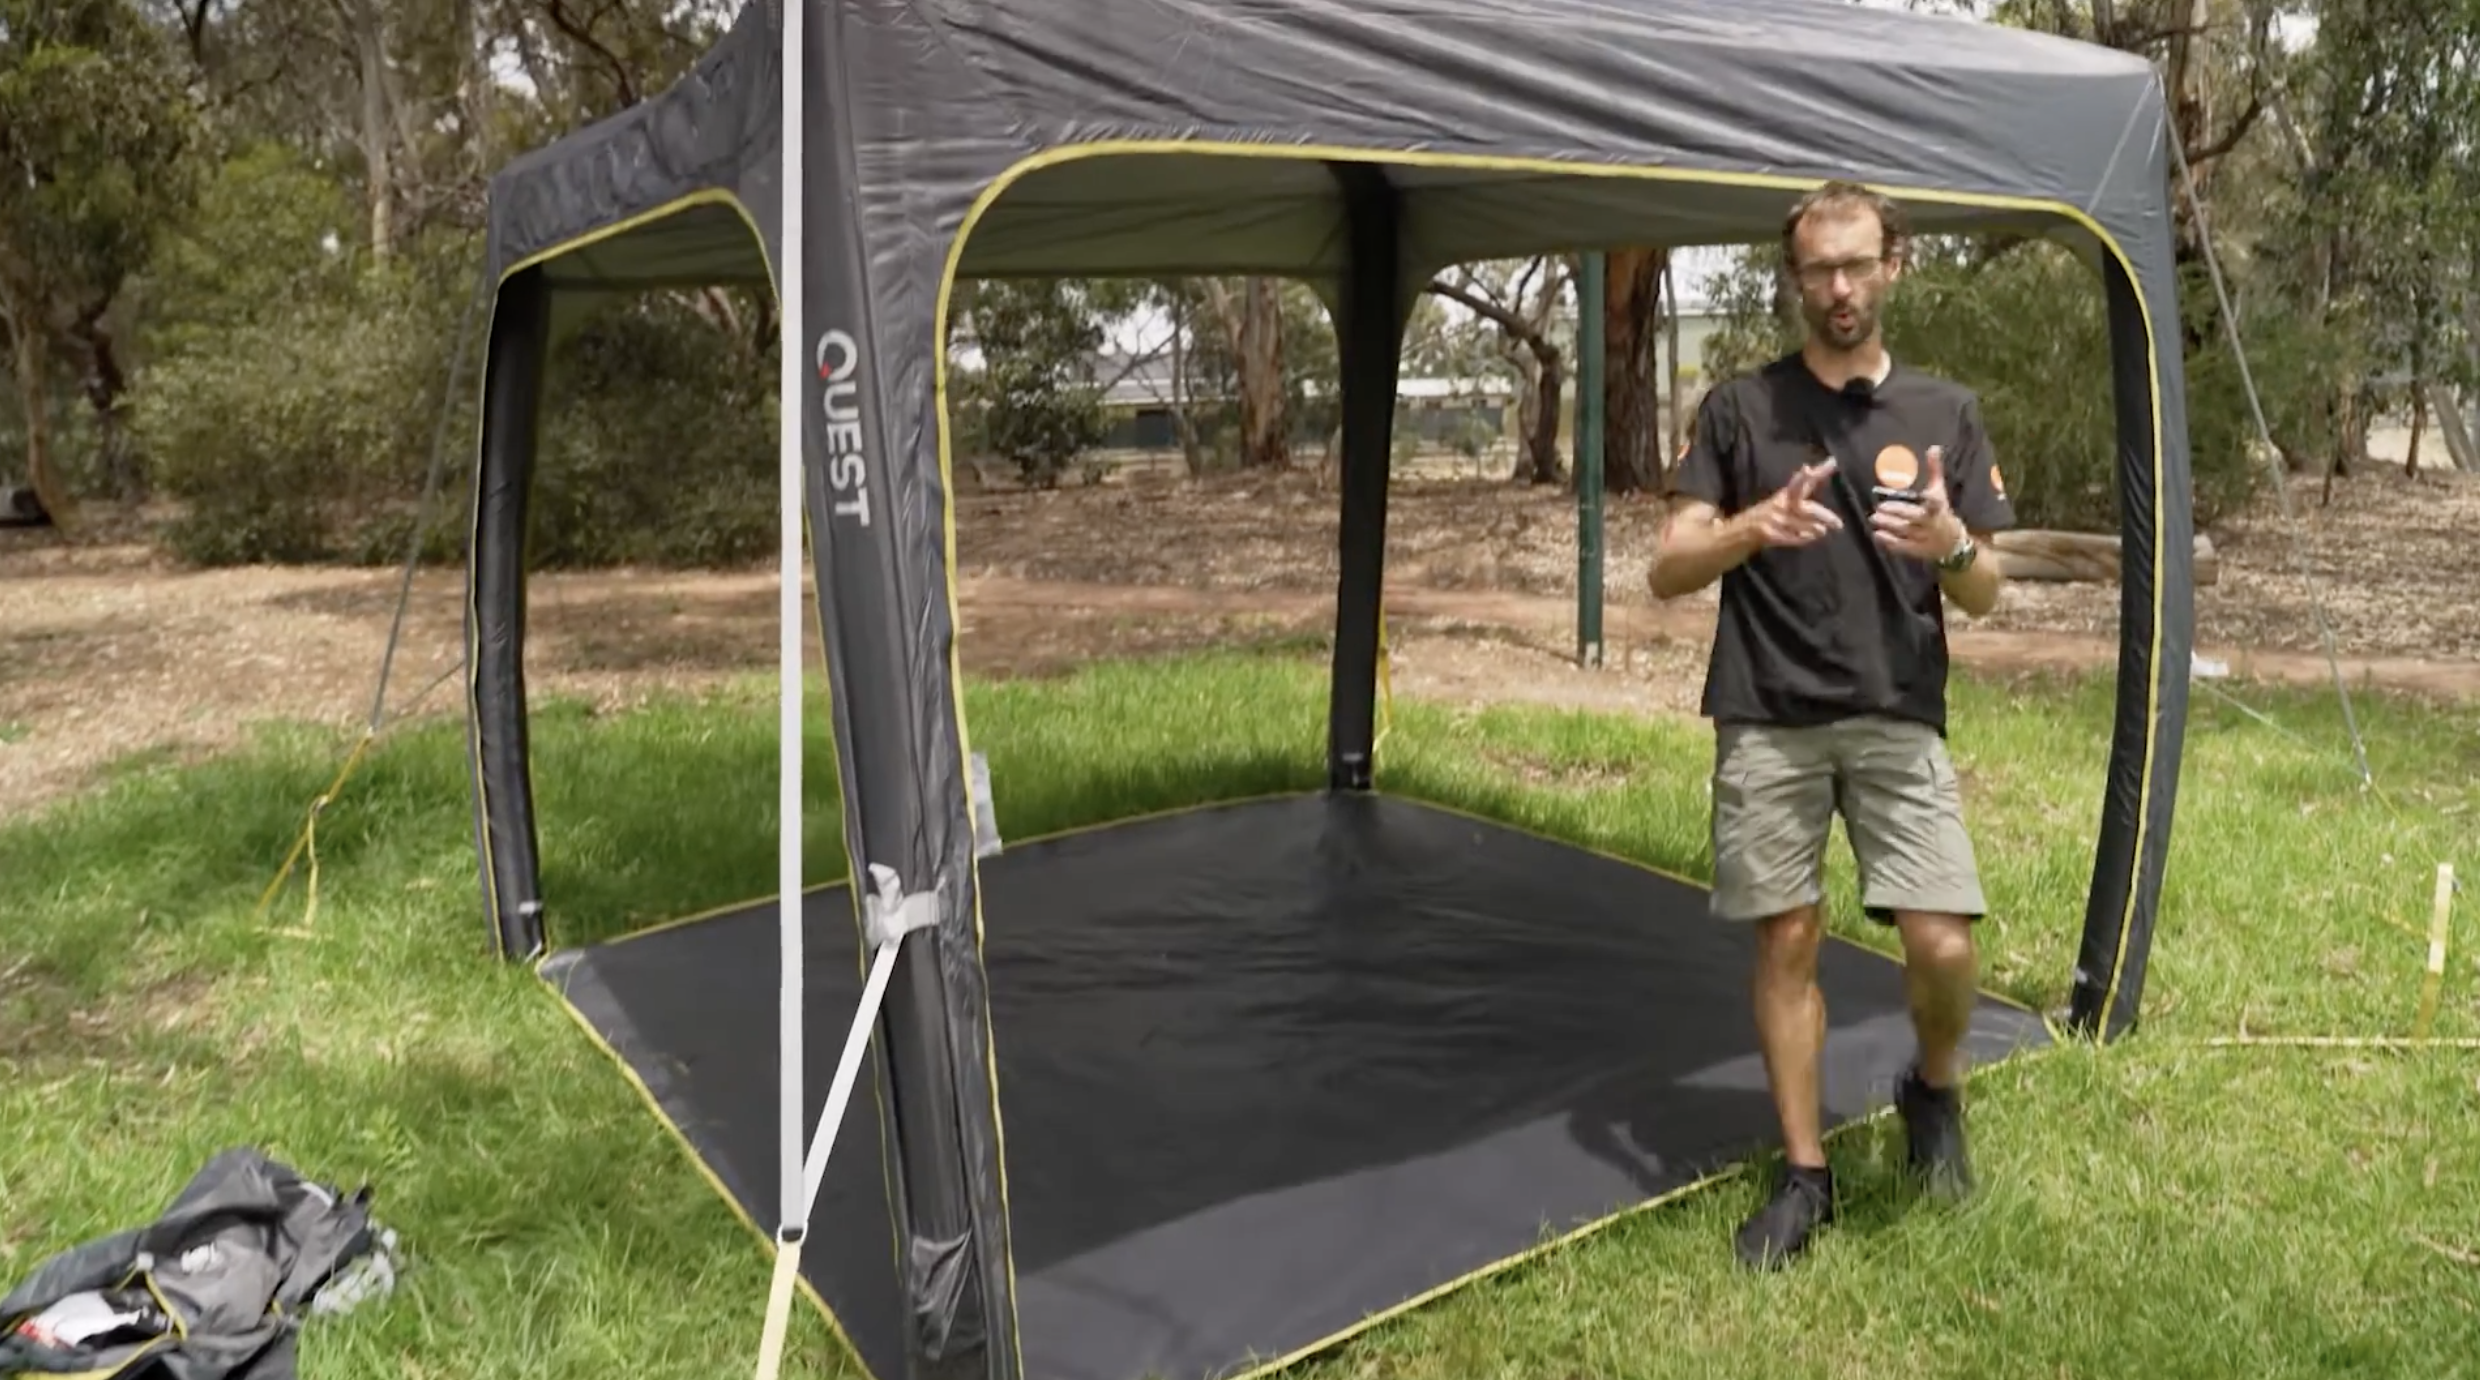
How to set up your gazebo.
Our gazebo gives you instant shade and shelter at camp - perfect for meals, relaxing, or keeping gear dry. It sets up quickly with a simple pop-up frame, creating a comfortable shared space that makes camp life easier in any weather.
Take a look at the video below, or read the step-by-step instructions to get set up.
Step-By-Step Guide
Step 1 – Remove the travel cover
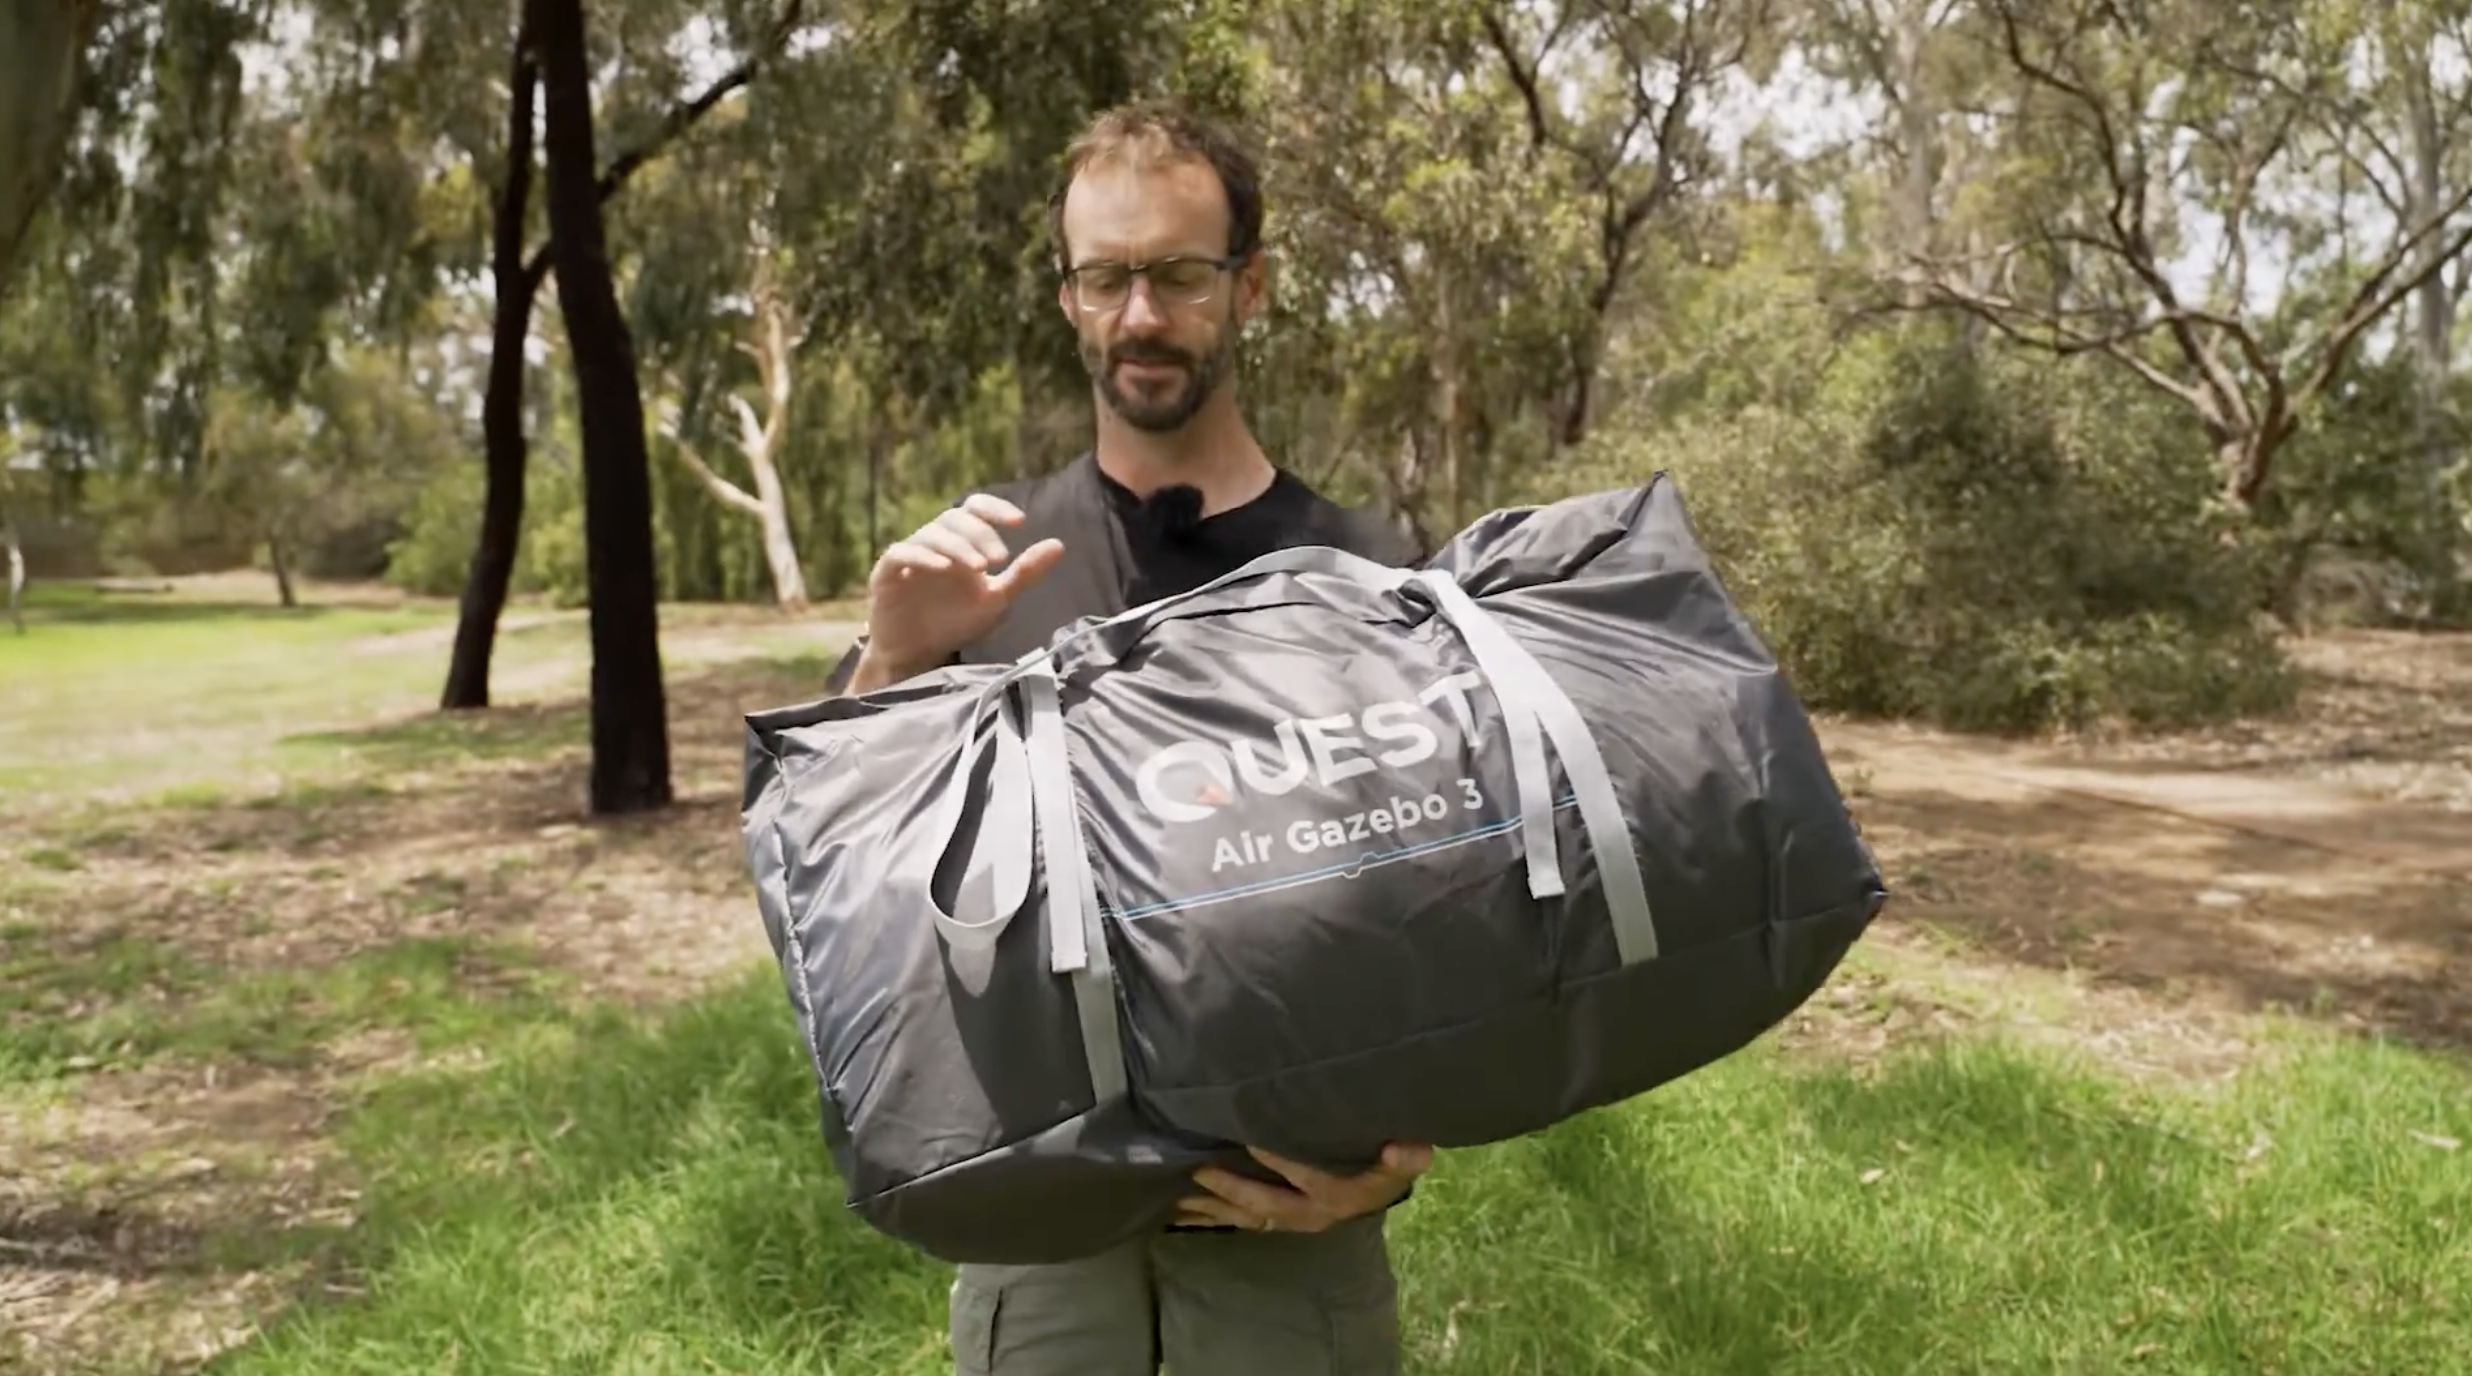
Lay the carry bag where you want the gazebo on flat, clear ground.
Unzip the bag and take everything out: the gazebo bundle (canopy, frame and floor strapped together), peg bag, pump, and repair patch.
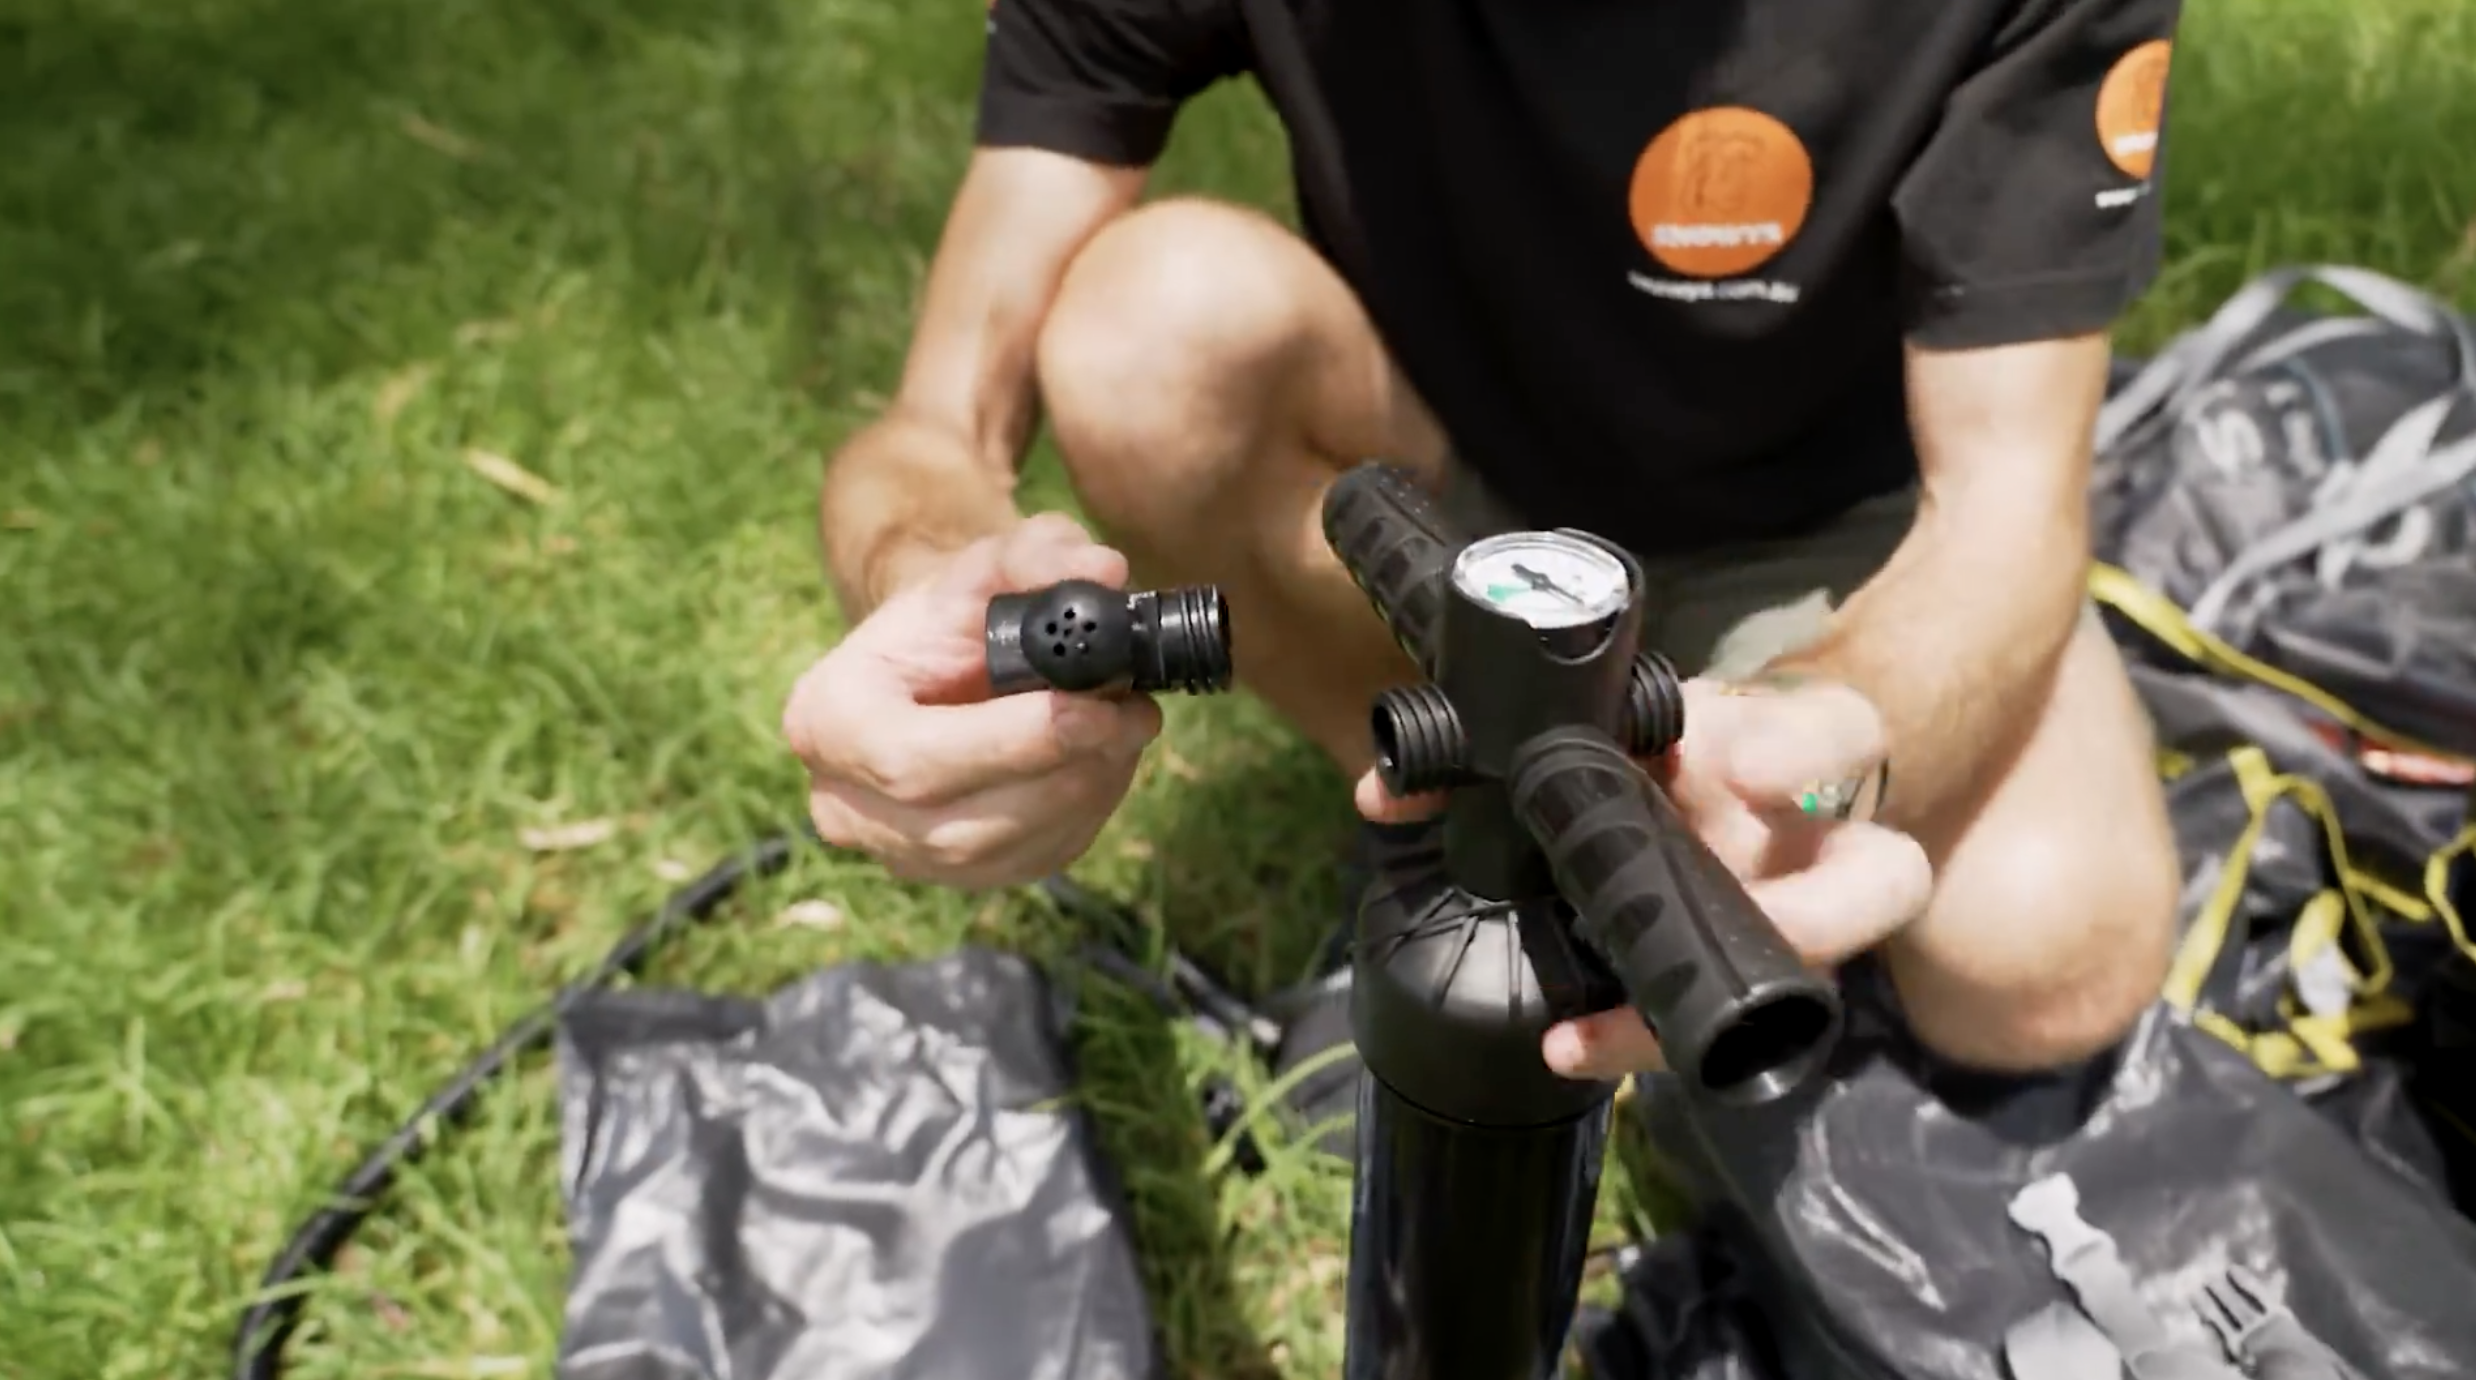
Step 2 – Assemble the pump
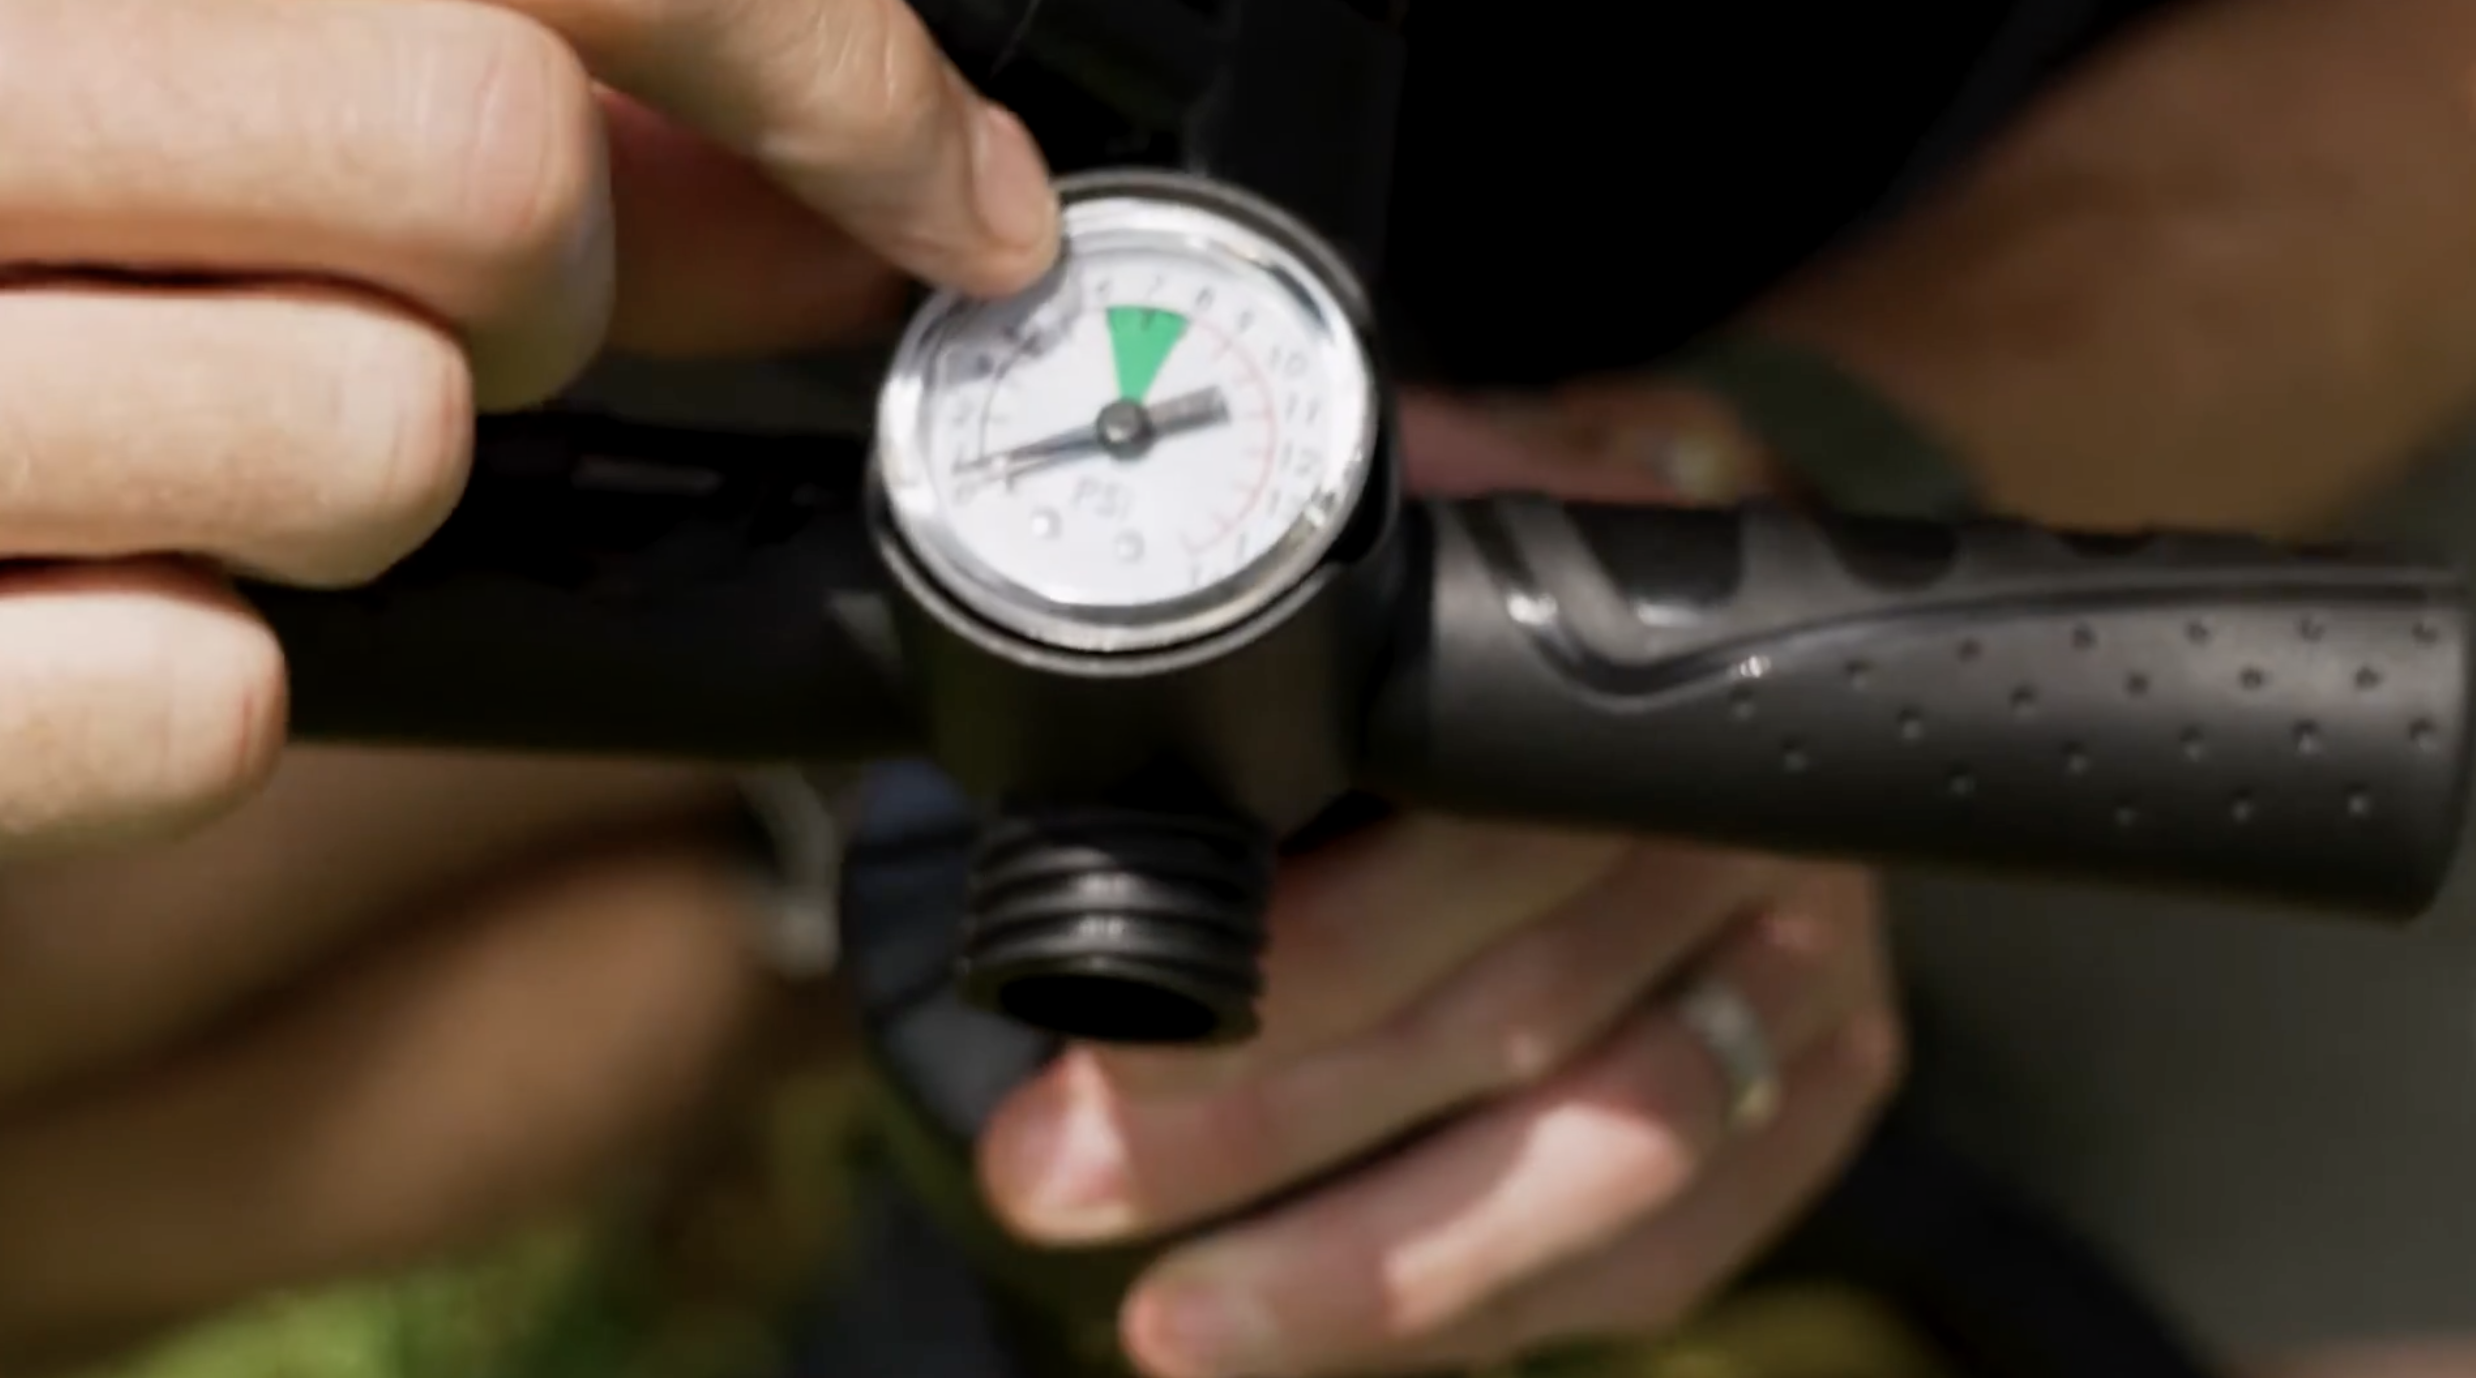
Take the pump body, hose, and small pressure-release valve.
Screw the pressure-release valve onto the pump outlet.
Screw the hose onto the other side of the pressure-release valve.
Check the gauge on top of the pump. The green zone is roughly 6–8 PSI. The recommended pressure is 7 PSI.
Attach the correct pump fitting. Use the fitting with the threaded end and rubber spigot so it can screw onto the gazebo valve.
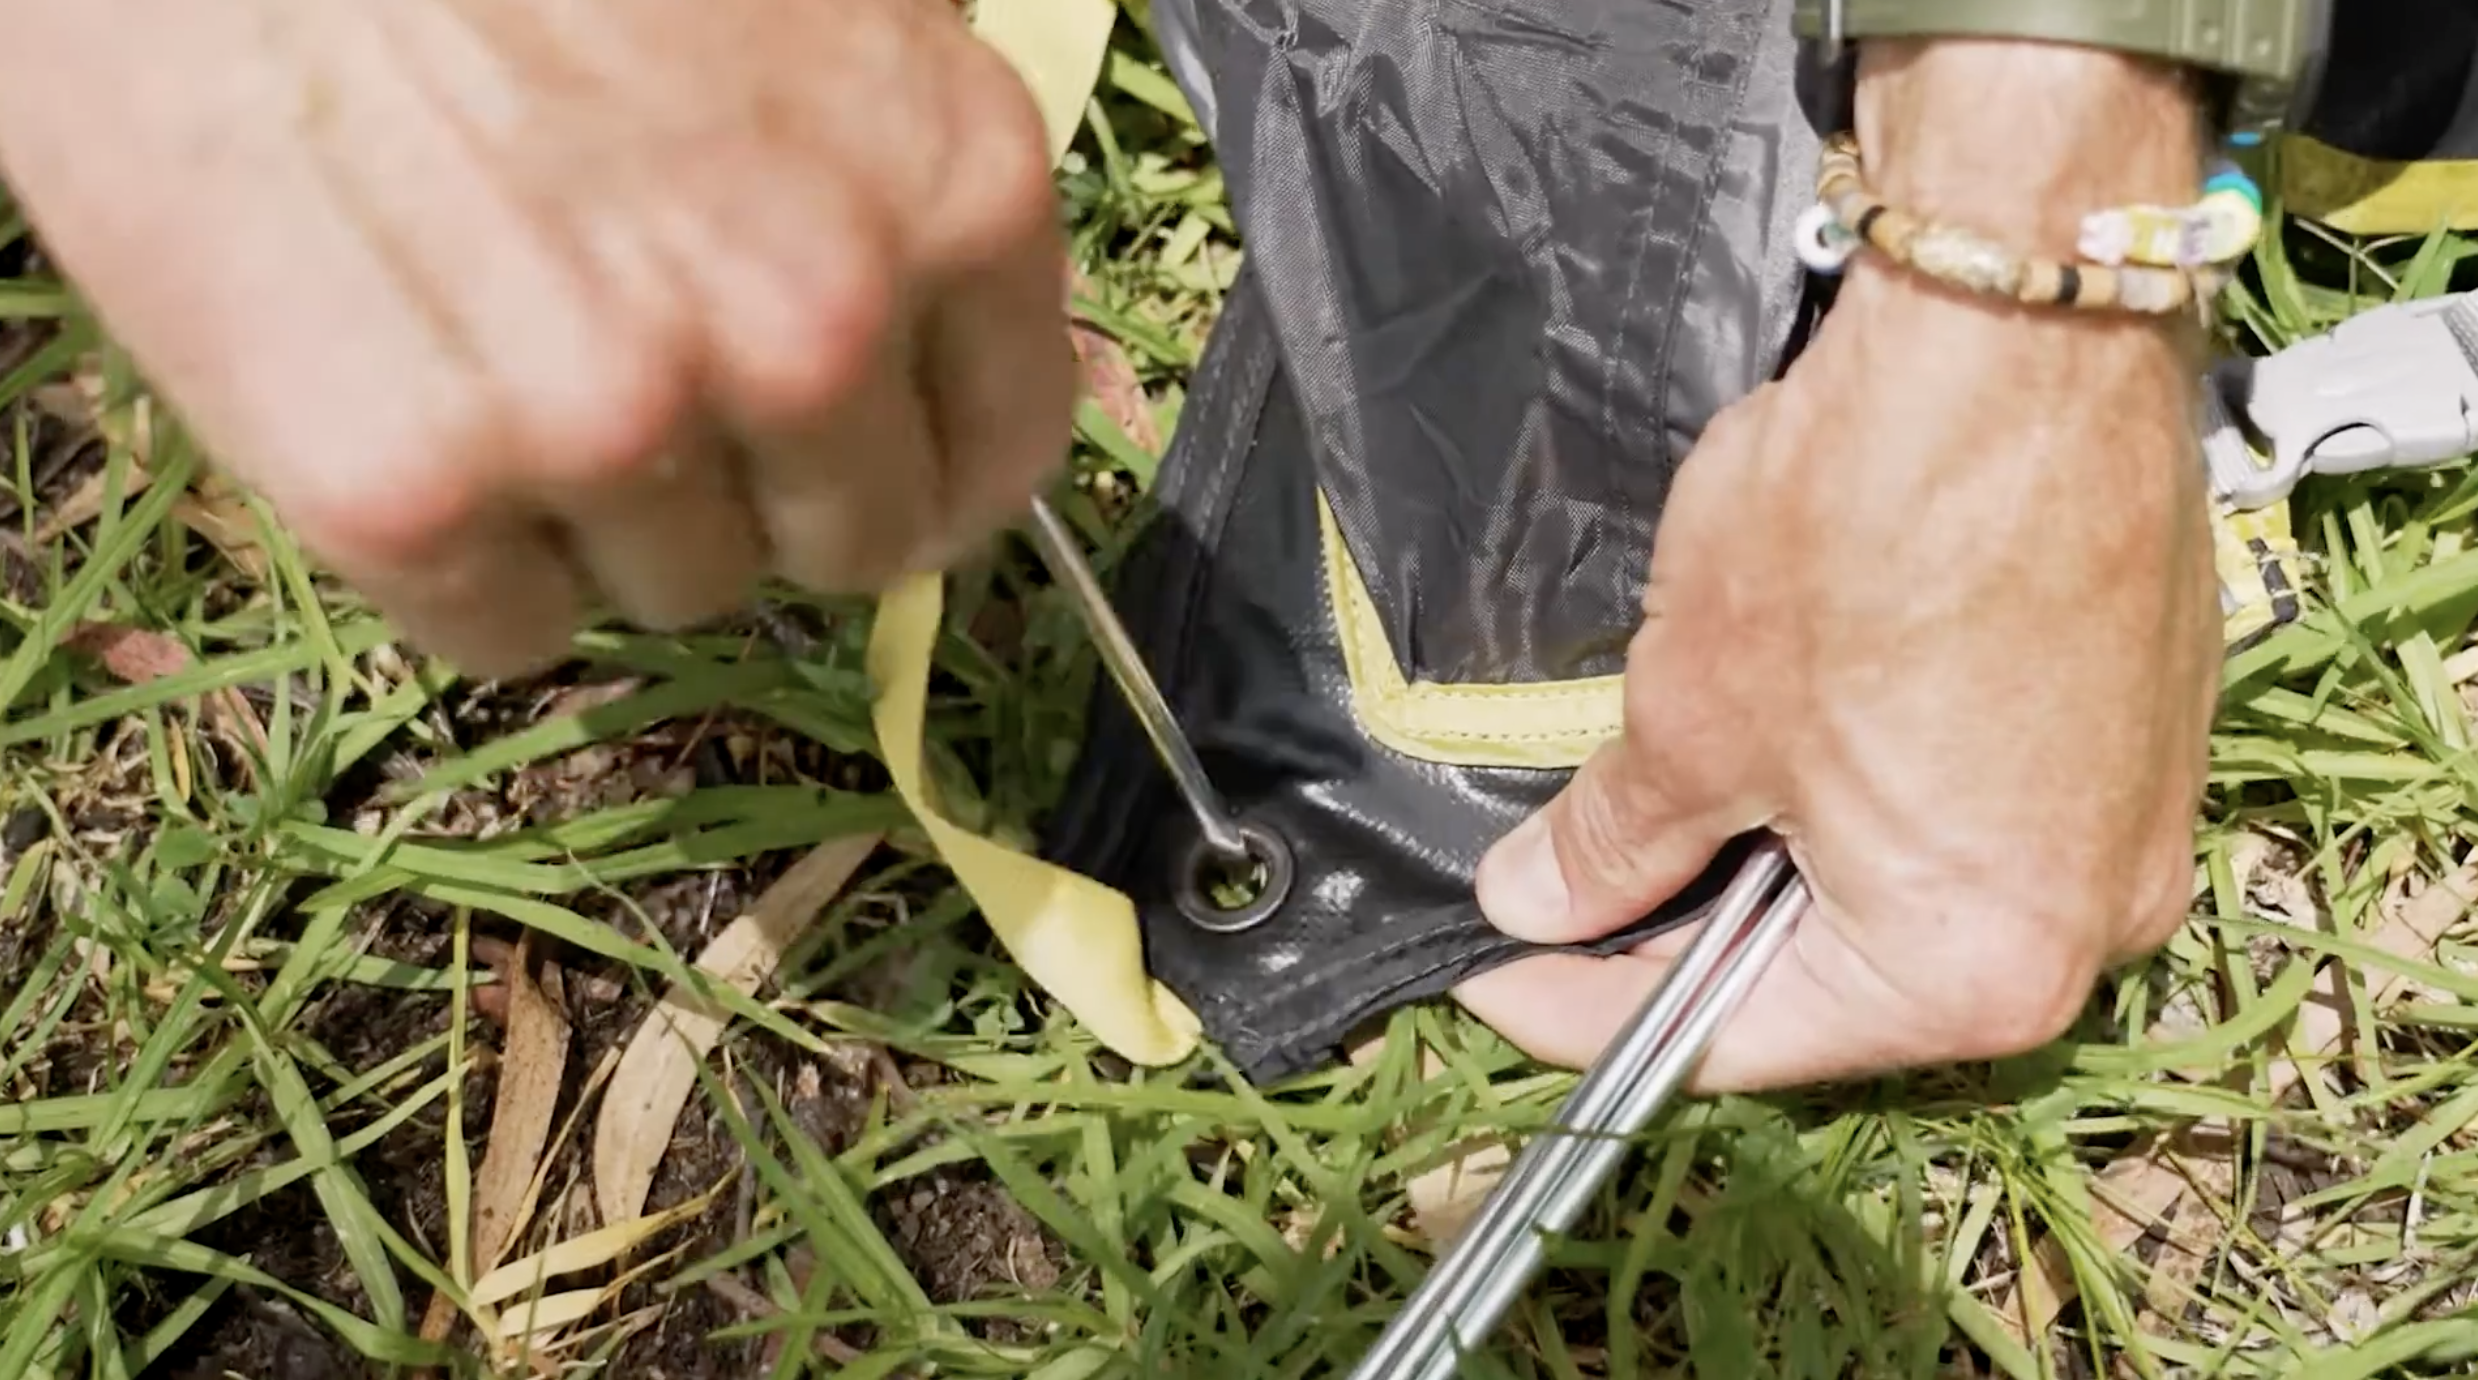
Step 3 – Peg out the base (4 pegs)
Unstrap the gazebo bundle and unfold it so the floor and walls form a flat square.
Find the four corner eyelets on the floor.
Sort the pegs:
4 lighter/smaller pegs for the corners.
4 heavier pegs for the guy ropes later.
Use the smaller pegs to secure each corner of the floor.
Check the floor is square and sitting reasonably tight on the ground.
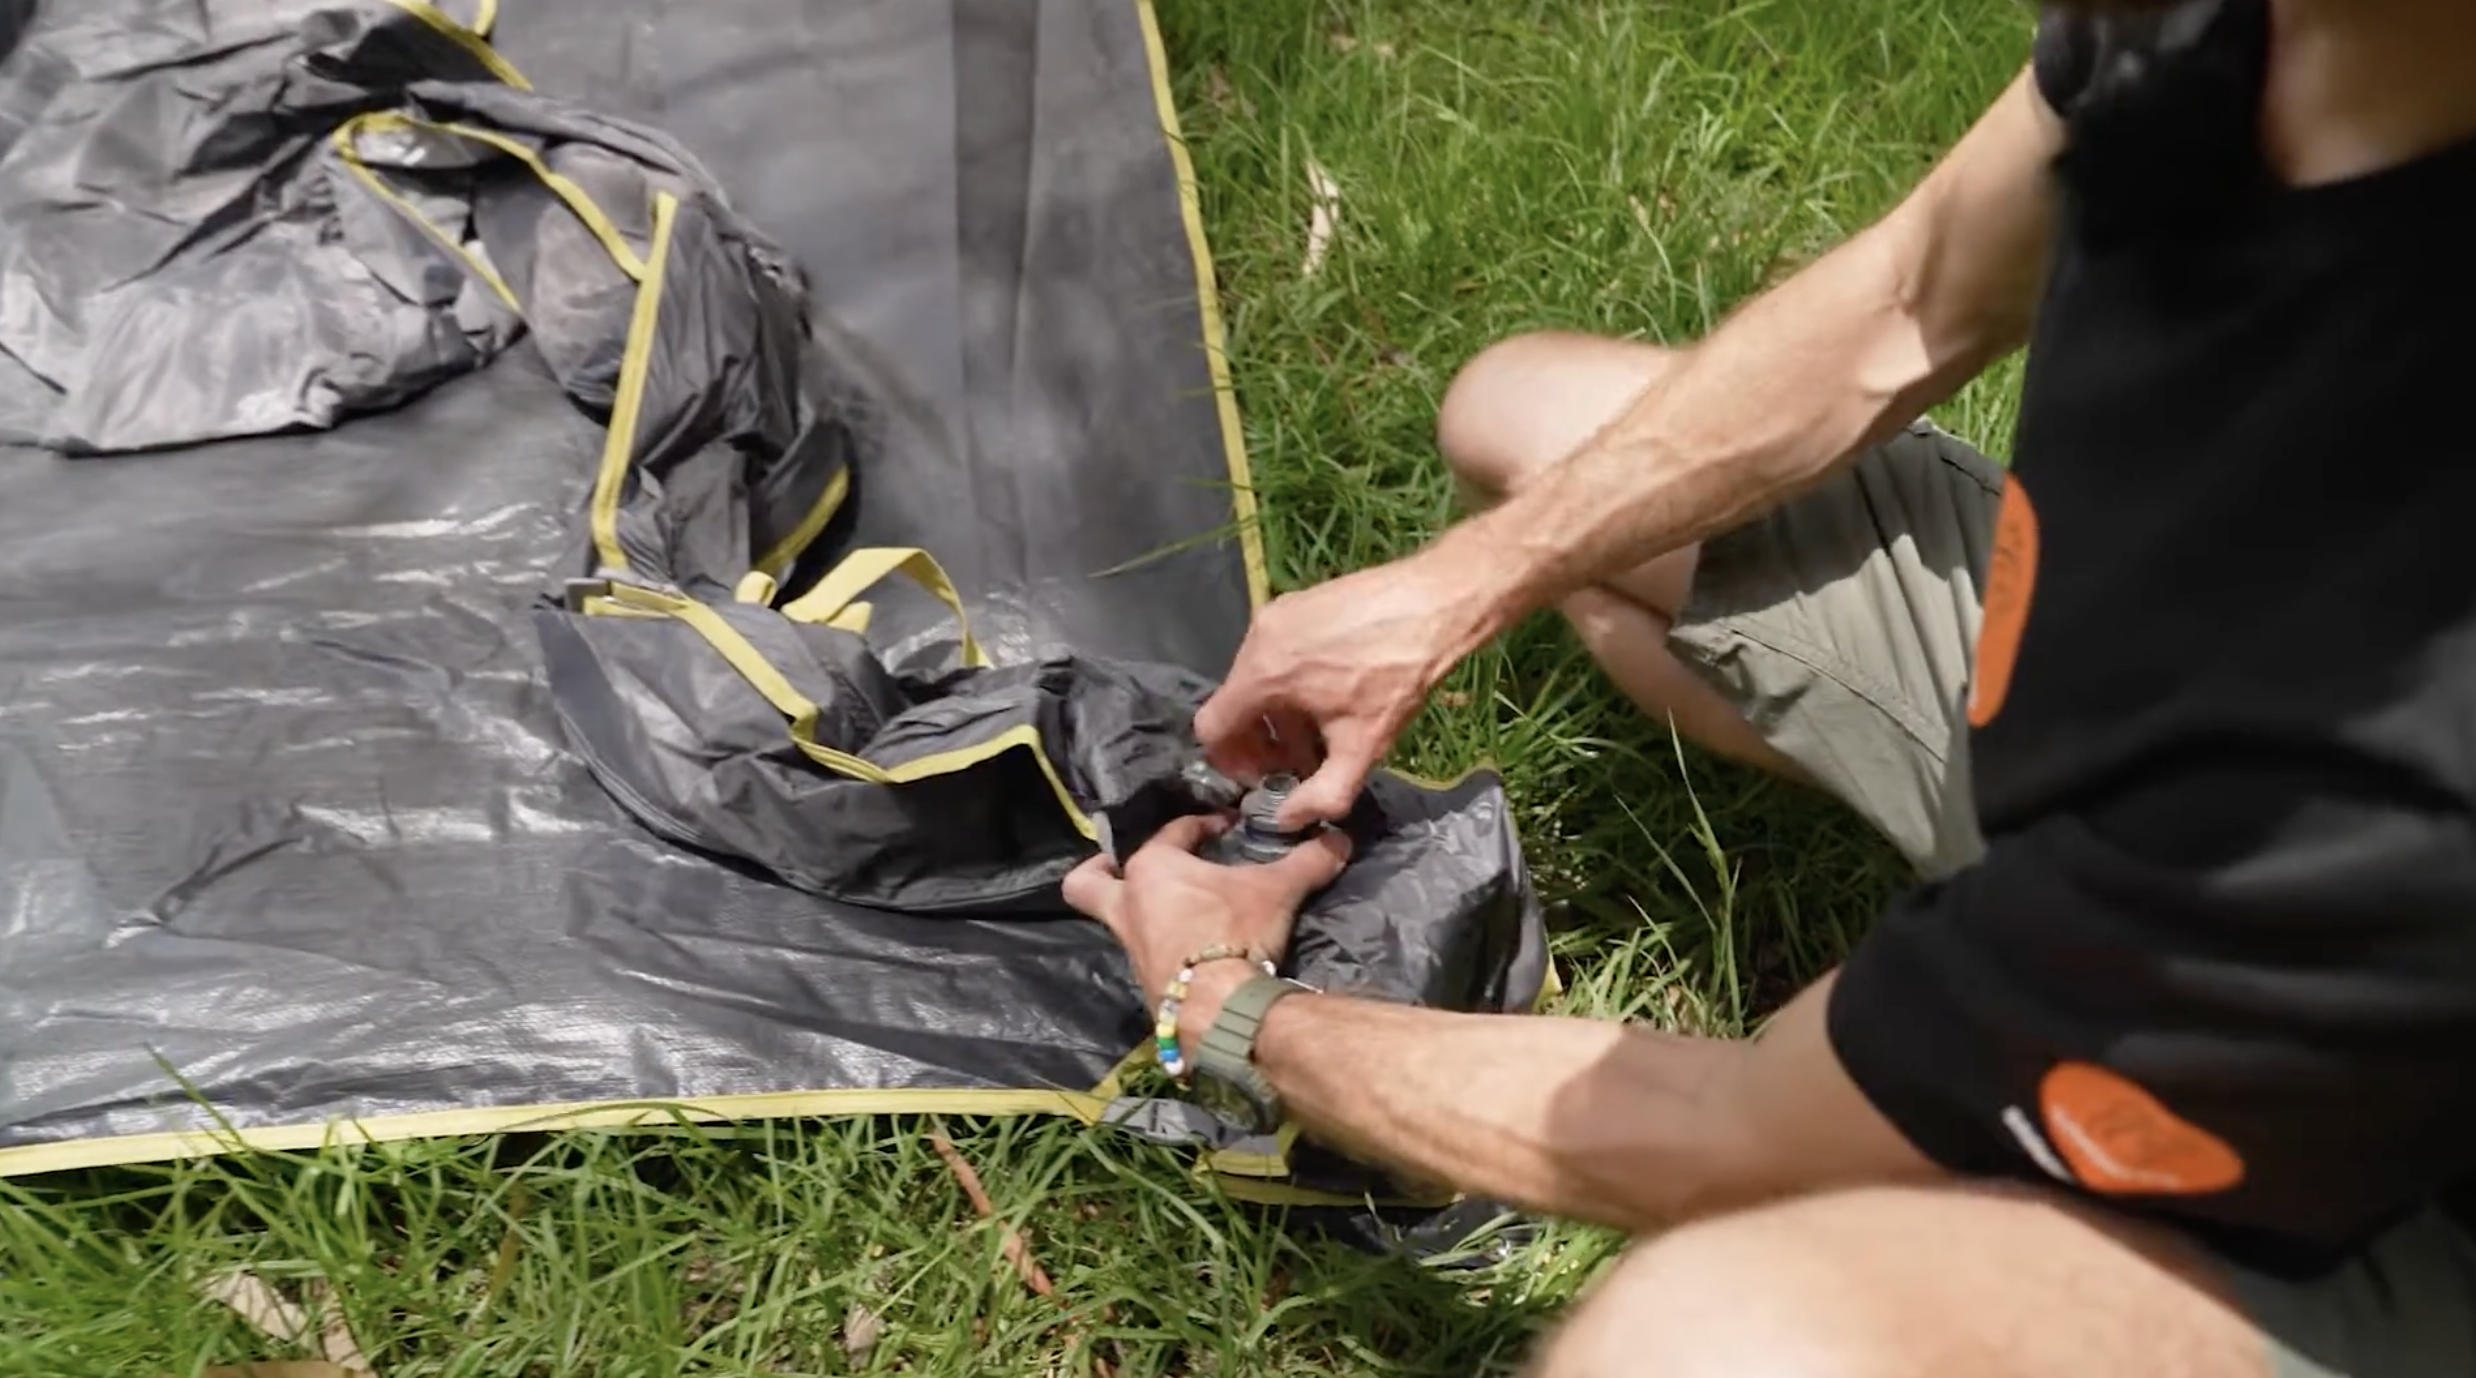
Step 4 – Prepare the inflation valves
Find the two air valves, located on diagonally opposite corners of the air frame.
Choose which corner you’ll inflate from. Make sure the other valve is fully closed so air doesn’t escape.
On the valve you’re using, unscrew and remove the top cap. Check the middle section (with the one-way insert) is screwed in – this lets air in but not back out while pumping.
Step 5 – Attach the pump and inflate
Screw the pump hose fitting firmly onto the middle valve section, so it can’t pop off.
Start pumping: this is a double-action pump, so it pumps on both up and down strokes. Expect around 80–90 pumps to reach full shape.
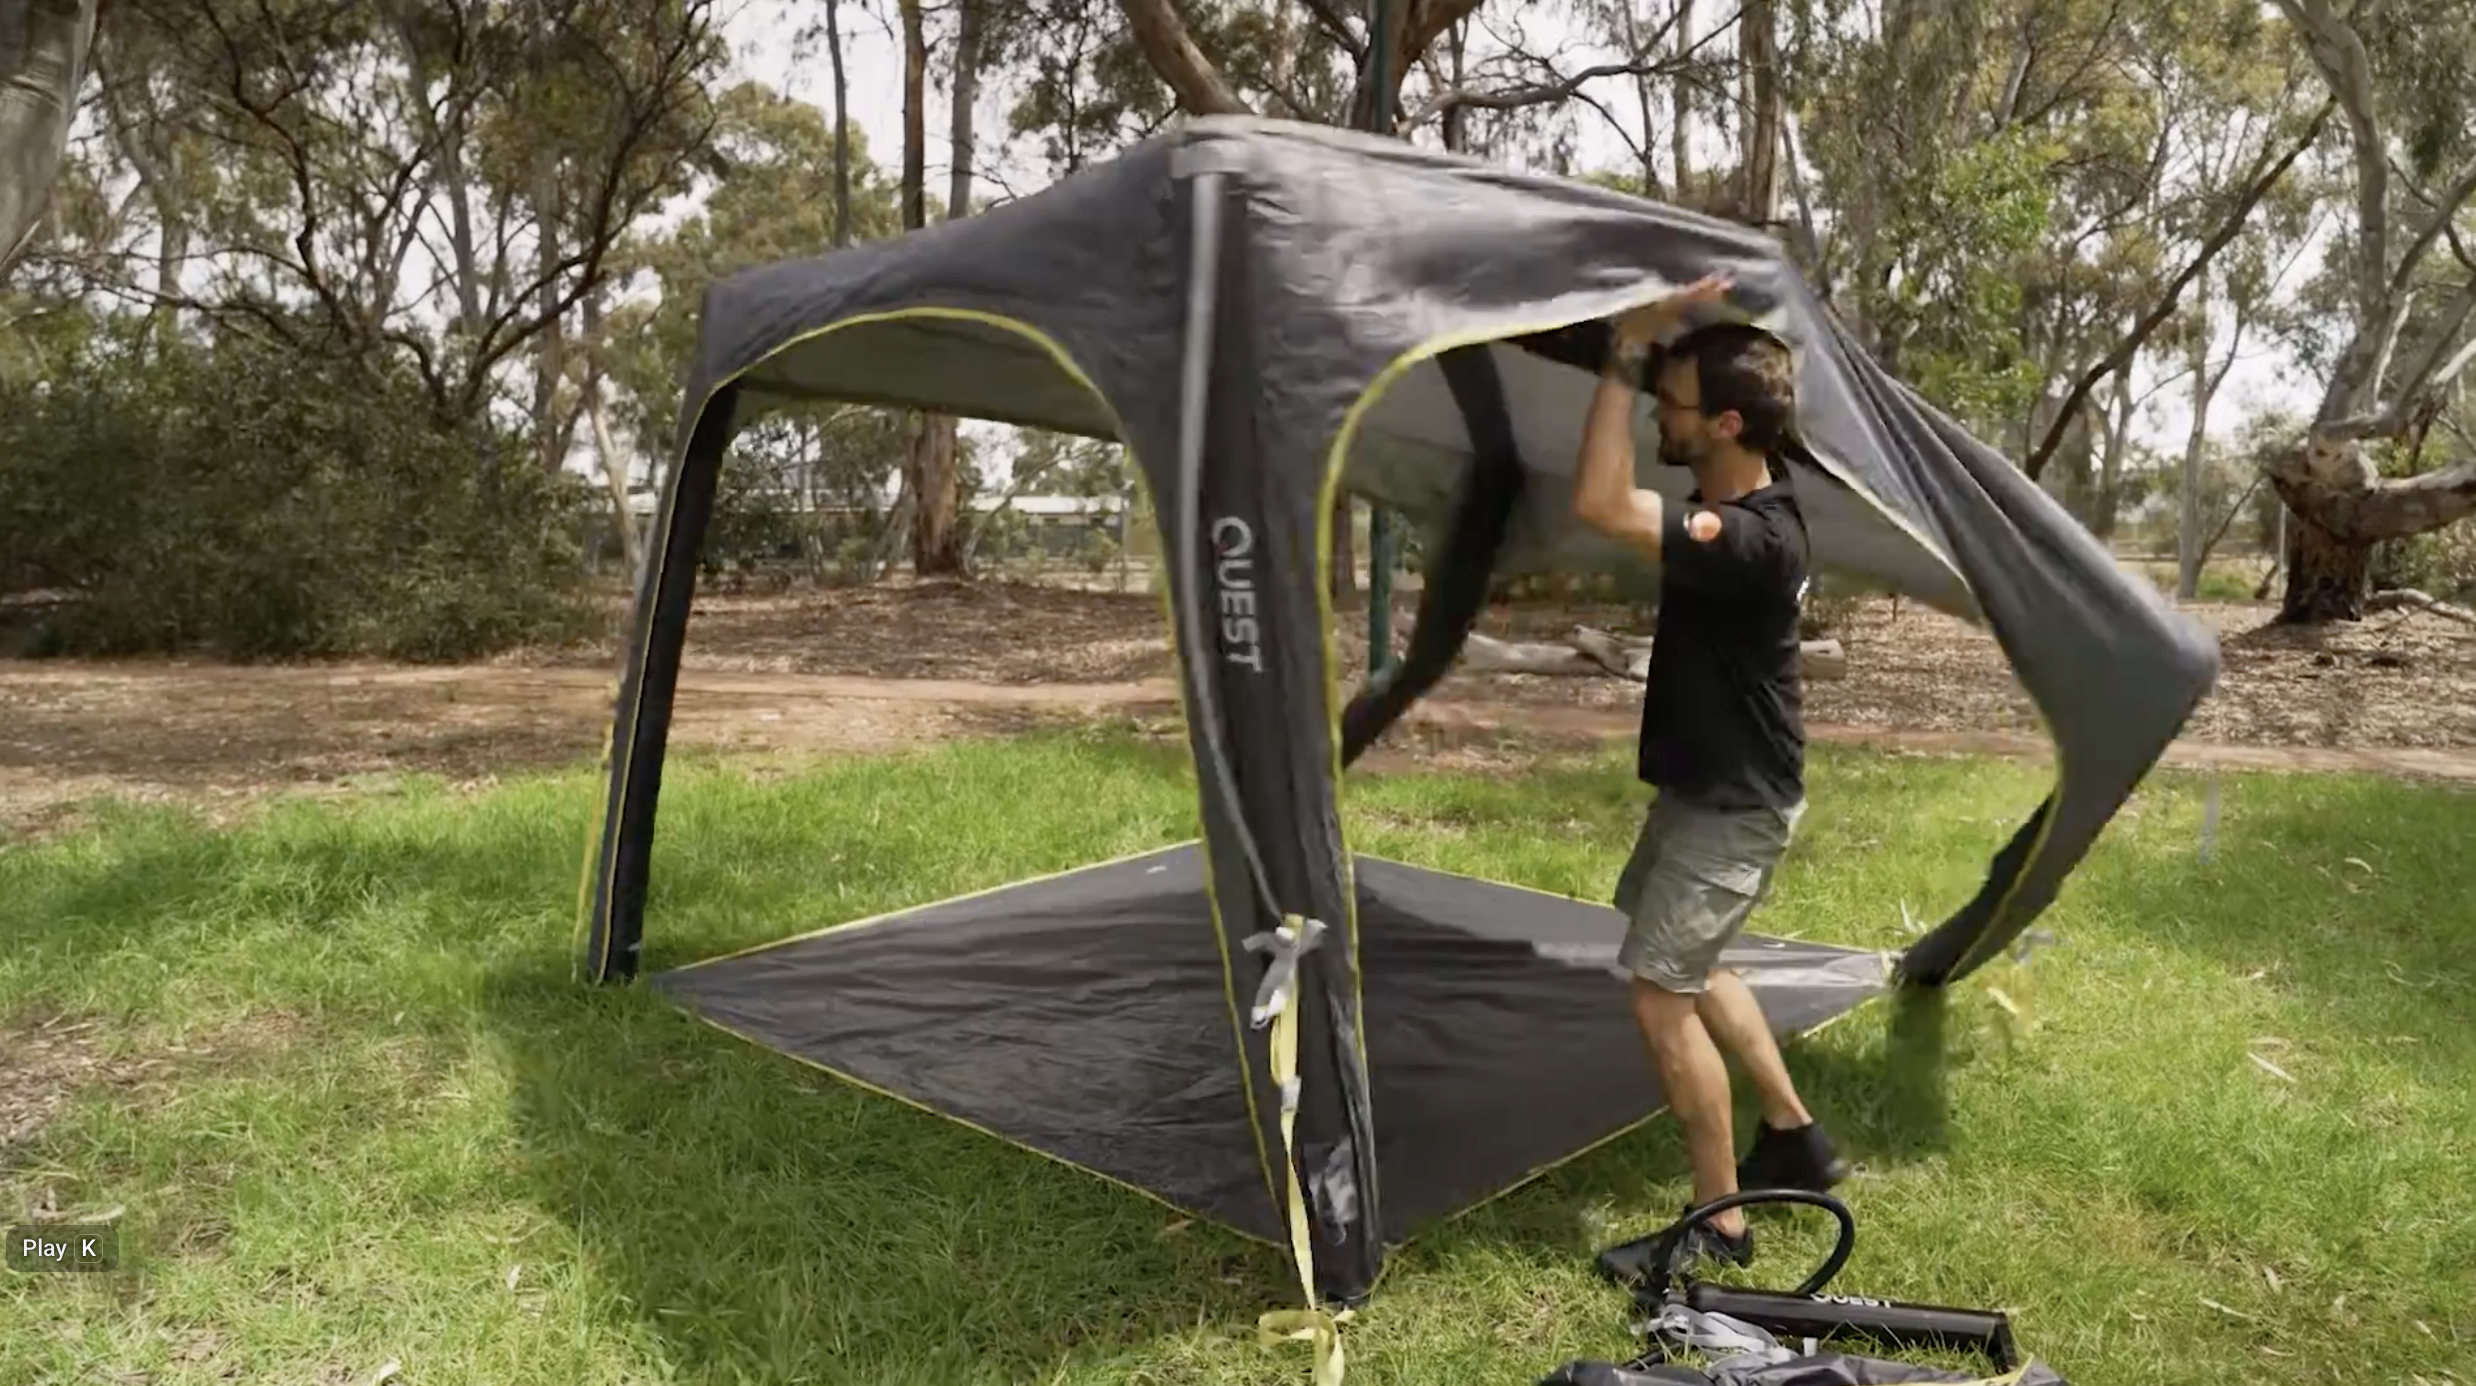
As the frame starts to rise, step inside the gazebo and gently push the centre of the roof upward to help it stand.
Keep pumping until the gauge reaches around 7 PSI in the green zone and you hear or feel the pressure-release valve venting, which prevents over-inflation.
Once inflated: unscrew the hose from the valve. Screw the top cap back on to protect the valve.
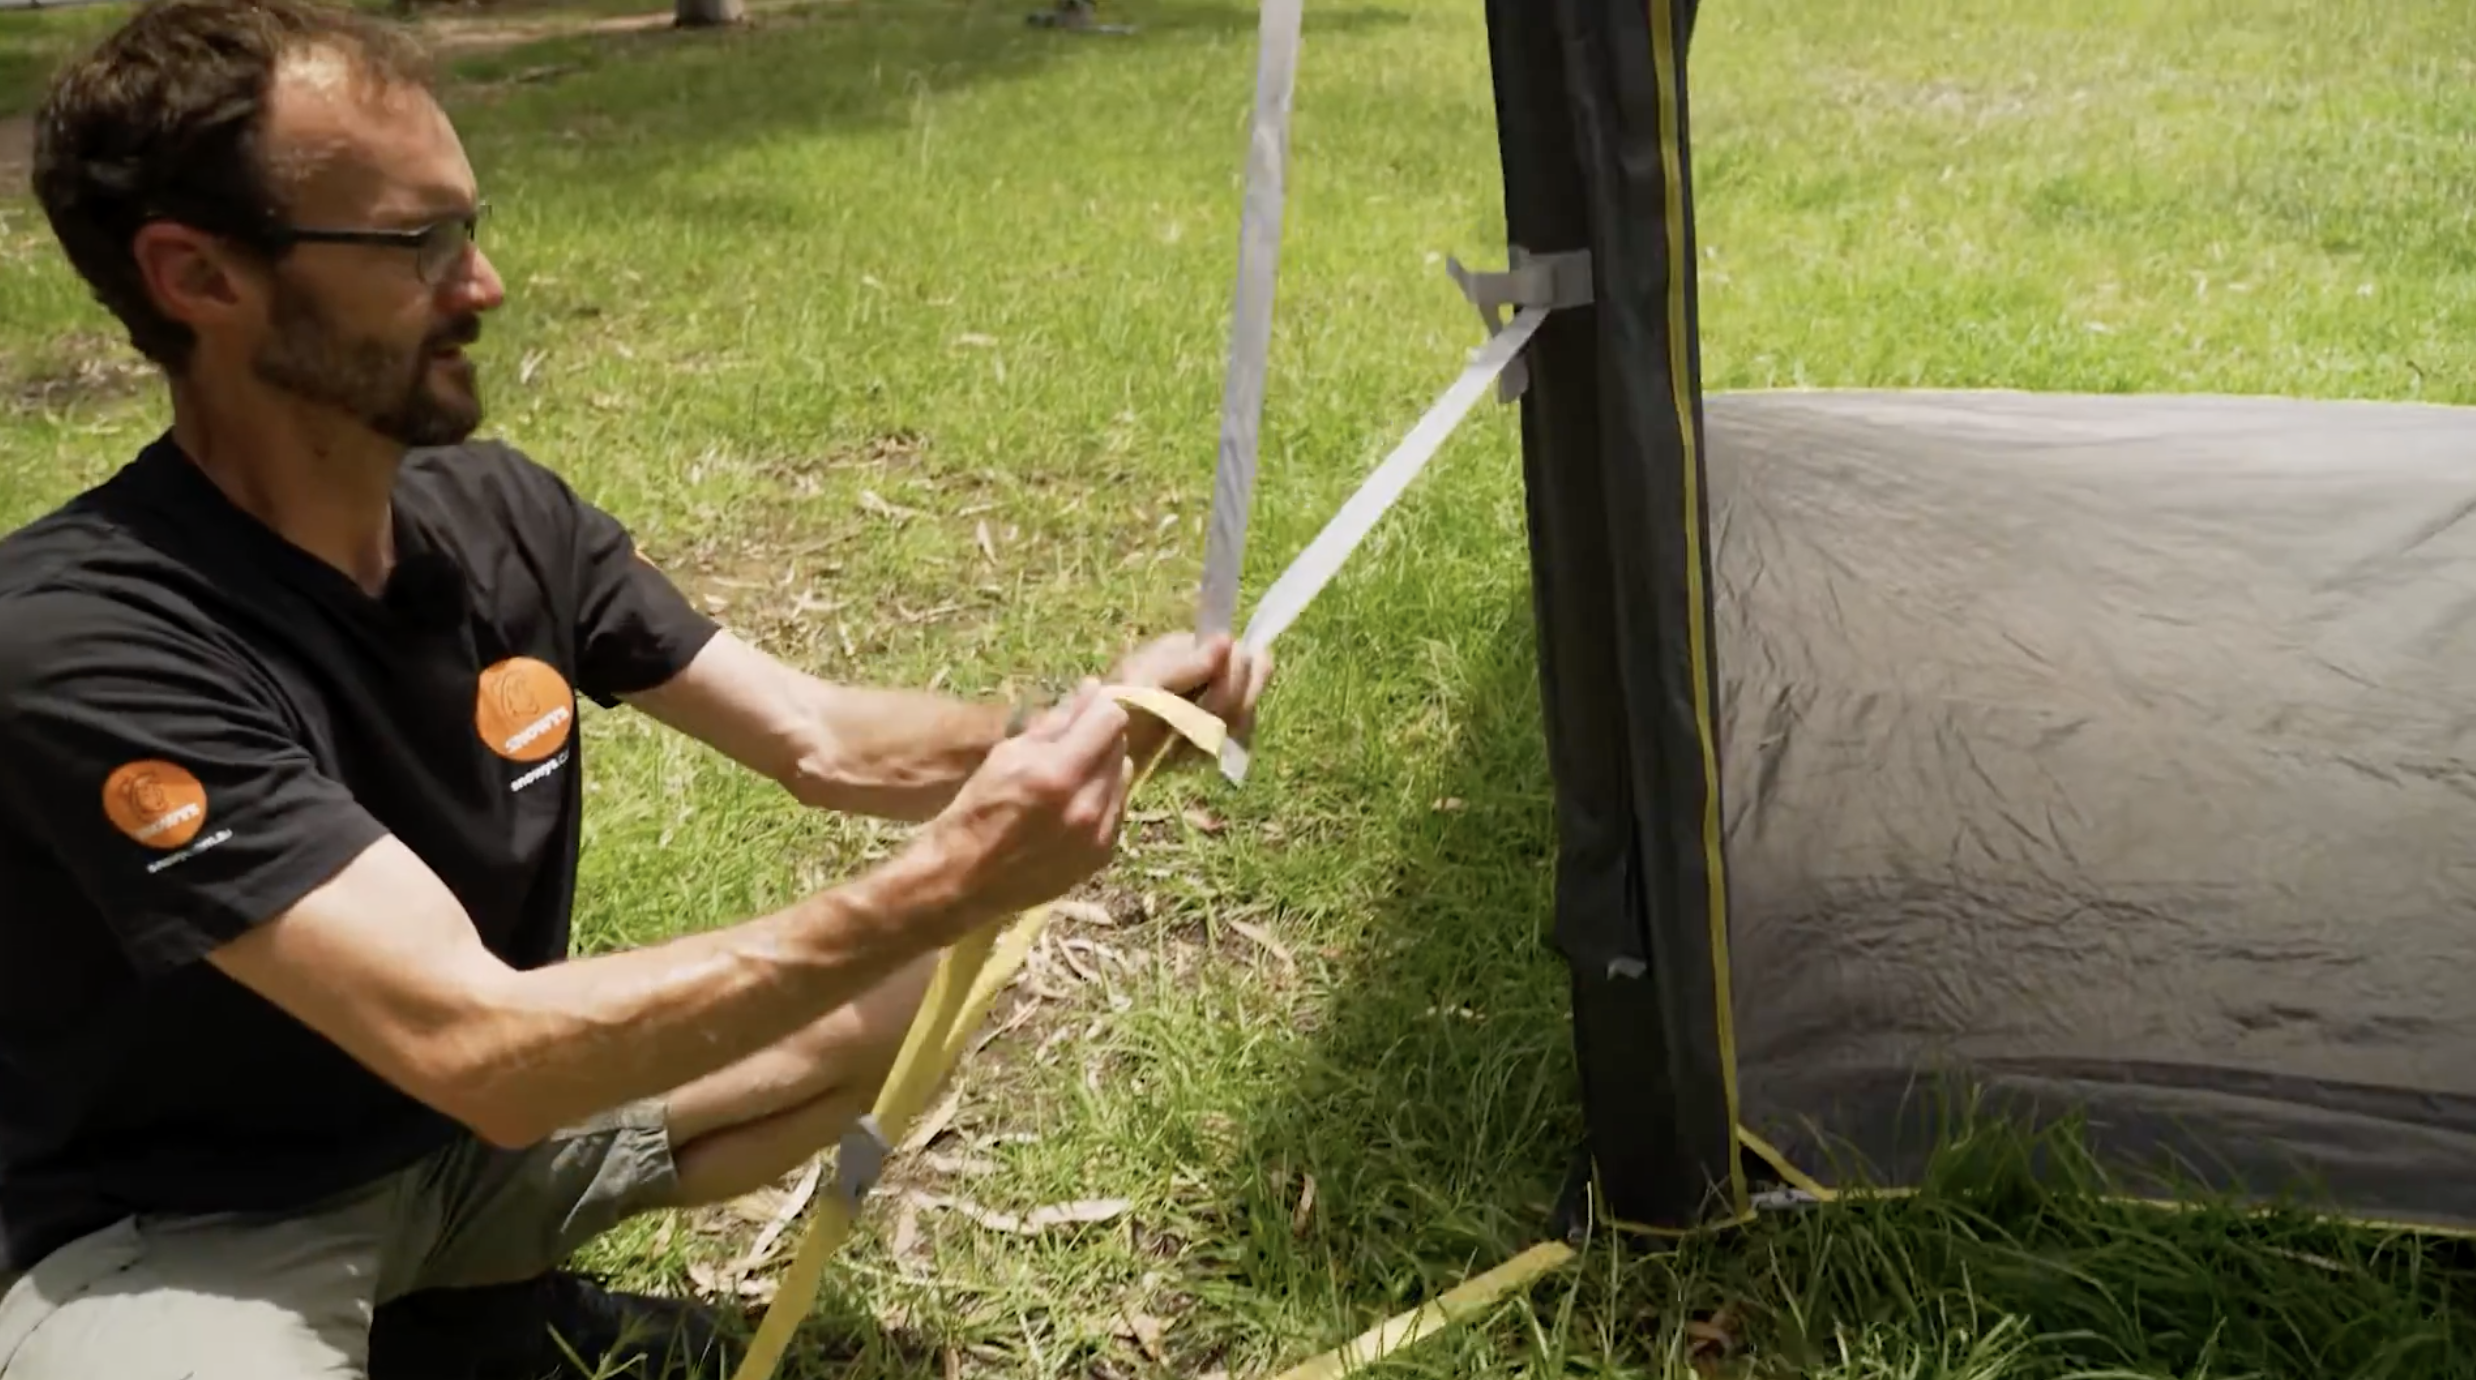
Step 6 – Stabilise with guy ropes (4 pegs)
Locate the four guy rope assemblies attached to the gazebo. Each rope connects to reinforced points at the base, mid-wall, and top. Each has an adjustable D-ring to help manage tension in windy conditions.
Take the four heavy-duty pegs set aside earlier.
For each guy rope, walk it out at an angle from the gazebo.
Drive a heavy-duty peg into the ground.
Tension the rope using the adjuster until the frame feels firm.
Check all four sides are evenly tensioned so the gazebo feels stable and solid.
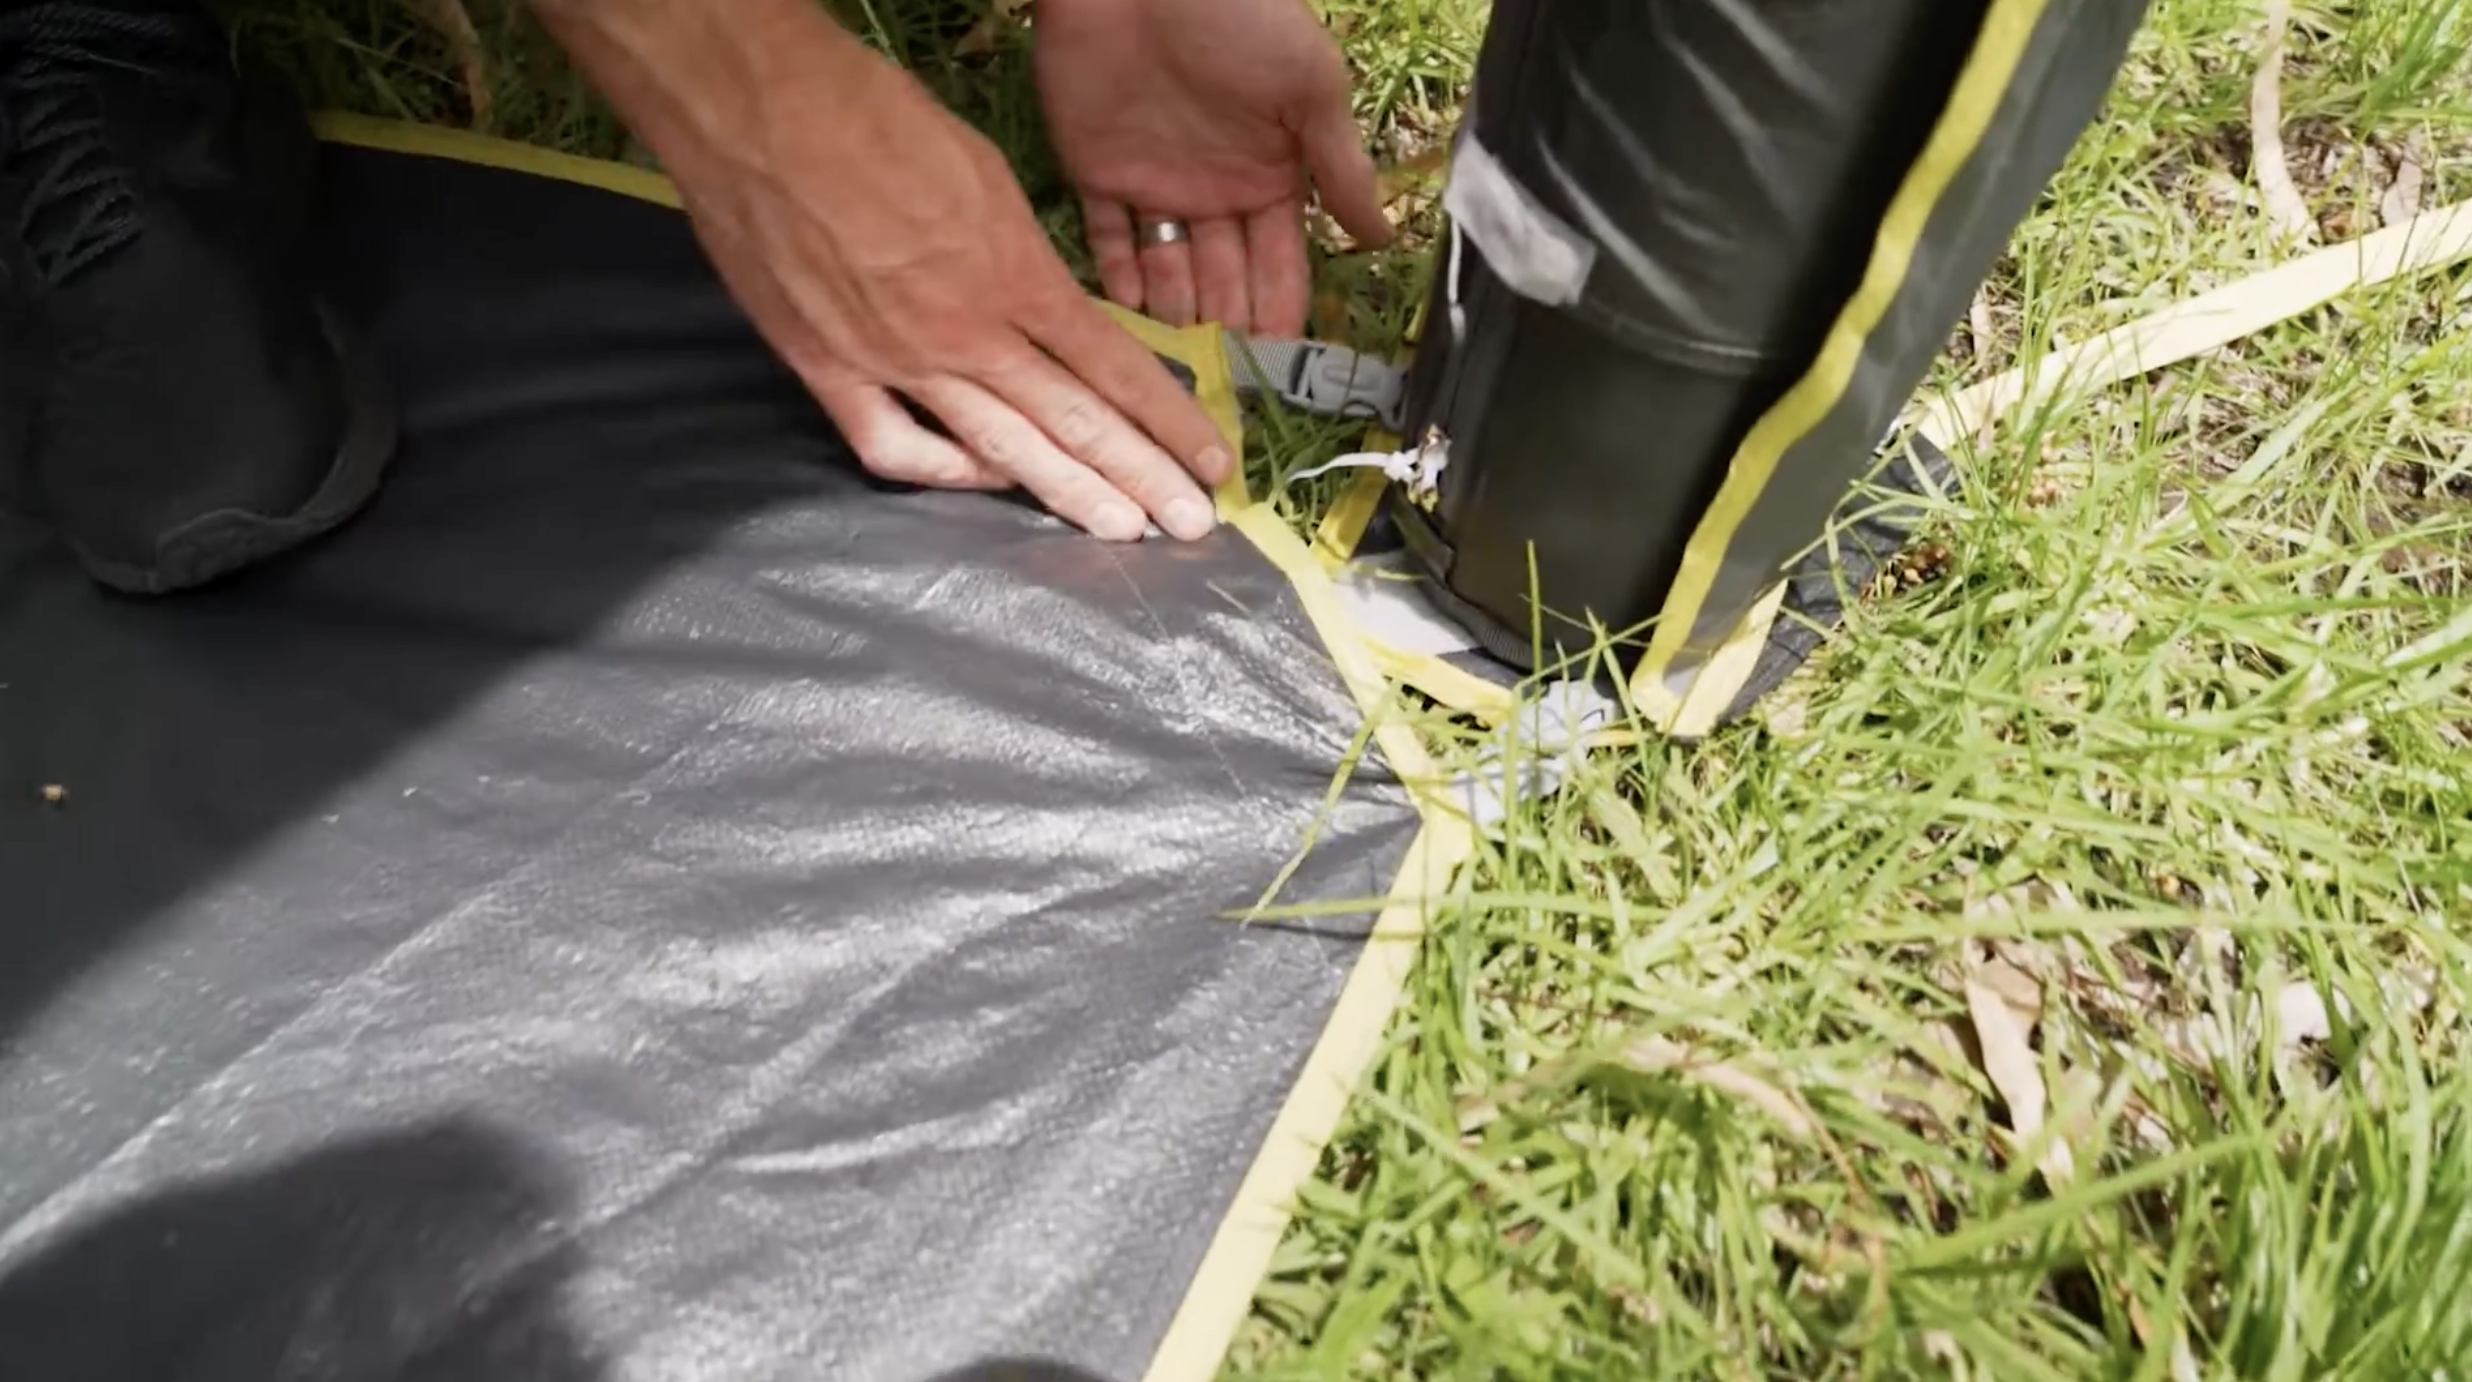
Step 7 – Using or removing the detachable floor
To use the floor: leave the corner clips attached and keep the floor pegged out. A tight floor helps ensure the frame is spaced correctly.
To remove the floor or reduce pack size: unclip the floor attachment points around the inside edge. Leave the outer edges pegged or use your own groundsheet.
When setting up without the floor, take extra care to space the four corners correctly before inflating.
Step 8 – Pack-down preparation
Remove all gear from inside the gazebo.
Decide whether to pack the floor with the gazebo or separately.
Pull out all four heavy-duty guy pegs.
Coil each guy rope and secure it using the Velcro straps so nothing dangles.
Step 9 – Pack-down: deflate the frame
At your chosen valve corner, remove the top cap and unscrew the middle valve section to release air.
Open the valve on the diagonally opposite corner as well.
Let the frame collapse naturally as air escapes.
Gently push air along the tubes toward the open valves to speed things up.
Step 10 – Pack-down: rolling out the air
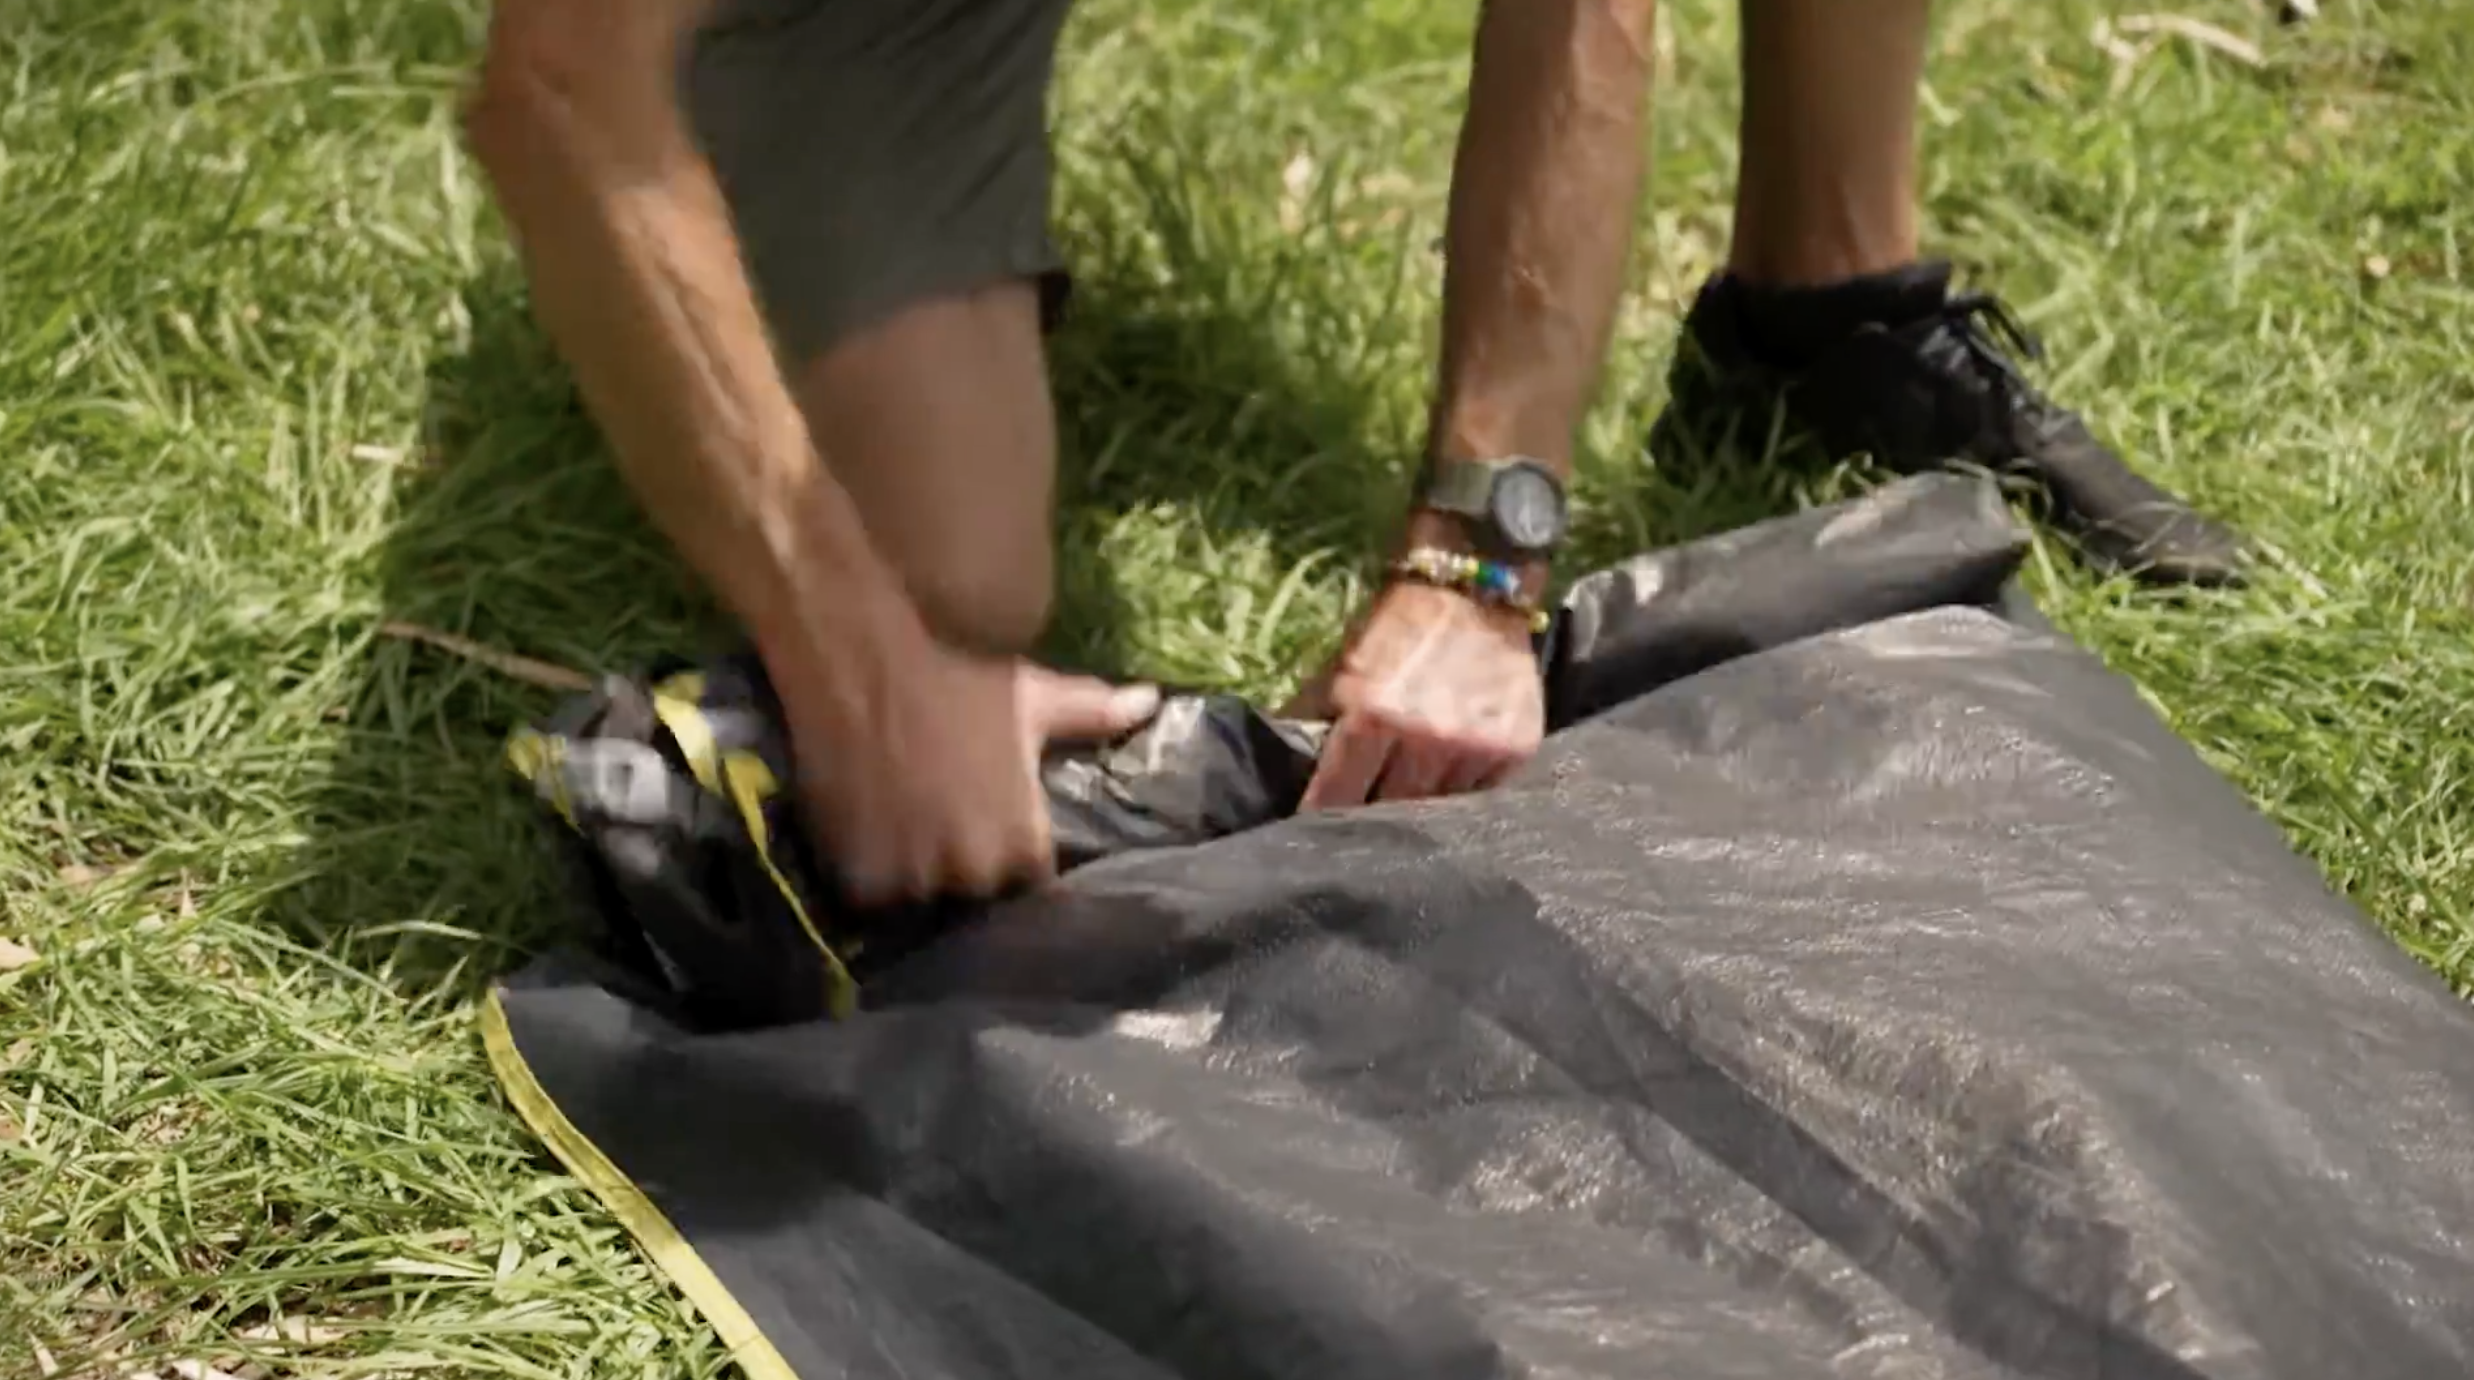
Gather loose fabric toward the side where the open valves are.
Start rolling from the opposite edge, keeping the roll tight and even.
As you roll, guide air from each tube toward its valve.
If needed, unroll slightly and re-roll from another angle to push out remaining air.
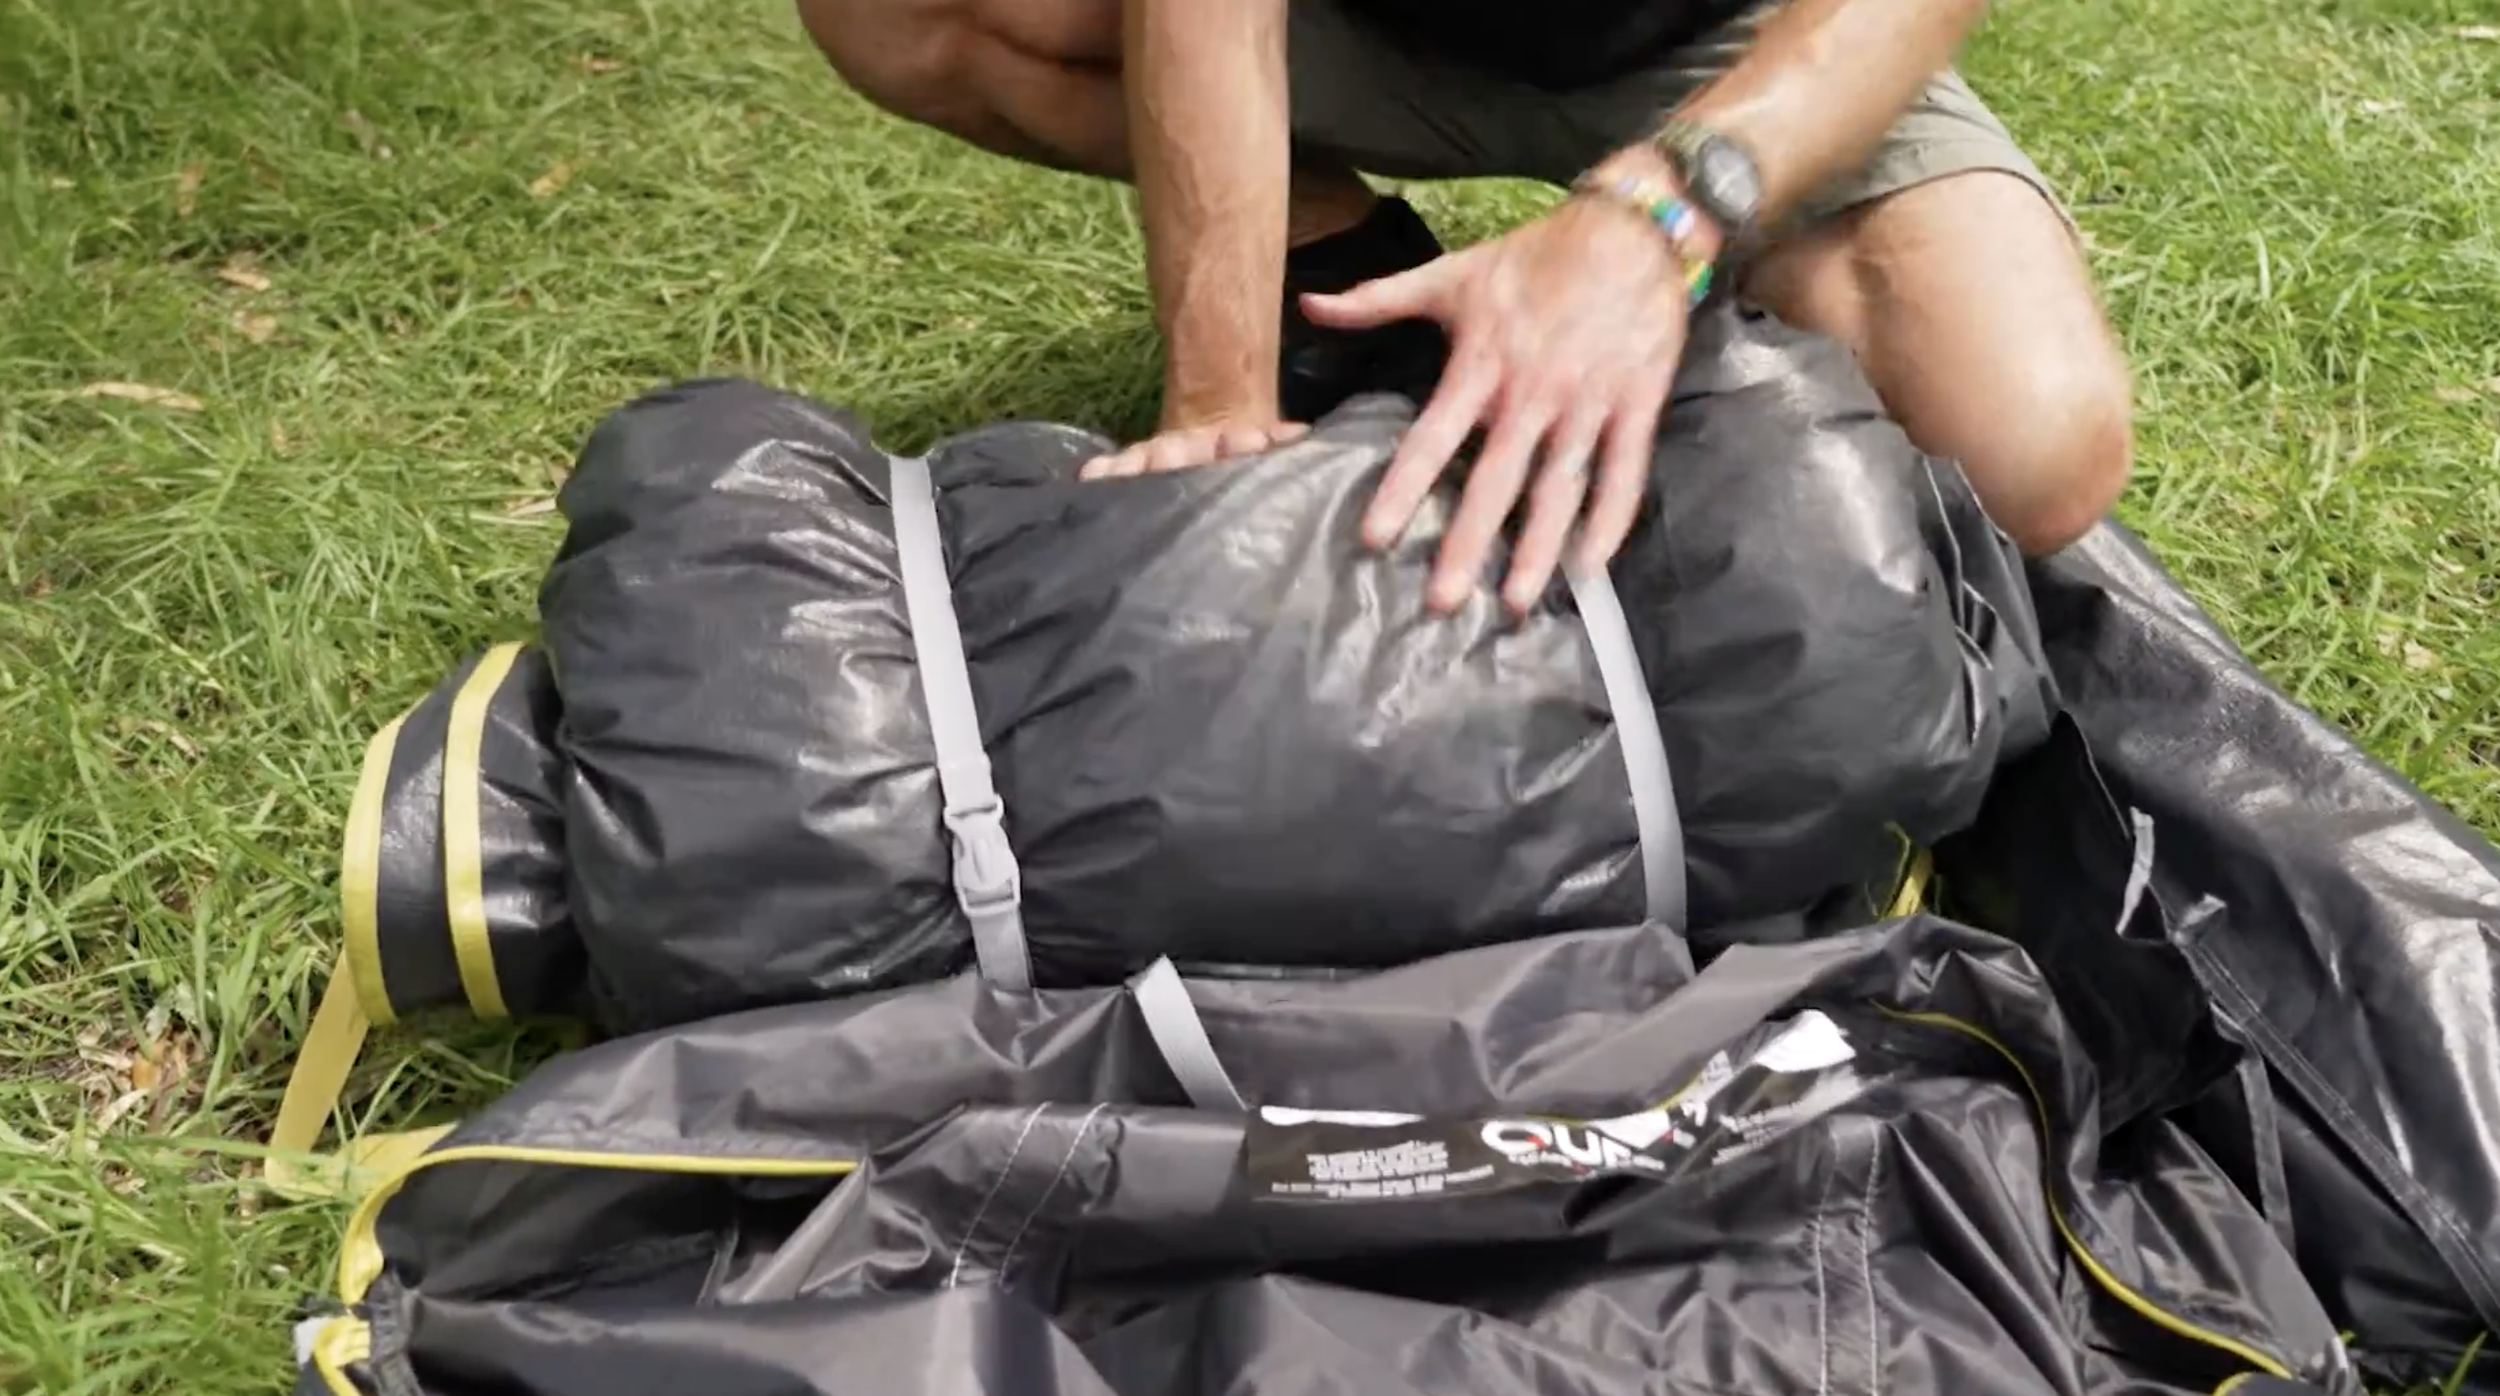
Keep rolling until the bundle is compact.
Secure the roll with the two compression straps.
Step 11 – Pack-down: back into the bag (or trailer)
You can roll the gazebo back into the carry bag if you like, but to save you time, it’s absolutely fine to fold it up neatly and place it straight back into the trailer instead.
If you do this, just make sure all parts are returned: the gazebo, pump, pegs and the carry bag.
If you do pack it into the bag, place the pump and peg bag alongside or on top, then zip it closed and tighten the external compression straps.
A little leftover air is fine - it’ll still fit. Just aim to squeeze out as much as you can.