
How to set up your rooftop tent.
Our rooftop tent gives you a quick, elevated sleeping setup that’s off the ground and ready in minutes. It offers a comfortable, weather-protected space to sleep, with built-in ladder access and a simple fold-out design that makes camp setup easy.
Take a look at the video below, or read the step-by-step instructions to get set up.
🚫 Important: The video does not include instructions on stabilising your trailer before setting up the rooftop tent. Please read the first 3 steps in the instructions below the video to stabilise your trailer first.
Step-By-Step Guide
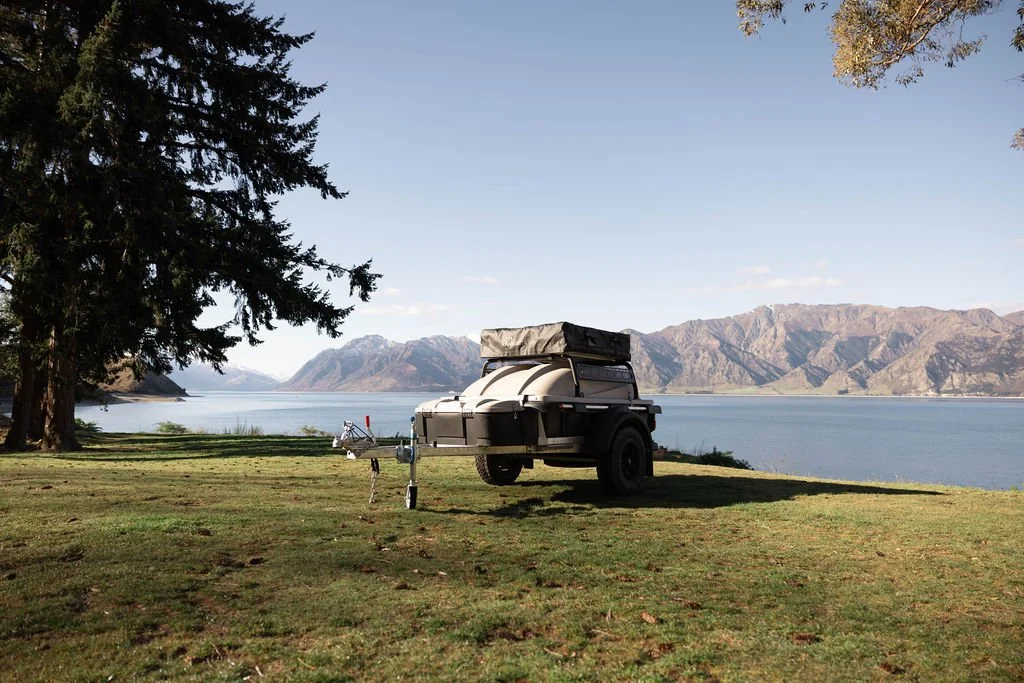


Stabilising Step 1 - Find a flat and level site
Park on the flattest, firmest ground available.
Disconnect the trailer from your vehicle. Make sure the chain and light cable are disconnected.
Lower the jockey wheel and be ready to use the trailer's hand brake if needed.
If space is tight, you can carefully push the trailer into your final position.
Stabilising Step 2 – Check the trailer is level
For a comfortable night’s sleep, aim to get the trailer level from side to side first.
You can reposition the trailer slightly by moving it back and forth or adjusting the angle until it sits level.
Once you are happy with the level from side to side, you can adjust the level from front to back by winding the jockey wheel up or down.
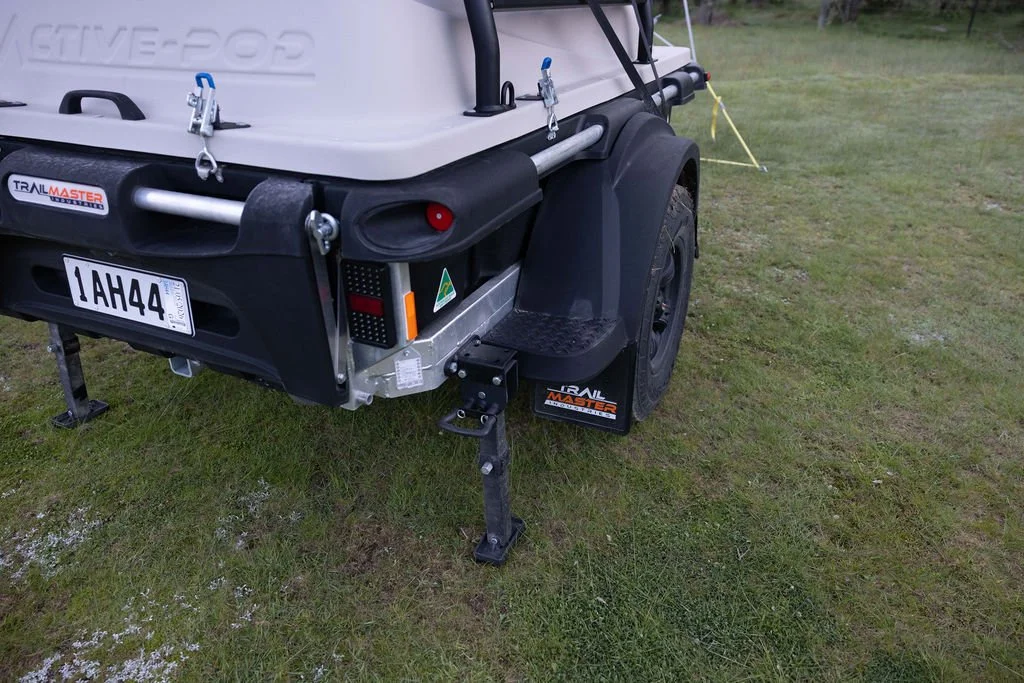
Stabilising Step 3 – Drop down the stabilisers
The two stabilisers are located at the rear corners of the trailer. Pull on the metal handle and rotate each leg down. Release the handle; it will pop back in and lock the legs in place.
Using the hand crank (stored in the front storage box of your trailer), extend the feet to touch the ground. They only need to make firm contact with the ground and are not designed to lift or level the trailer.
Repeat on the other side. Once both legs are firmly in place, your trailer is ready for you to set up the rooftop tent.
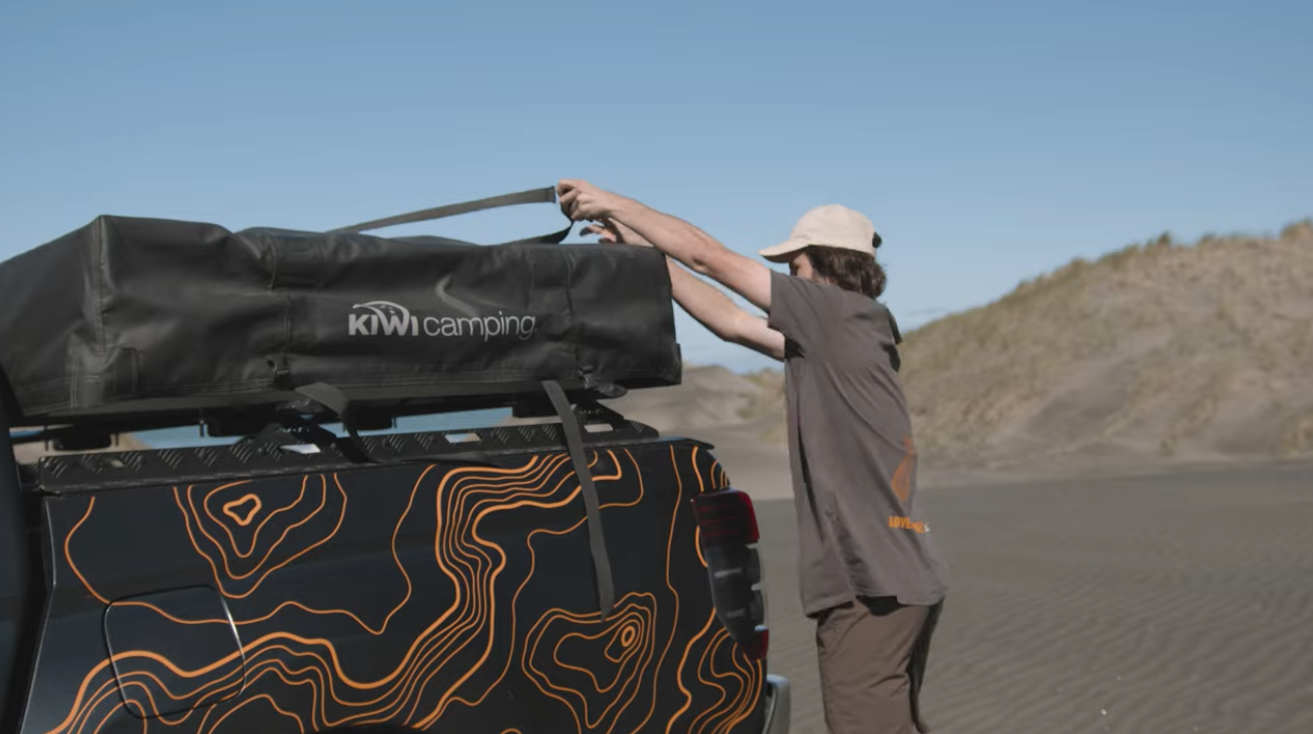
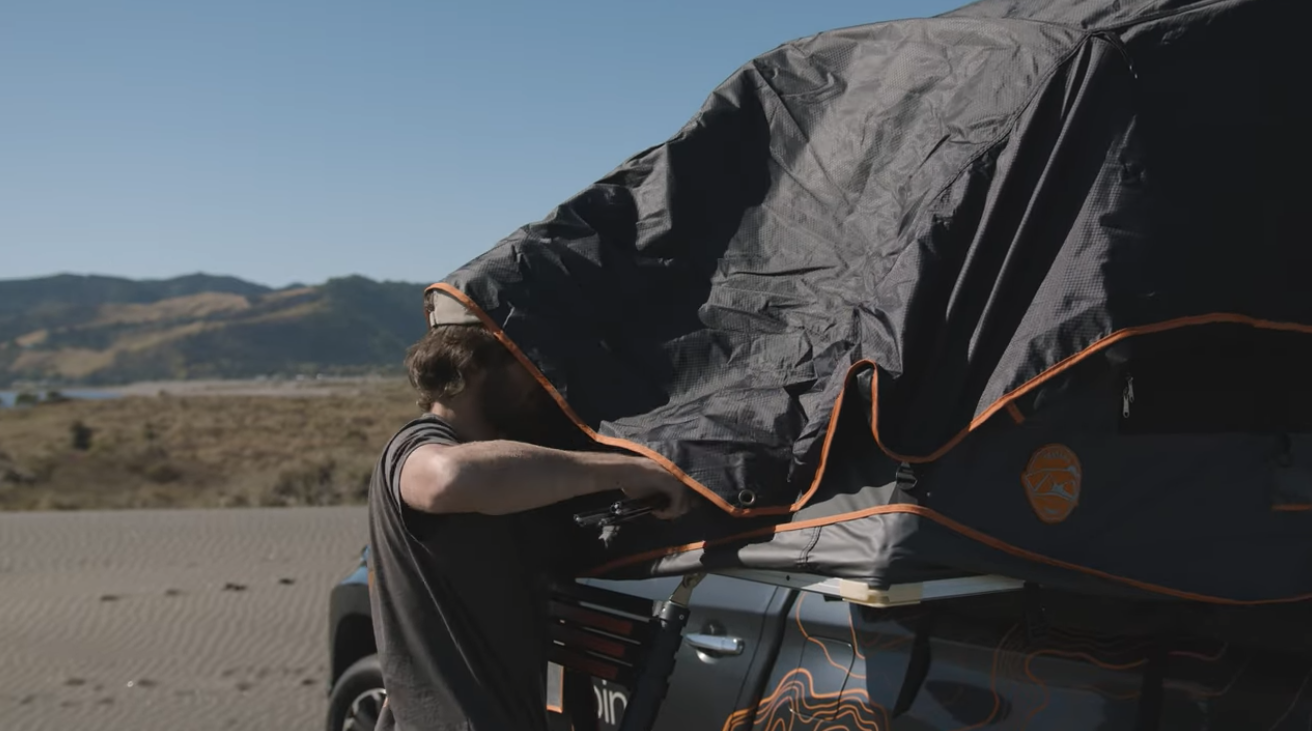
Step 3 – Remove the travel cover
Undo the heavy-duty straps. These won’t come off completely. They will remain partially attached.
Unzip the travel cover. Peel open the cover. This will also stay attached along one edge.
Roll up the travel cover. Once rolled, there are two short straps to hold this in place.
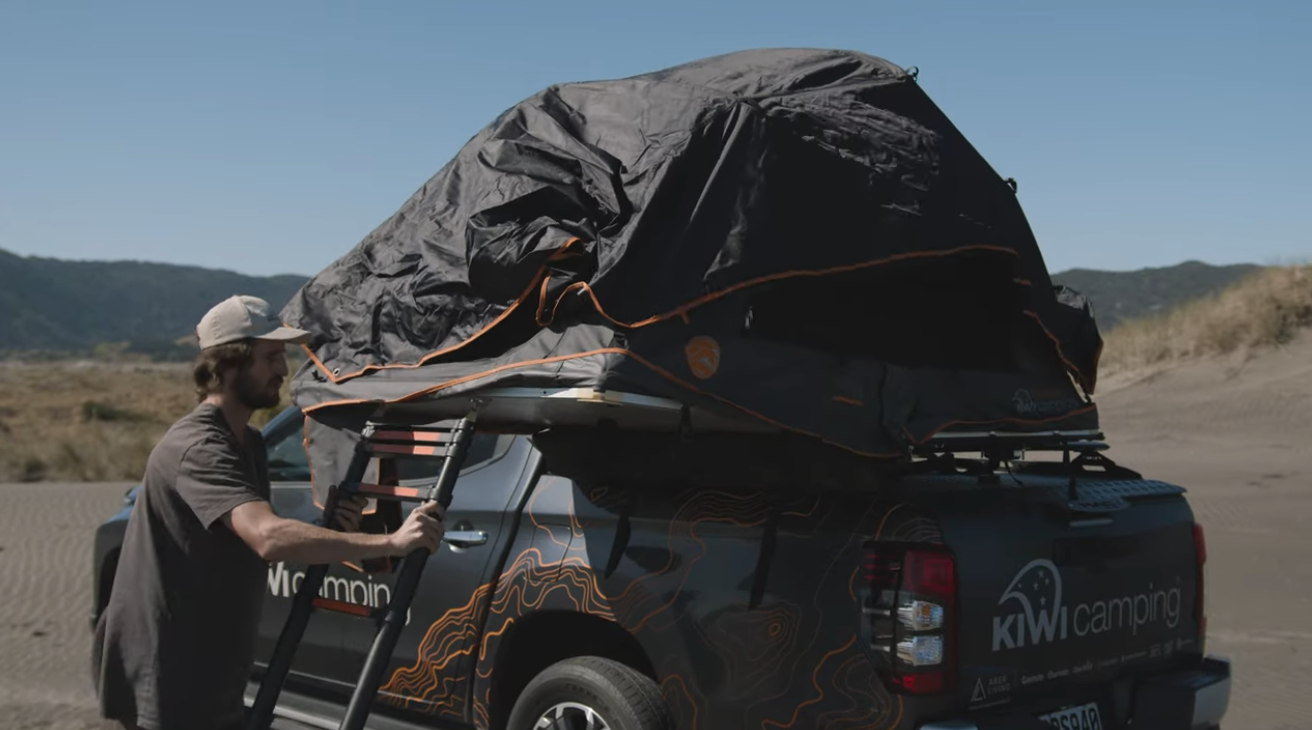
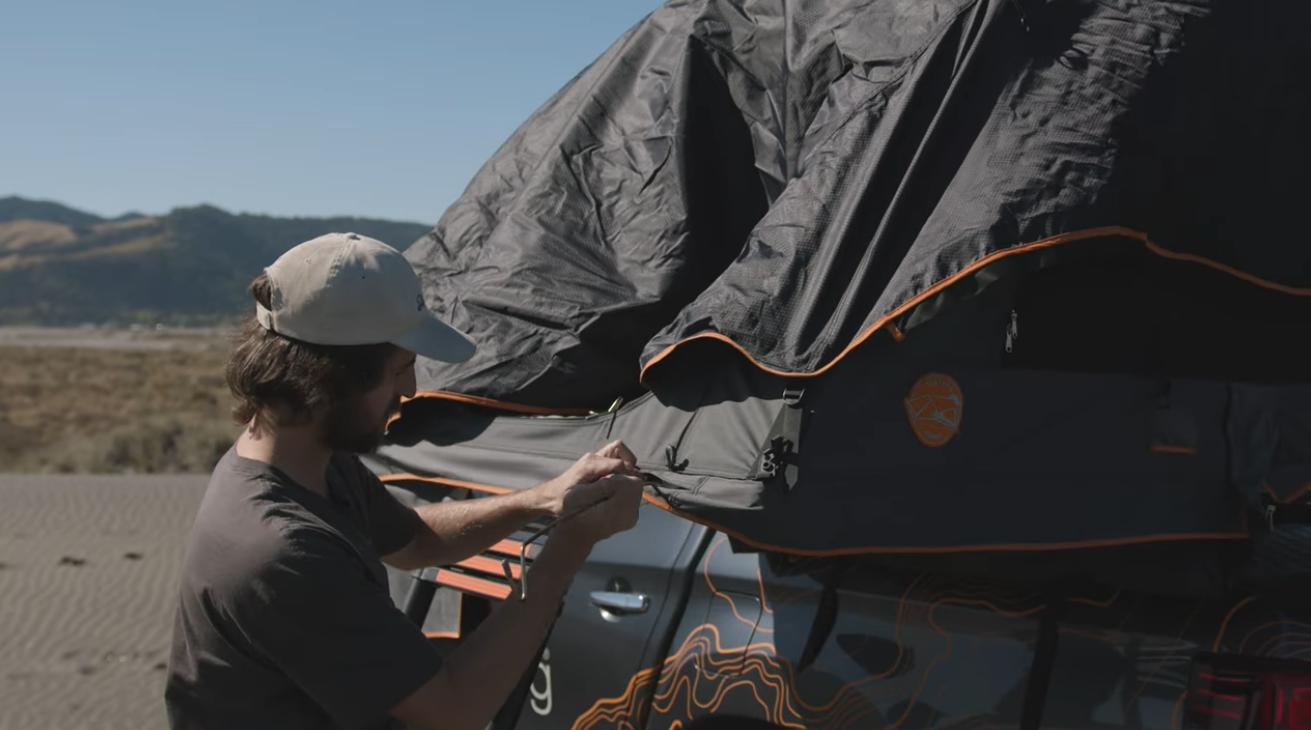
Step 4 – Extend the ladder and open tent
Use the step on the trailer to reach the velcro strap holding the ladder and undo. Fully extend the ladder.
From the ground, push down on the ladder until the tent is vertical, then walk backwards with the ladder so the tent is fully open.
Step 5 – Adjust ladder length
Starting at the top of the ladder, find the two black buttons on the top step.
Press both buttons and slide the ladder up.
Repeat until the ladder is the right length and the platform is sitting nice and flat.
Step 6 – Grab the poles from inside the tent
Climb up into the tent through the front door.
Just inside the door you’ll find the tent pole bag.
Pull out the four spring poles first.
Step 7 – Install the four metal poles
You’ll fit two at the front and two at the back. For each pole:
Find the mounting slot in the tent fabric and the pre-drilled hole in the frame.
Insert the pole through the slot and into the hole at about a 45° angle. Push it in all the way until it won’t go any further, with the hook pointing down.
Then bend the pole upward and slip the tip through the eyelet on the fly/canopy.
Step 7 – Fit the two main fibreglass pole sets
Take out the two long fibreglass pole sets and connect the sections.
Feed the first pole through the mesh sleeve running across the tent. Once it’s through, slot one end into the largest hole on the plastic tag located on the corner of the tent.
Move to the other end, flex the pole to create tension, then slot it into the matching hole at the other end.
Repeat the same process with the second long pole through the other mesh sleeve.
Step 8 – Install the window tensioning fibreglass pole
Find the small tensioning poles and slide it into the PVC sleeve on the fly.
Insert one end of the pole first into the PVC sleeve at the apex of the tent (this can be hard to see).
Flex it gently so each end slots into the fly PVC sleeve eyelets.
Check the fly looks evenly tensioned.
Step 9 – Check your rooftop tent
Walk around the tent and confirm:
All four metal poles are fully seated in their holes and eyelets.
Ensure the fly is evenly tensioned using the straps at the corners of the tent.
The window tensioning poles are secure in the apex and fly PVC sleeves.
Important: Packdown: before hitching up
🚫 When packing up, make sure all stabilisers are fully wound back up before moving the trailer.
Give each stabiliser a quarter turn once retracted to lock them in place for travel and prevent them from working loose on the road.